
I kept seeing clear nails on my feed and in the salon chair next to me. At first I thought they were a gimmick, but after watching them wear in real life, I get it now.
These 16 designs range from barely-there sheer to full-on transparent with art. Short nails, long nails, DIY-friendly or salon-only. Clear Nails work on any skin tone and any schedule. Some need a salon visit, others you can do at home with patience. I’ve spent years avoiding clear because it felt unfinished, but these designs changed my mind.
Clear Stiletto Nails With a Designer Charm
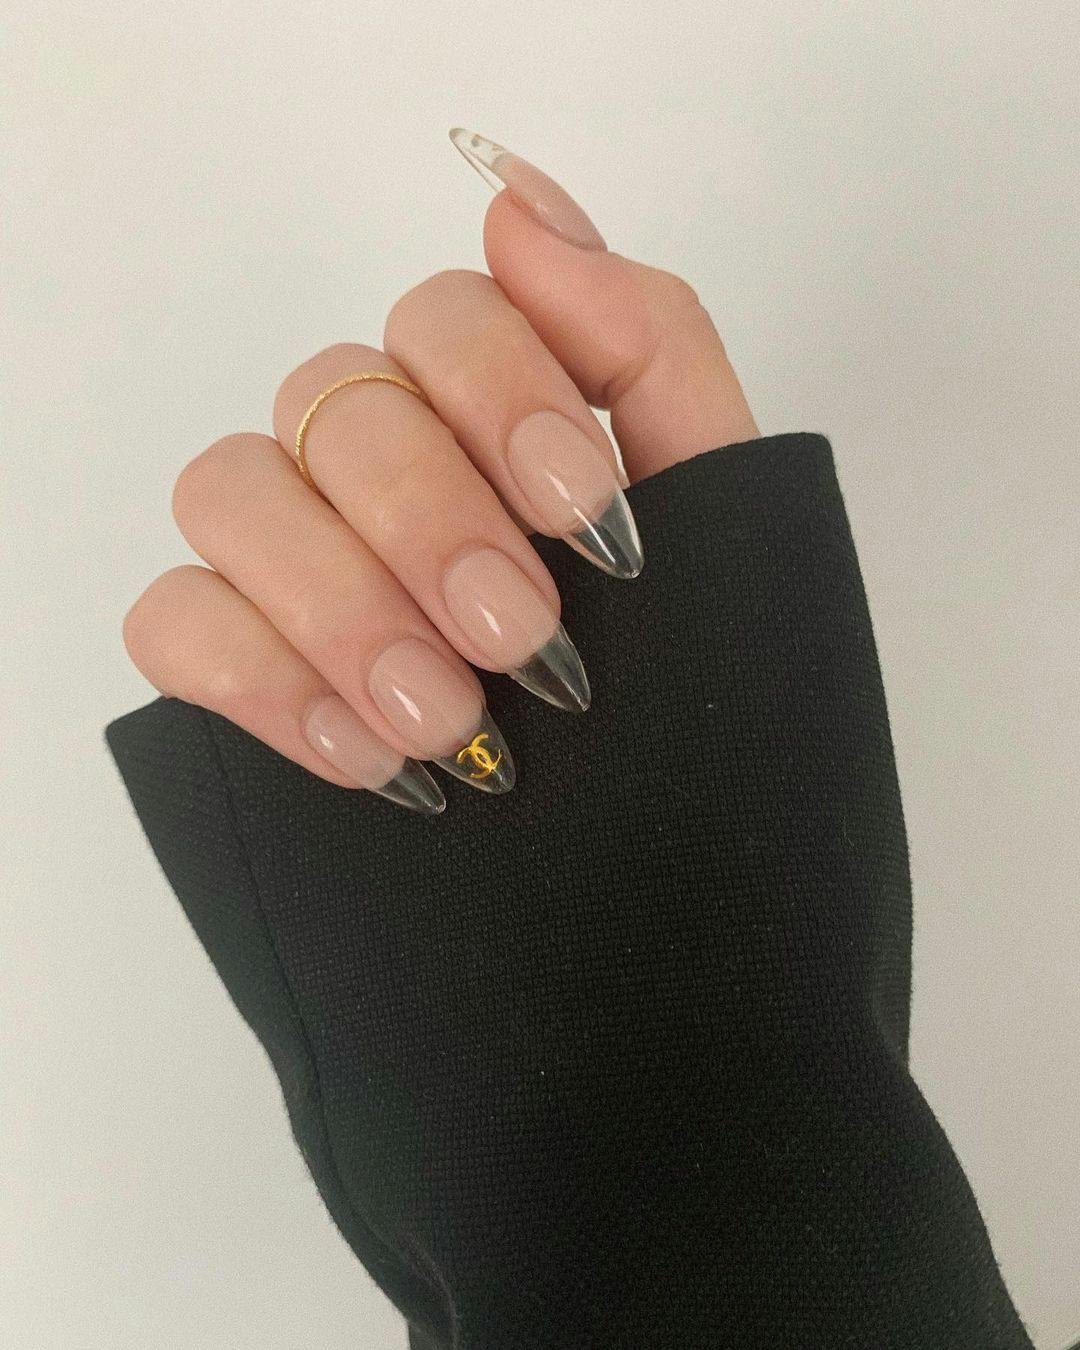
There’s something about a clear stiletto with a gold CC charm that feels like a private joke between you and your wallet. The long stiletto shape, a nude base under clear, glossy finish, and one small charm on the accent nail. It’s bold and luxurious, like wearing a logo without saying a word. The clear tips let the shape do the work, and the charm adds just enough weight to keep it from feeling minimal. This is not a quiet nail.
The Perfect Sheer Nude French Manicure
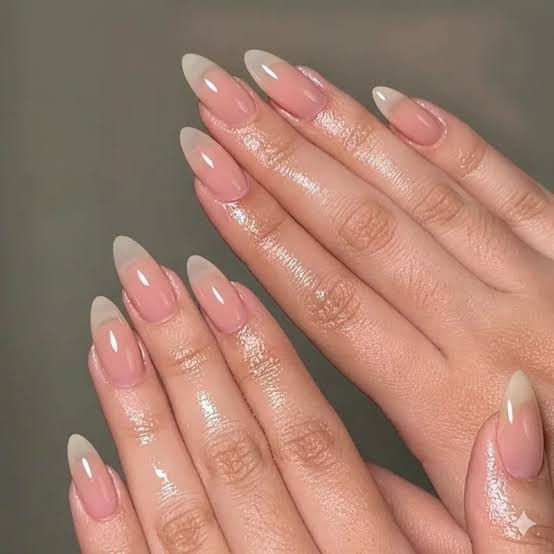
A sheer nude French tip works because it doesn’t try to convince anyone it’s your natural nail. The medium oval shape, opaque white tip on a sheer nude base, glossy finish. It flatters nearly every skin tone because the nude base can be matched to your undertone. For warm undertones, a peachy nude; for cool, a pinkish one. Gel versions last three to four weeks, and the subtle grow-out is forgiving. A quick buff and re-gloss around week two keeps it fresh. Timeless without being boring.
Sheer Pink to Clear Gradient Nails
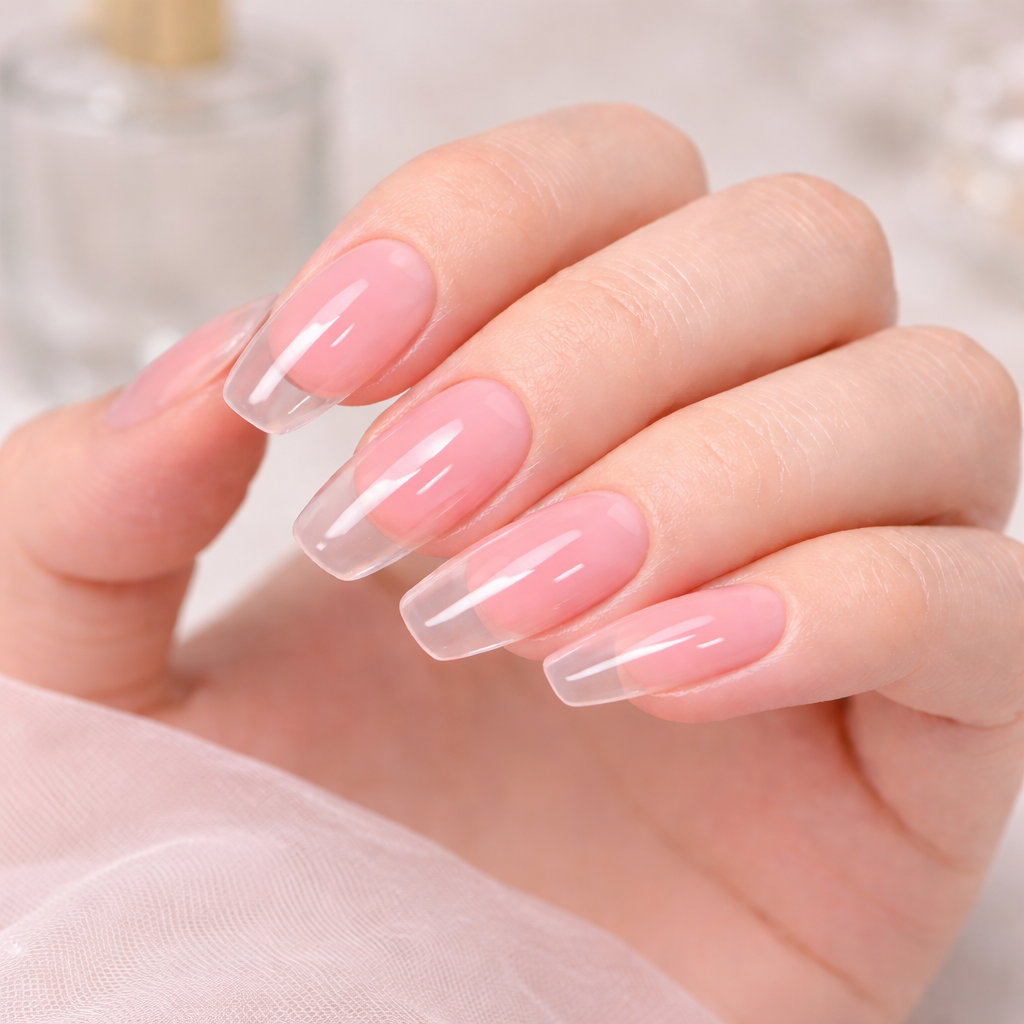
I’ll admit it: I thought a sheer pink to clear gradient would be invisible after day one. But on long square nails with a glossy finish, the transition is subtle enough to catch light differently. The pink at the cuticle fades to a transparent tip, so grow-out is almost nonexistent. Ask for a soft baby pink at the base, then a three-layer gradient to clear. Avoid a harsh line by using a sponge or a fine brush. The effect lasts two to three weeks without needing a fill, just a top coat refresh around week two.
Clear Nails With Embedded Dried Flowers
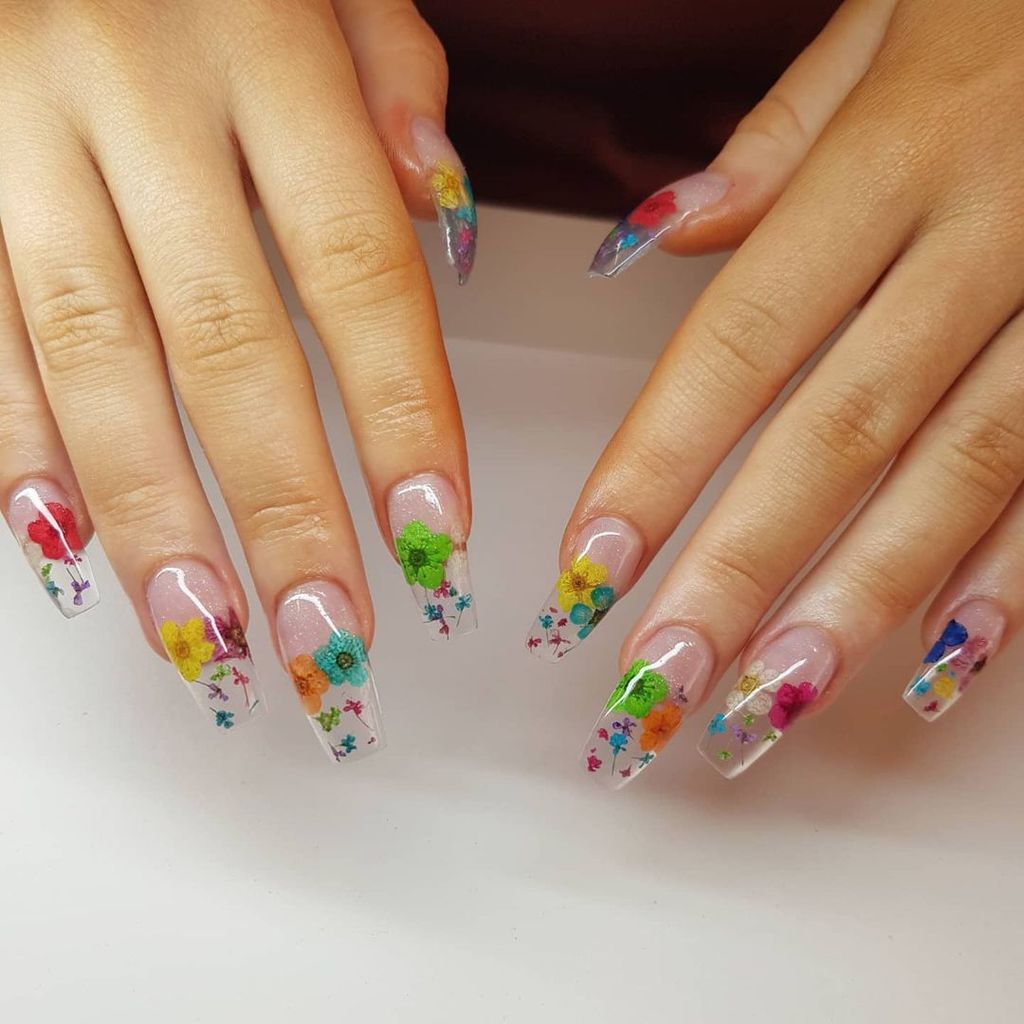
Embedding dried flowers in clear nails is less a manicure and more a tiny terrarium. The technique requires skill: placing delicate floral elements without trapping bubbles or causing lifting. On long coffin nails with a glossy finish, the clear base lets the natural nail tone show through, while colorful dried flowers sit embedded on each nail. This is a spring or summer look, whimsical and botanical. It’s salon-leaning because embedding needs precision and a steady hand. DIY is possible but expect trial and error with placement and sealing.
- Long coffin shape
- Clear base with natural nail tone
- Glossy finish
- Embedded dried flowers on all nails
- Delicate floral placement
The result is a manicure that feels alive, but handle with care around the edges.
Ultra-Clear French Tips on Square Nails
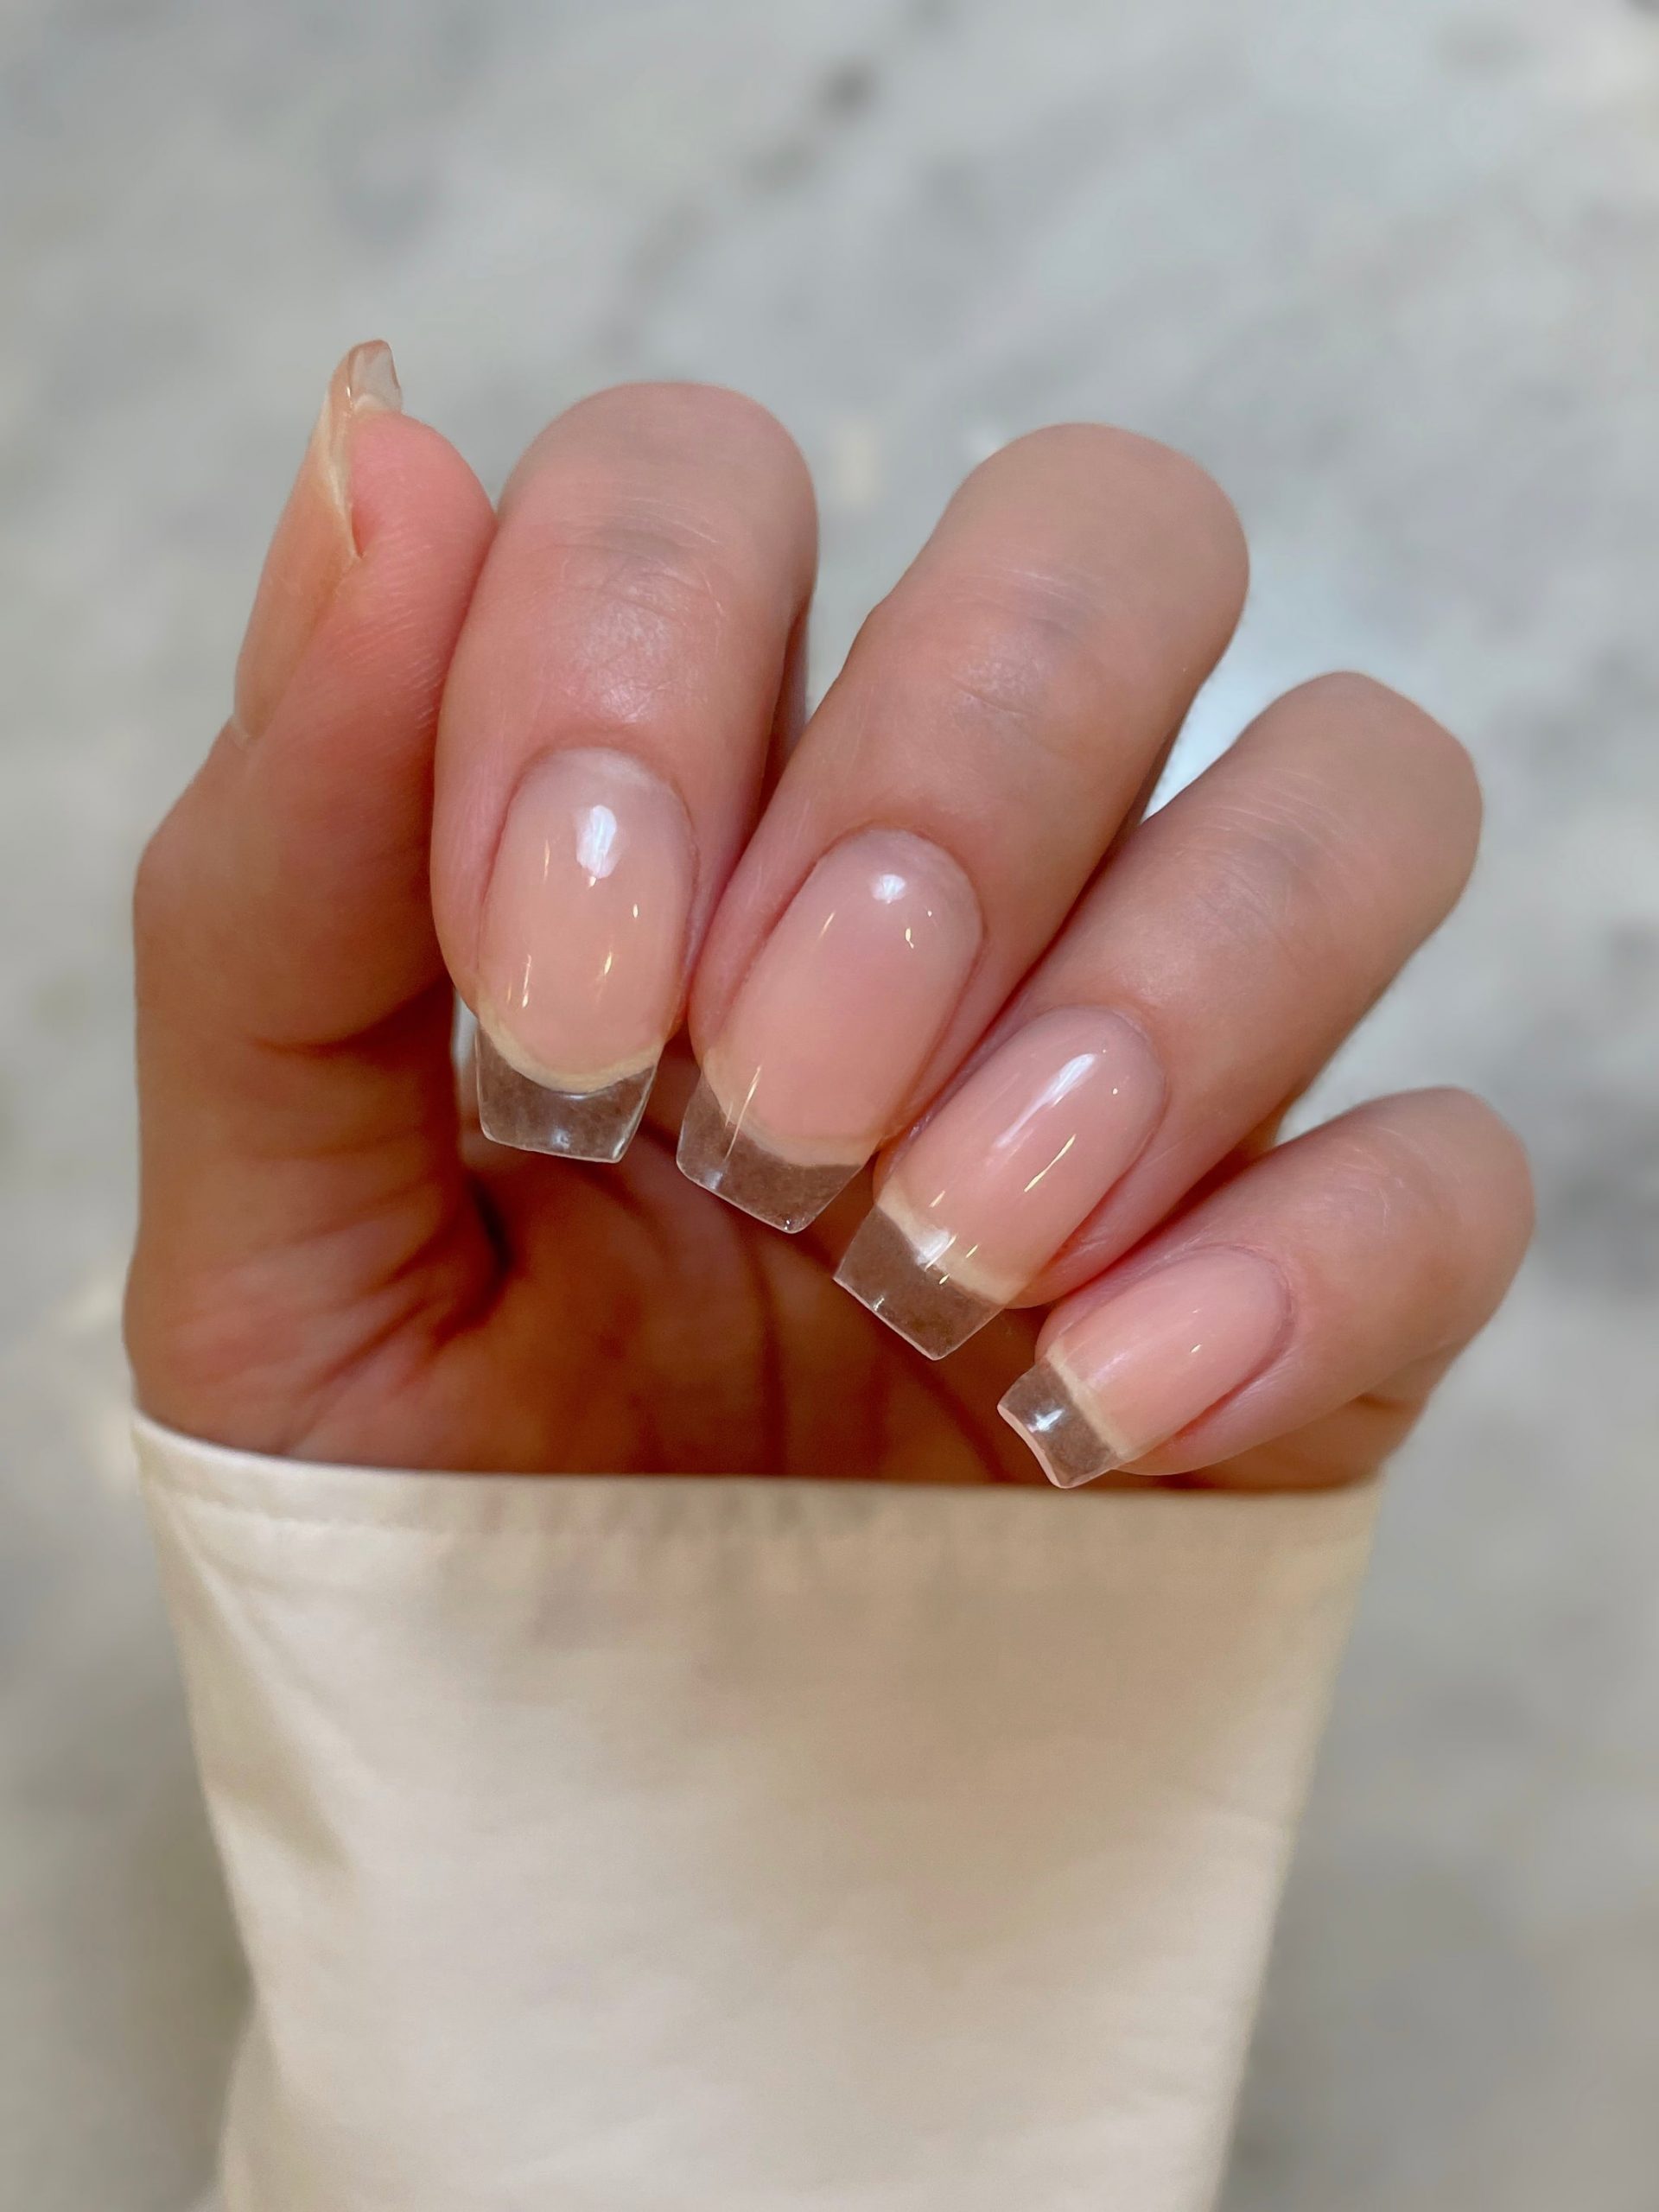
Why would anyone choose ultra-clear tips over the classic white? On medium square nails with a sheer nude base and glossy finish, the clear tip looks sharp and modern. It’s less contrast, more integration. But here’s the honest downside: clear tips show scuffs and scratches more easily than opaque white. One week of typing and the tips can look worn. If you’re okay with a little imperfection, the clarity is worth it. Otherwise, stick with white.
Short and Sweet Sheer Pink French
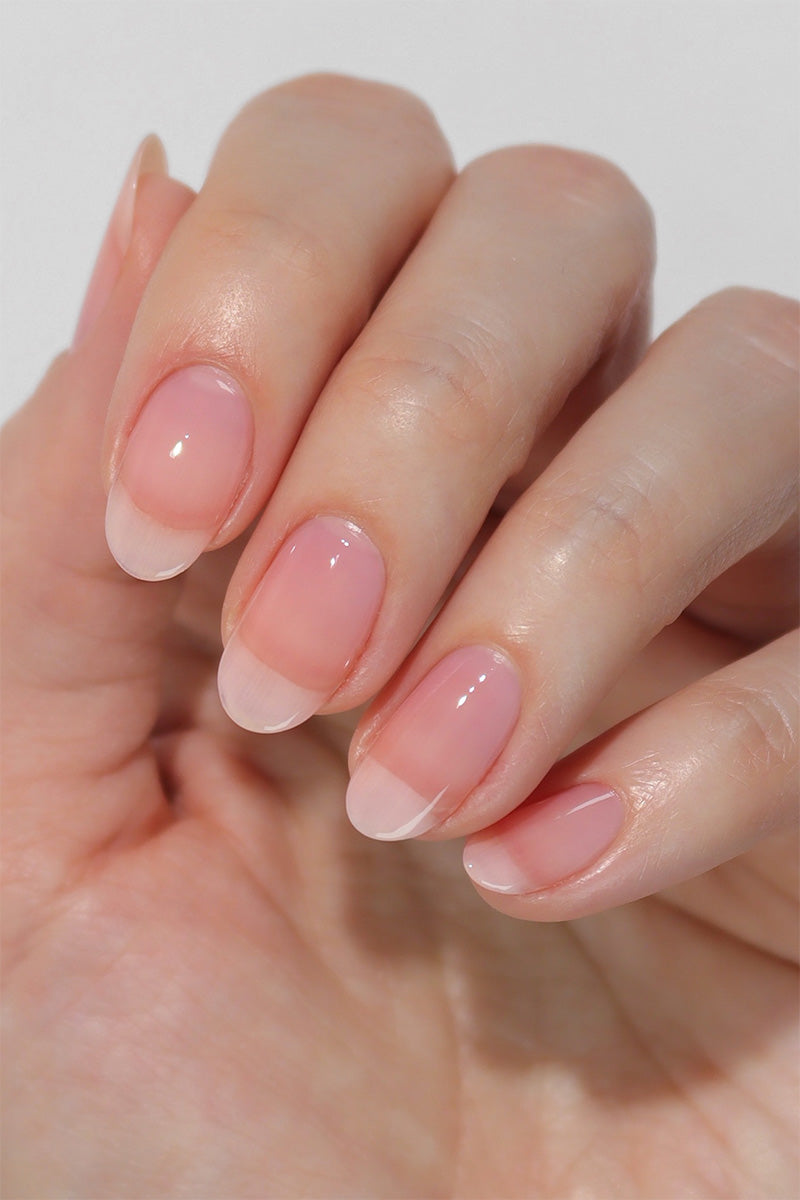
The goal is a clean French tip that looks like it came from a salon. Start with a sheer pink base, two thin coats. Let them dry completely. Then use a white polish with a fine brush to draw the tip — a guide strip helps, but a steady hand works too. Paint from one side to the center, then the other side, following the curve of the nail bed. Clean up edges with a brush dipped in acetone. The key is patience: each layer must be fully dry before the next. A glossy top coat seals it all. This is a 45-minute Sunday project, not a rush job. But the result is a simple, refined French manicure that feels intentional.
Transparent Pink Coffin Nails with Silver Sparkle
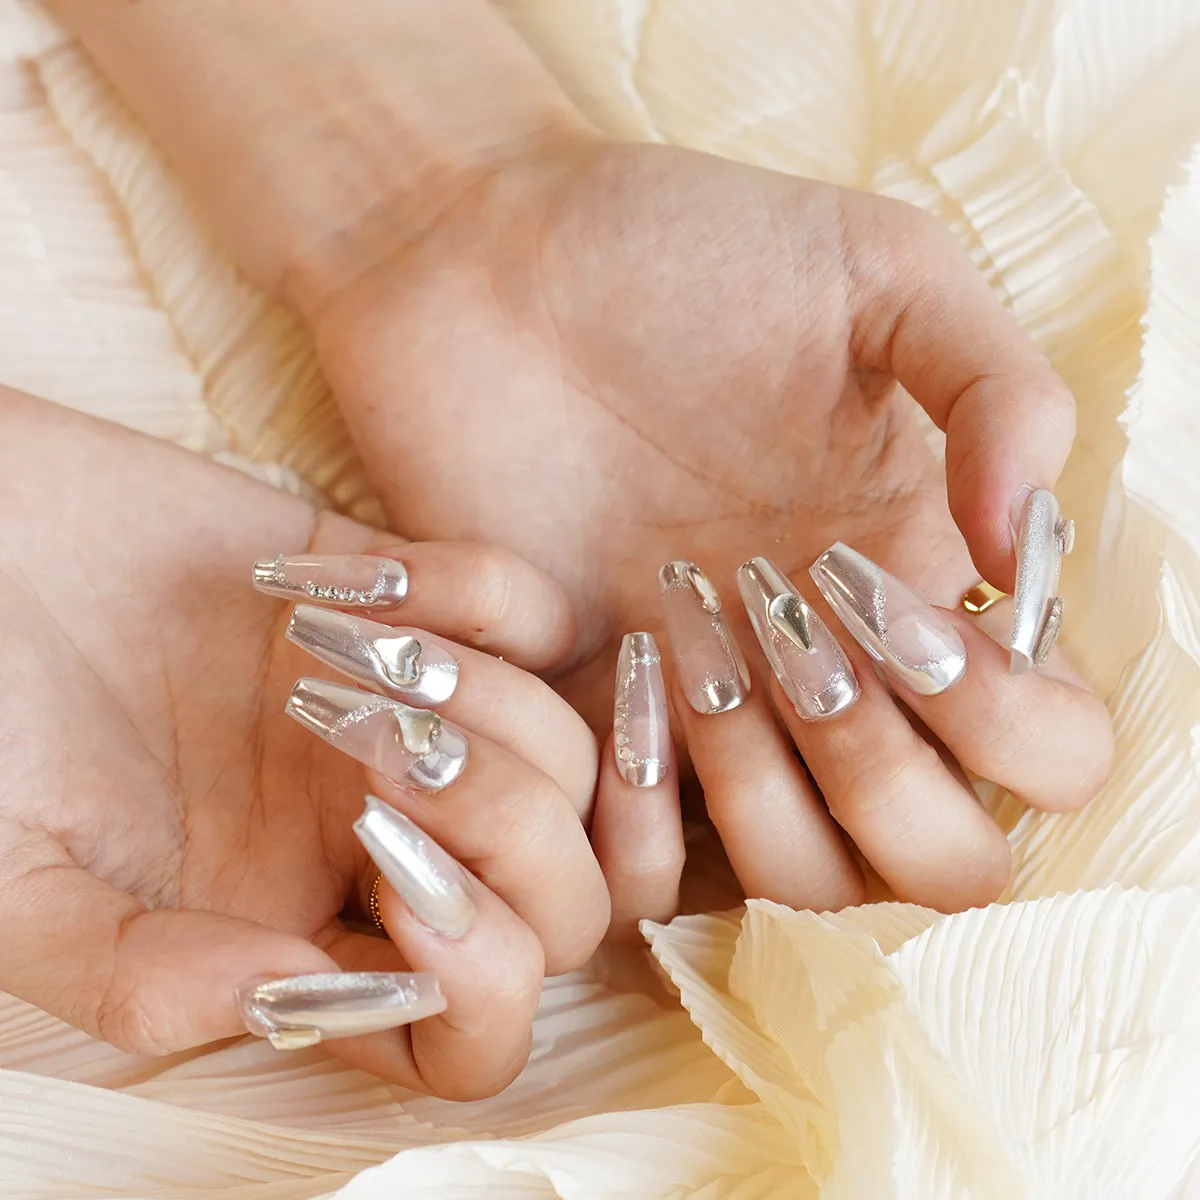
This is the party nail of the season. The transparent pink base keeps it light and fresh, while the silver metallic accents — applied as stripes, dots, or full glitter tips — catch every light. The long coffin shape elevates it further, making it feel designed for celebrations and winter galas. The contrast between the sheer pink and the cool silver creates a modern, sophisticated look that works for New Year’s Eve or any holiday gathering. The glossy finish ensures maximum shine.
Holographic Chrome Stiletto Nails
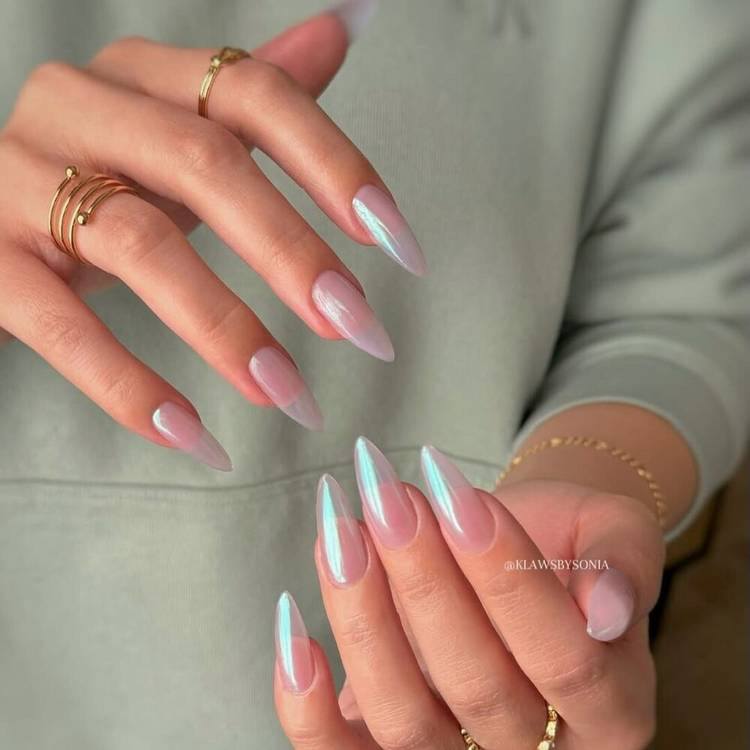
The first thing you notice is the color shift. Under different light, this nail goes from pale pink to lavender to a soft icy blue. It’s a holographic chrome finish that catches every angle. The long stiletto shape amplifies the effect, making the nail look like a prism.
- Shape: long stiletto
- Color: pale pink base with iridescent shift
- Finish: chrome
- Technique: chrome powder rubbed onto tacky layer
- Accent: none required
The result is futuristic and bold, a nail that demands attention. It’s photogenic and works for modern fashion occasions. The intensity of the shift is what makes it stand out. The tech applies a dark base to make the chrome pop, then seals it with glossy top coat.
Visual Idea
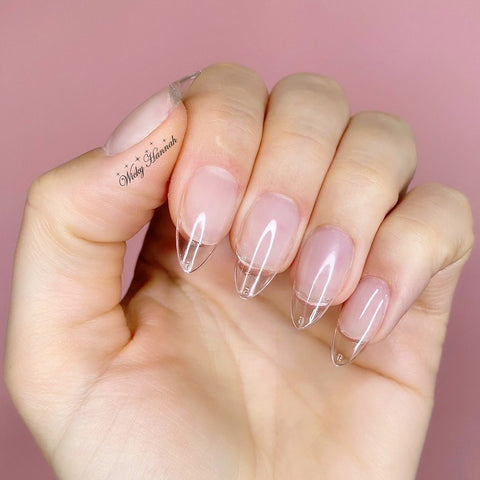
Do you really need that clear nail? The appeal of a completely bare polish is understandable — it’s simple and clean. But be honest: clear nails show every bit of dirt underneath, yellow within a week, and can look unfinished. The clear tip is trendy, but it requires a perfect natural nail bed to work. If your nails are stained, skip it.
Glossy Visual Idea
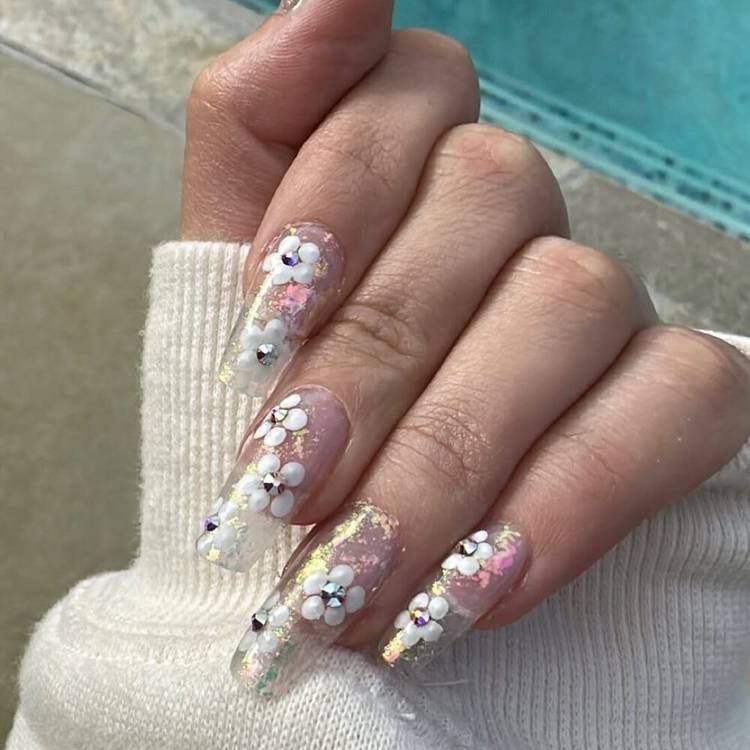
Each white flower on this nail is hand-sculpted one petal at a time. That detail adds at least 30 minutes per nail. The clear base keeps the flowers floating, but the 3D work requires a steady hand and several layers of builder gel. This is not a quick fill — expect a two-hour appointment for the full set. The glitter accents catch light, but the focus remains on the dimensional petals. The long square shape gives enough surface area for the design to breathe. The glossy top coat seals everything and adds depth.
Cat Eye Visual Idea
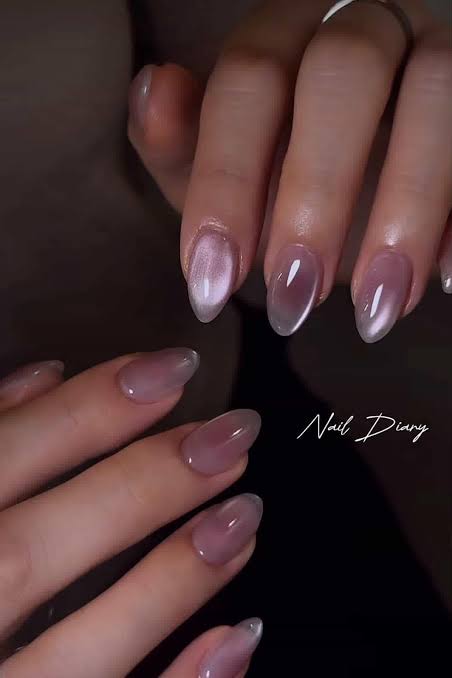
I have a confession. I wanted the Cat Eye Visual Idea to work at home so badly I bought three different magnet wands. None of them gave me that sharp, shifting stripe of shimmer on a translucent pink base. It is a salon skill, plain and simple. I finally surrendered and let a professional do it on my medium oval nails. The way the light catches that concentrated pigment is worth the appointment. It is a polished look, but it demands a steady hand and a specific lamp. I just bring a photo now and let them work.
Chunky Iridescent Glitter And Flakes Visual Idea
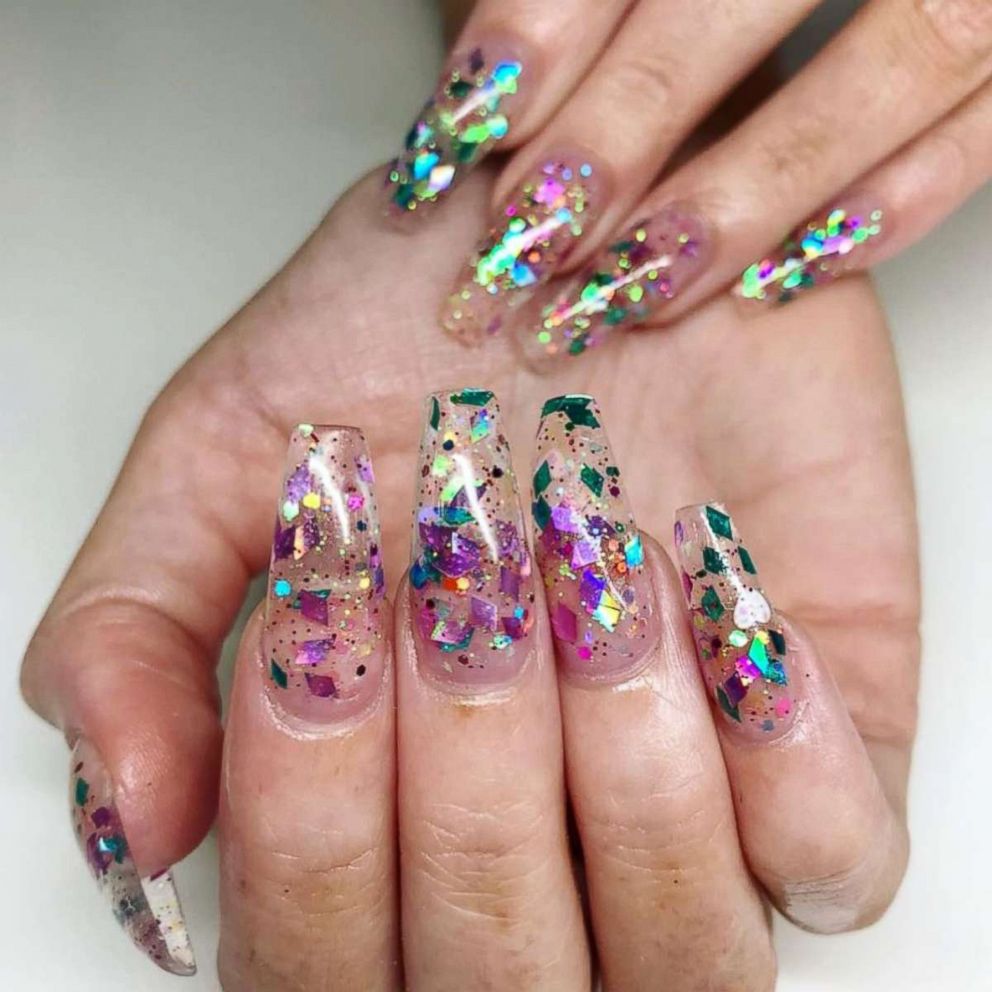
The mistake most people make with the Chunky Iridescent Glitter And Flakes Visual Idea is treating it like a standard polish. You cannot just brush it on and expect it to lay flat. Those larger pieces need to be placed individually, or you end up with sharp edges that catch on every sweater and pocket. I have had a flake lift at the tip by day three because the edge was not sealed properly. Long coffin nails give the glitter room to breathe, but they also mean more surface area to smooth out. A thick top coat is non-negotiable here, and I mean a thick one, enough to encase every piece.
For upkeep, watch the free edge. That is where chunky glitter loves to snag and peel. I file the tip gently at week two to keep the seal intact. It is a high-maintenance look, but the way the light catches those multi-colored flecks makes it worth the extra minutes in the chair. Just do not skip the base layer. Clear nails with this much texture need a strong foundation to prevent the glitter from showing through as bumps.
Glossy Glitter Visual Idea
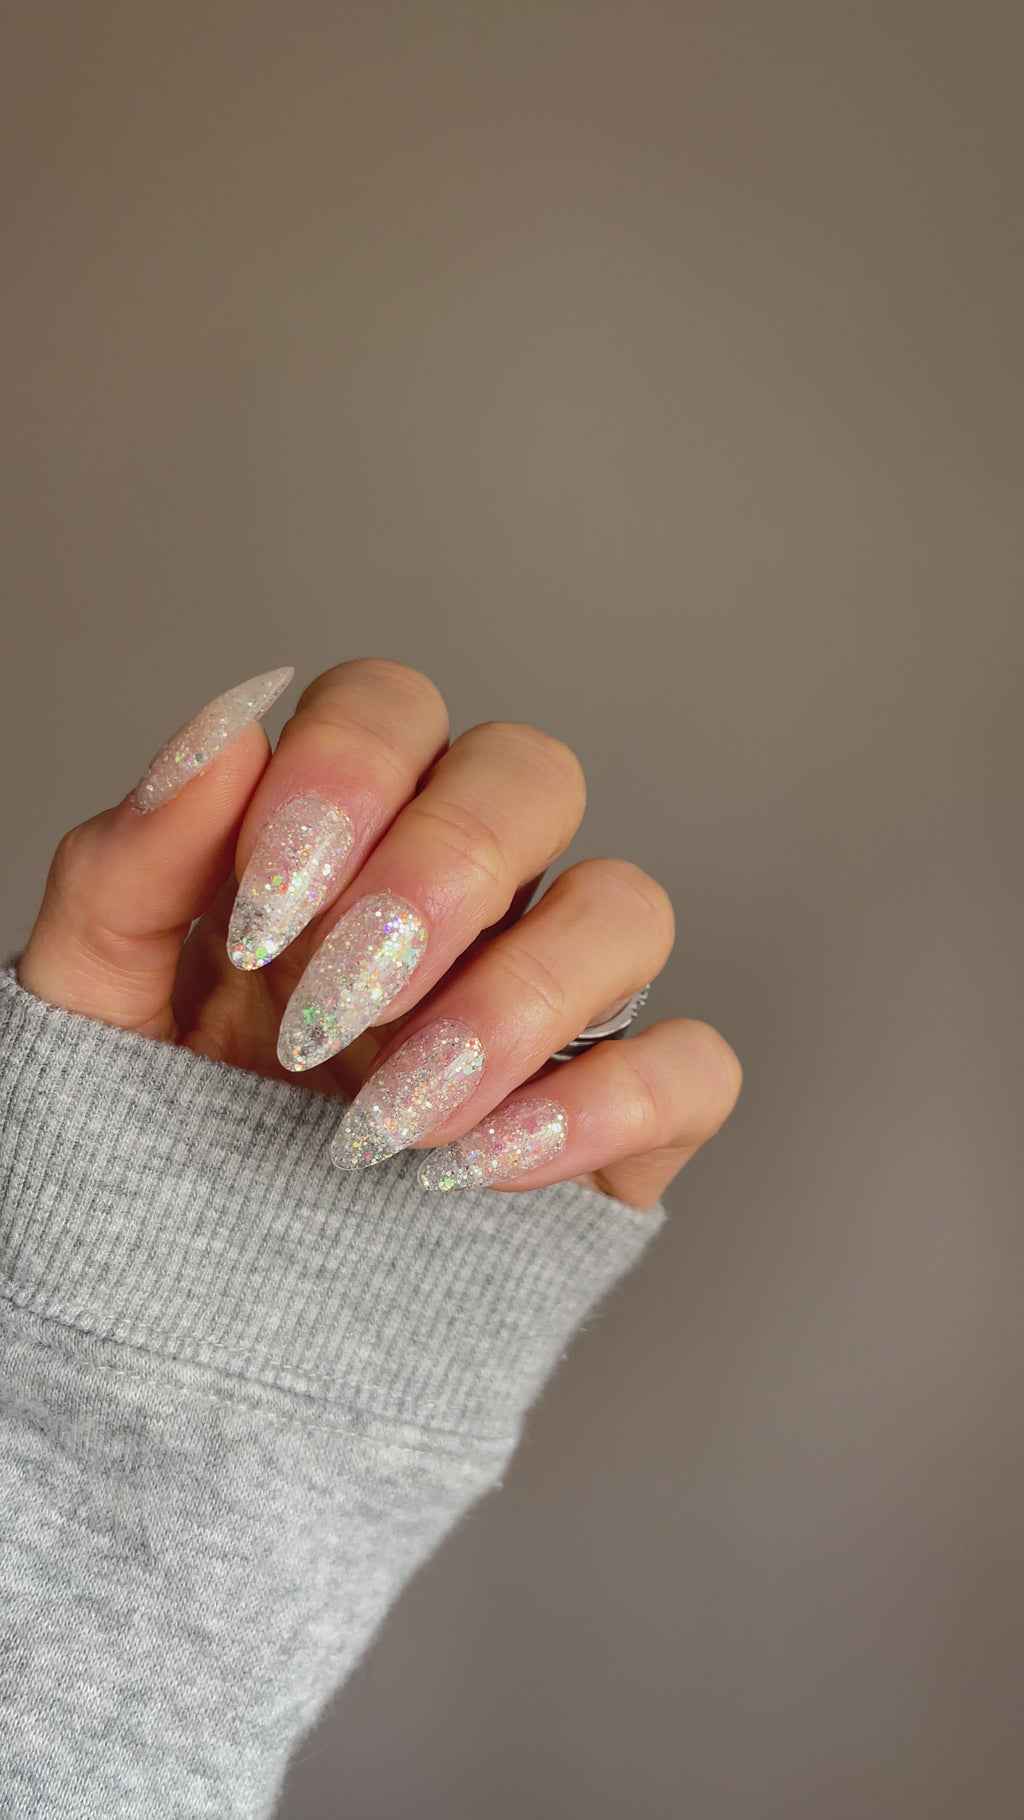
Are you the type who likes your nails to feel like jewelry? This Glossy Glitter Visual Idea is for you. The dense glitter mix of silver and iridescent flecks catches the light from every angle, and on a clear base, it looks like crushed gemstones suspended in glass. Medium square nails give it a clean edge that keeps the look from feeling chaotic. Who should pass? Anyone who types for a living. That textured surface snags on fabric and keyboard keys. I have caught a thread on a glitter edge more times than I can count. The finish is dazzling, but it is not a set-it-and-forget-it design. If you are okay with babying your nails for a party weekend, go for it.
Valentines Playful Visual Idea
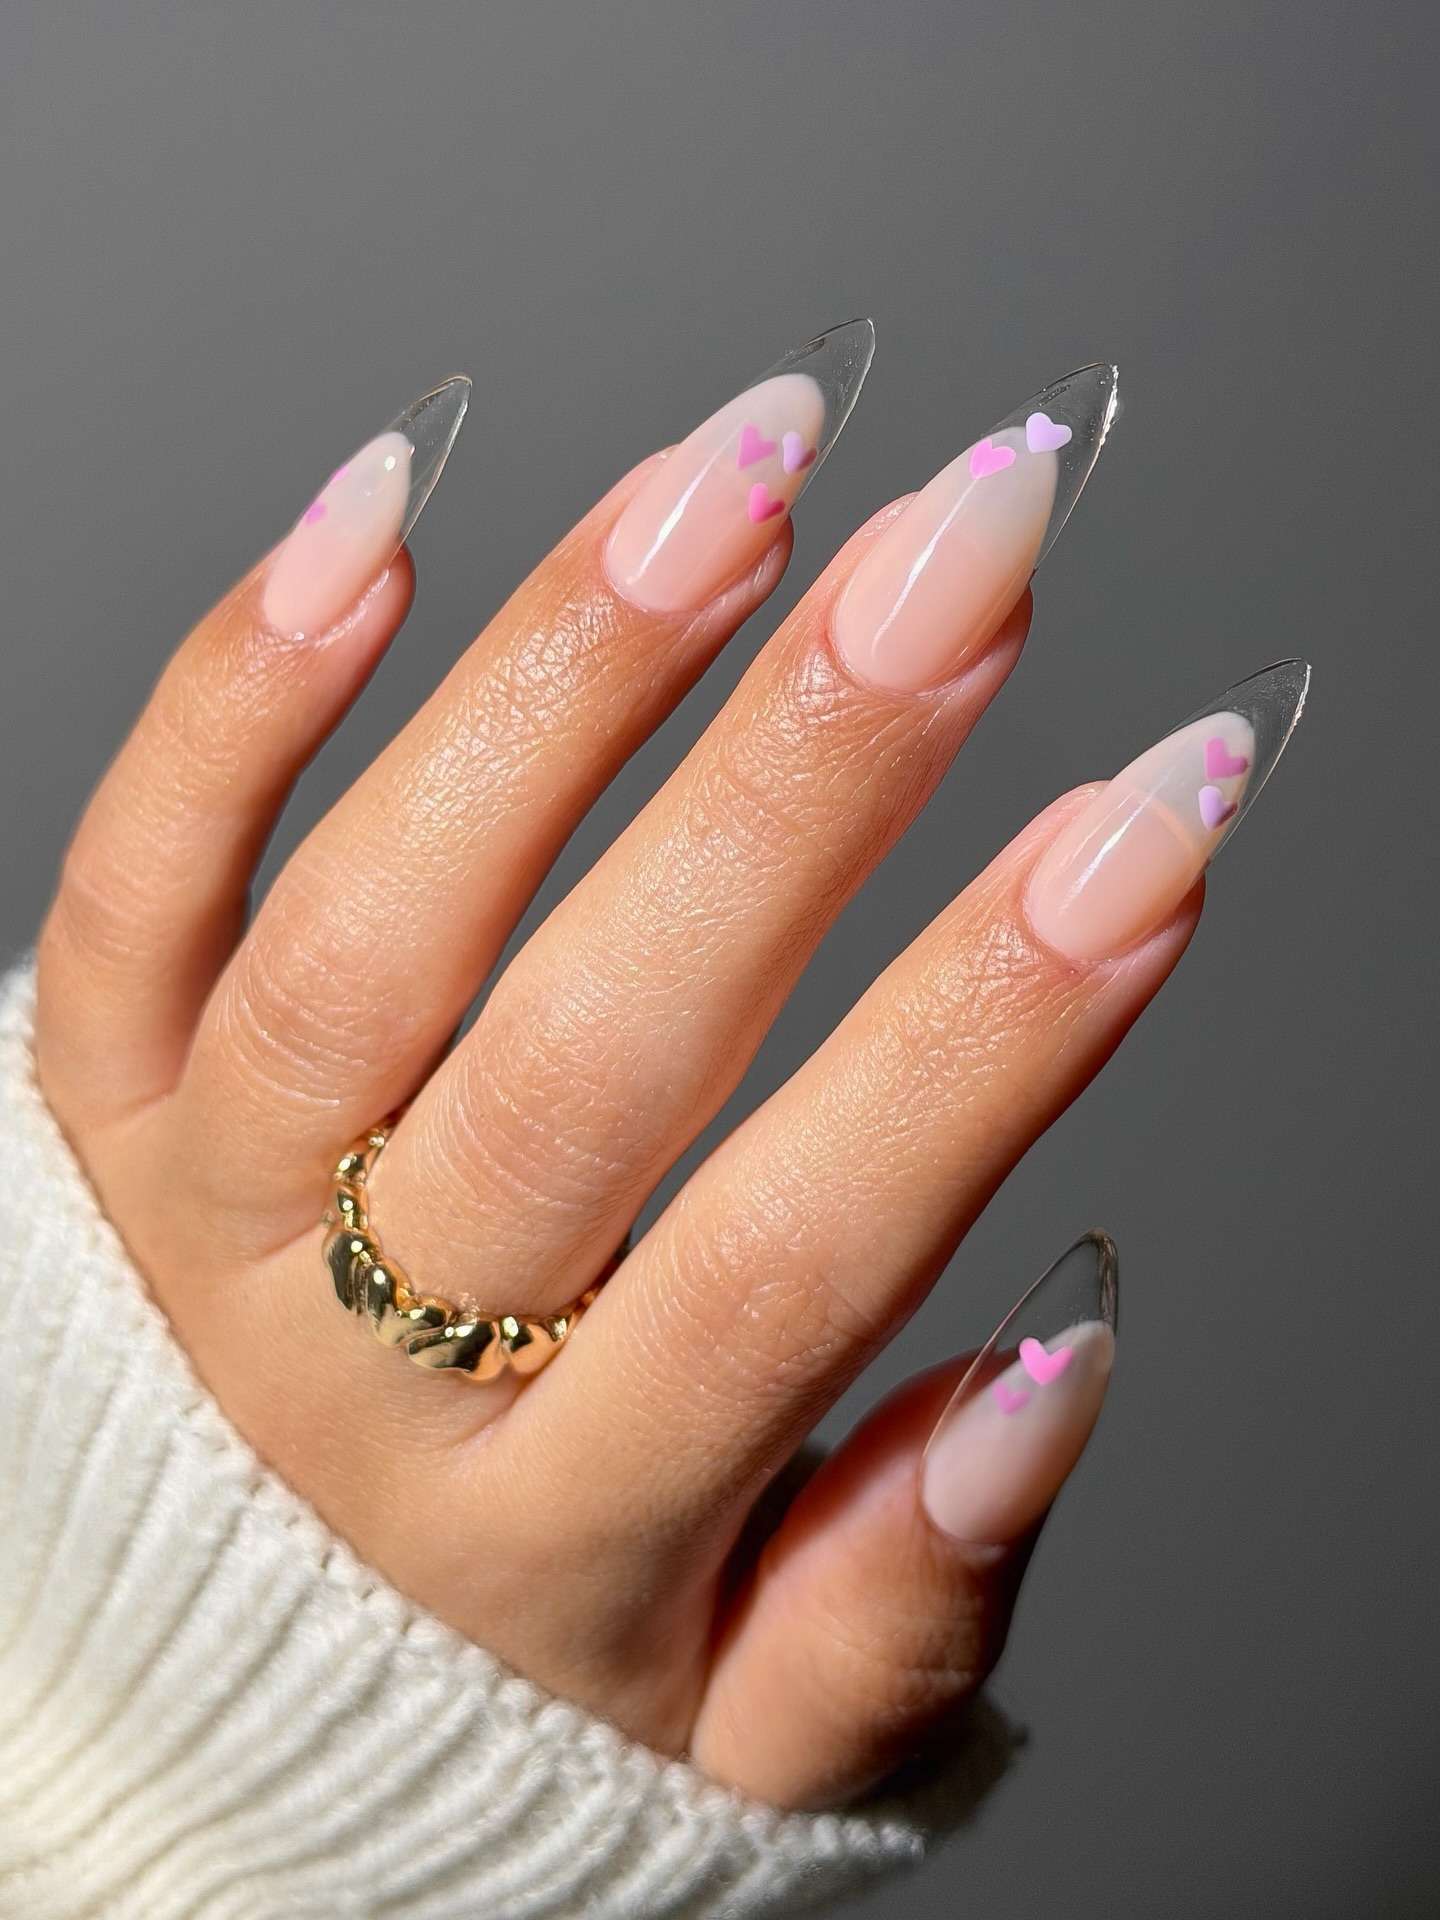
You’re carefully buttoning your coat, and one tiny pink heart catches on the wool. That’s the reality of delicate heart details on long stiletto nails. They’re adorable for a Valentine’s dinner — the clear base lets your natural nail peek through, and the hearts add just enough whimsy. But by day two, at least one heart will be missing, leaving a sticky residue. These are strictly for the occasion, not for the week after. Enjoy them on the 14th, then file them off before they start looking sad.
Any Visual Idea
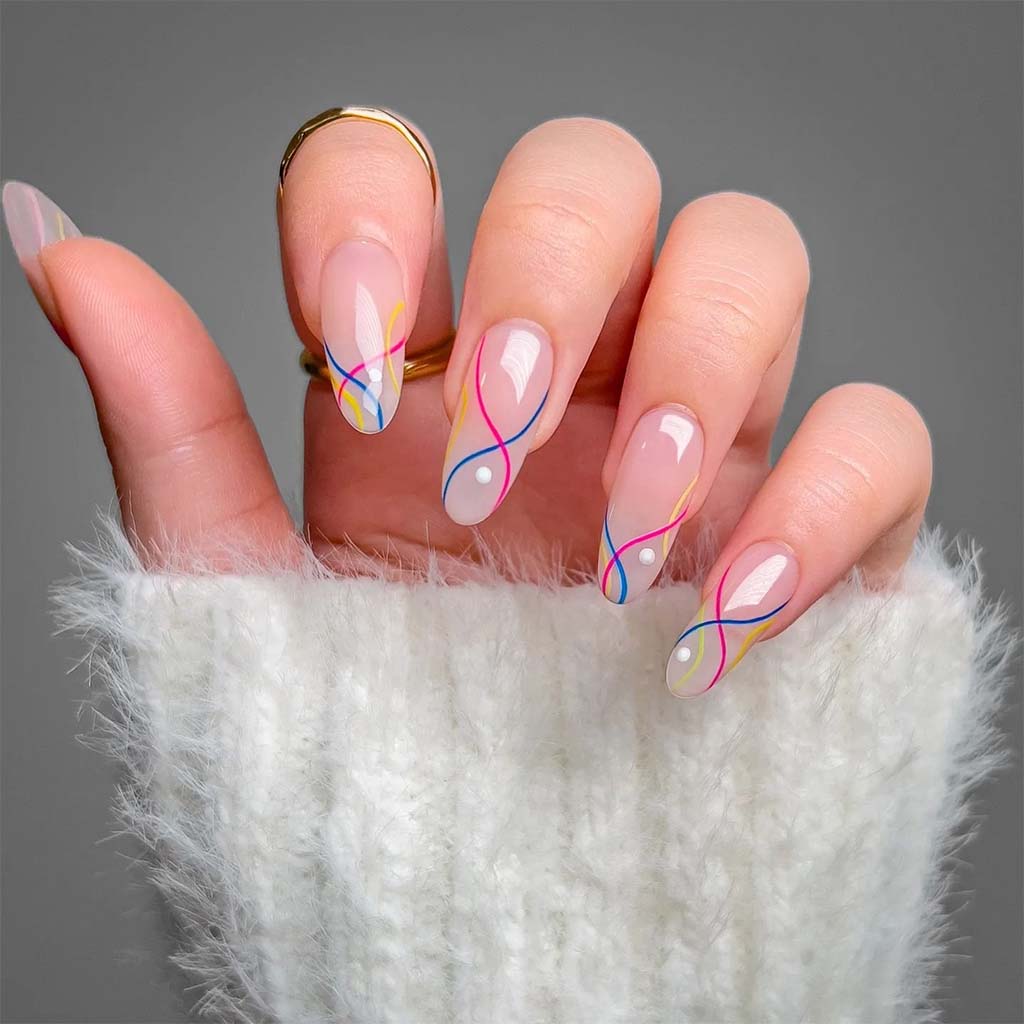
Abstract line art looks like a happy accident, but it’s anything but. Those thin, colorful curves — blue, yellow, pink, red — require a steady hand and a brush with a single hair. The lines are built one at a time, each cured before the next to prevent bleeding. The white pearls are placed on a tacky layer and sealed with a thick top coat to avoid snagging.
The steps are straightforward: sheer nude base, then draw each curve with a fine liner, cure between colors. Add a tiny dot of tacky gel for each pearl, place it with tweezers, cure, then top coat. I’ve tried this at home. The lines wobbled, and the pearls drifted. This is a salon job. The precision needed for clean, sweeping lines and perfectly centered pearls is not a Sunday afternoon project. Book it.
Rhinestones On Accent Nail Visual Idea
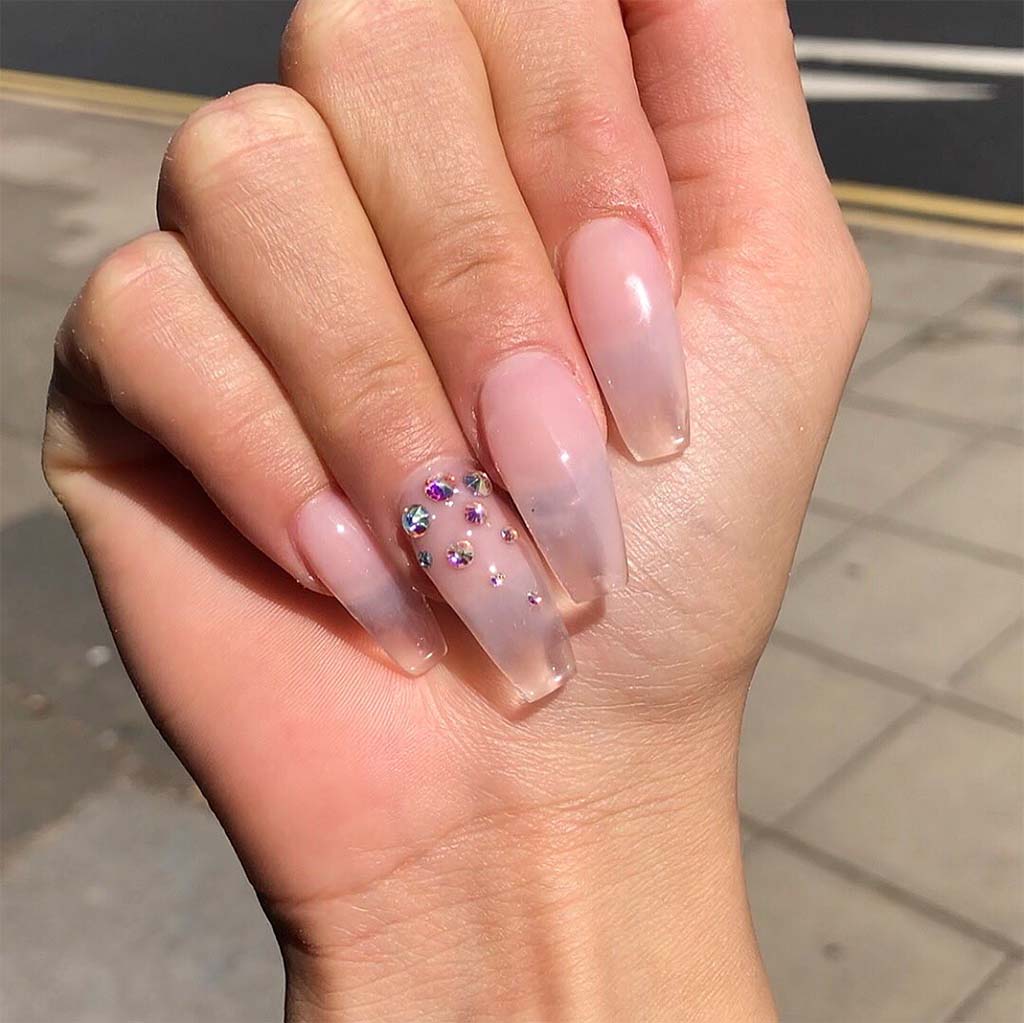
I am not a rhinestone person, but that accent nail stopped me cold. Clear nails in a long coffin, pink undertone, glossy to the point of looking wet, and rhinestones that look grown into the nail instead of glued on top. That is the whole trick: one loaded accent while the rest stay bare and quiet. The catch is their survival rate, and I am sorry to report it. Rhinestones catch on everything, and one wrong move, one careless grab, can send a stone skittering across the floor before the week is out. Gorgeous, no question about it. Just budget for a repair when a couple inevitably go missing, because they will. They always do.
Final Thoughts
After writing all 16 of these, I still think clear nails get a bad reputation they don’t deserve. What surprised me most is how much the finish matters — a glossy top coat can make or break the look. I’m booking the sheer pink gradient next. It’s the one I kept coming back to, and it wears longer than I expected.
- Cuticle oil twice a day
- Avoid dark staining polishes
- Top coat refresh on day 7
- Use a rubber base for clear gels
- Remove gently to avoid damage
Clear nails need upkeep, but they’re worth the effort.

