
I keep seeing these nails in my feed — stiletto shapes with neon streaks, chrome finishes that catch the light like a disco ball. It’s not subtle, and that’s the point. Rave culture is creeping into salon chairs, and honestly, I’m here for it.
This roundup of Rave Nails has 25 designs, from barely-there sheers to full-on glitter explosions. Whether you have short nail beds or long almonds, fair or deep skin, there’s something here that won’t quit after one night out. I’ve tested enough chrome that dulled by day 4 to know which ones actually hold up.
Neon Rainbow Abstract Stiletto Nails
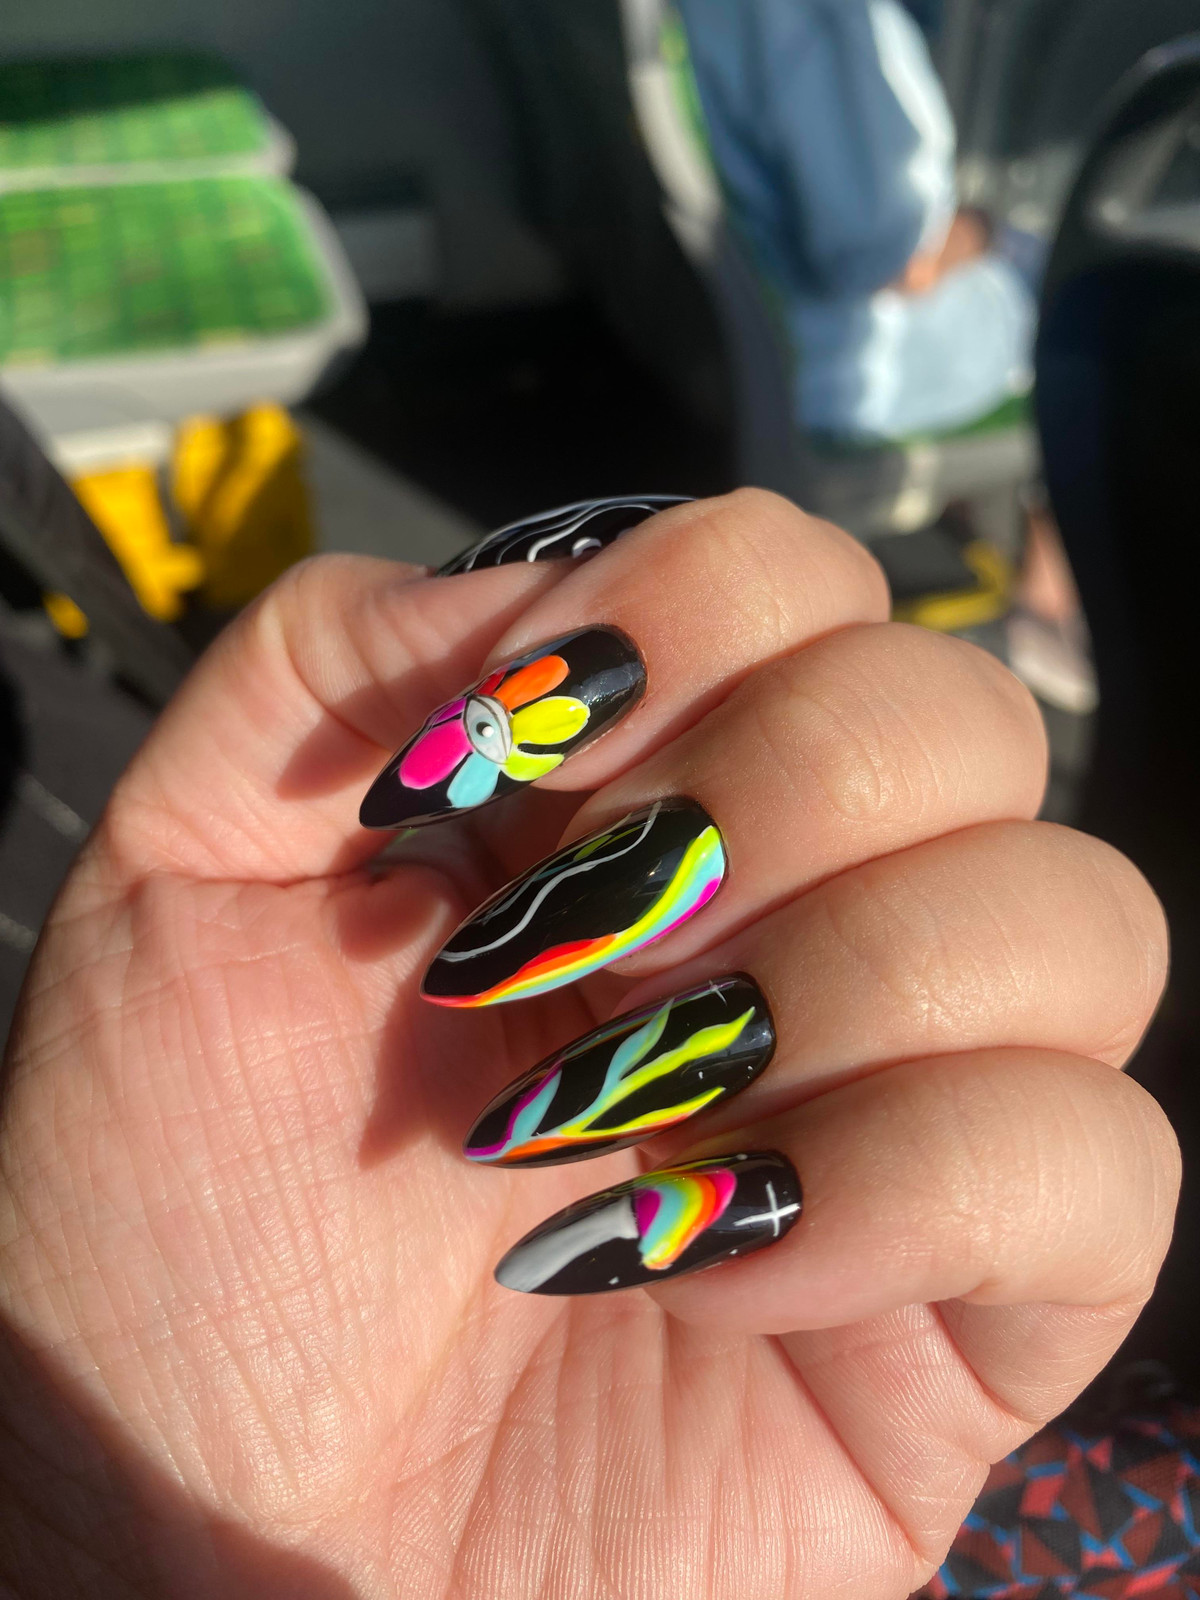
Black base, neon accents, white details — the contrast does all the work. A flower on the thumb, wavy lines on the index and middle, abstract shapes on the ring and pinky. The glossy finish makes each color pop like a club light. These are neon rainbow stiletto nails built for a rave, not a brunch. The medium length keeps them wearable for dancing, and the black background stops the rainbow from reading as a kid’s art project. It’s loud, precise, and knows exactly where it’s going.
Swirling Rainbow Stiletto Nails
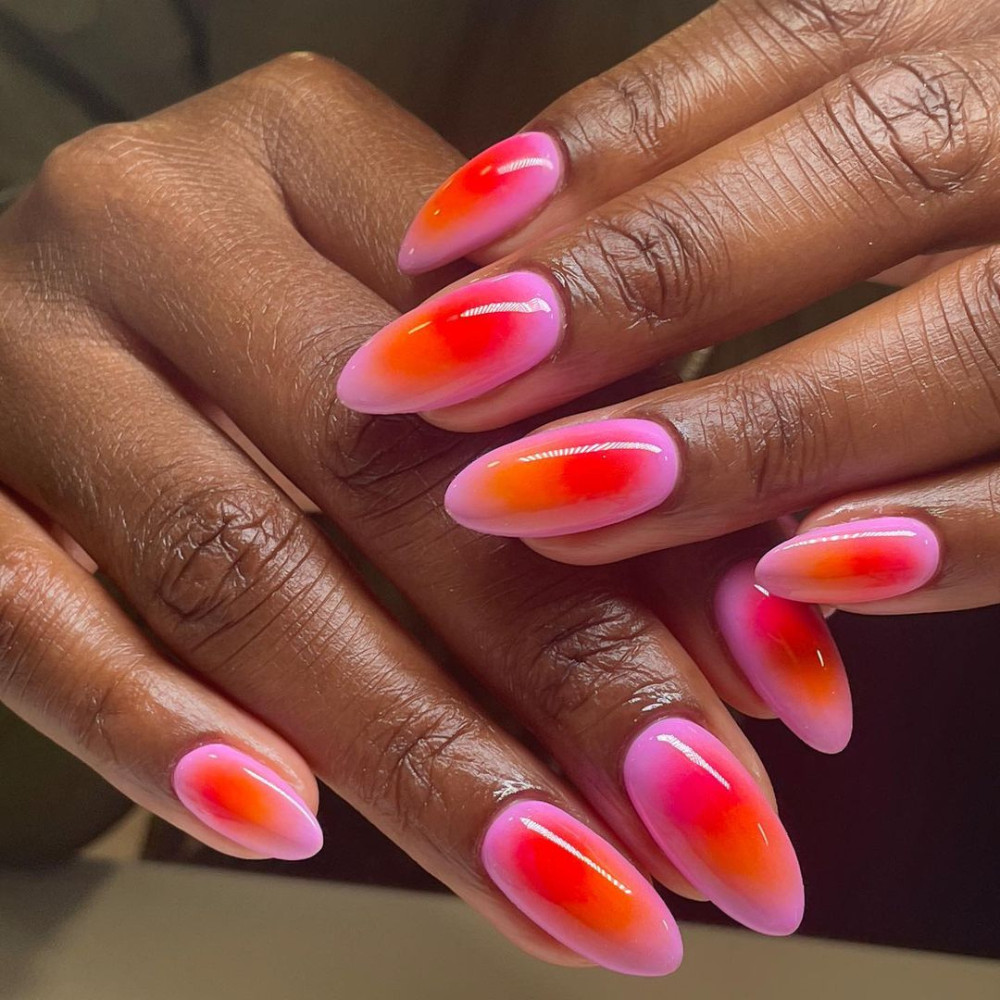
This is the version you pay for. The swirling rainbow stiletto nails have a smooth gradient across every nail — red to orange to yellow to green to blue to pink — with precise lines that don’t bleed. A DIY version would look muddy by the second color. A skilled airbrush or fine brush is the only way to keep the transitions clean and the shimmer intact.
Long stilettos this bold already signal effort. The glossy finish seals the deal. Bring a reference photo and expect 90 minutes in the chair. The result is festival-ready, not kitchen-table.
Metallic Red Chrome Stiletto Nails
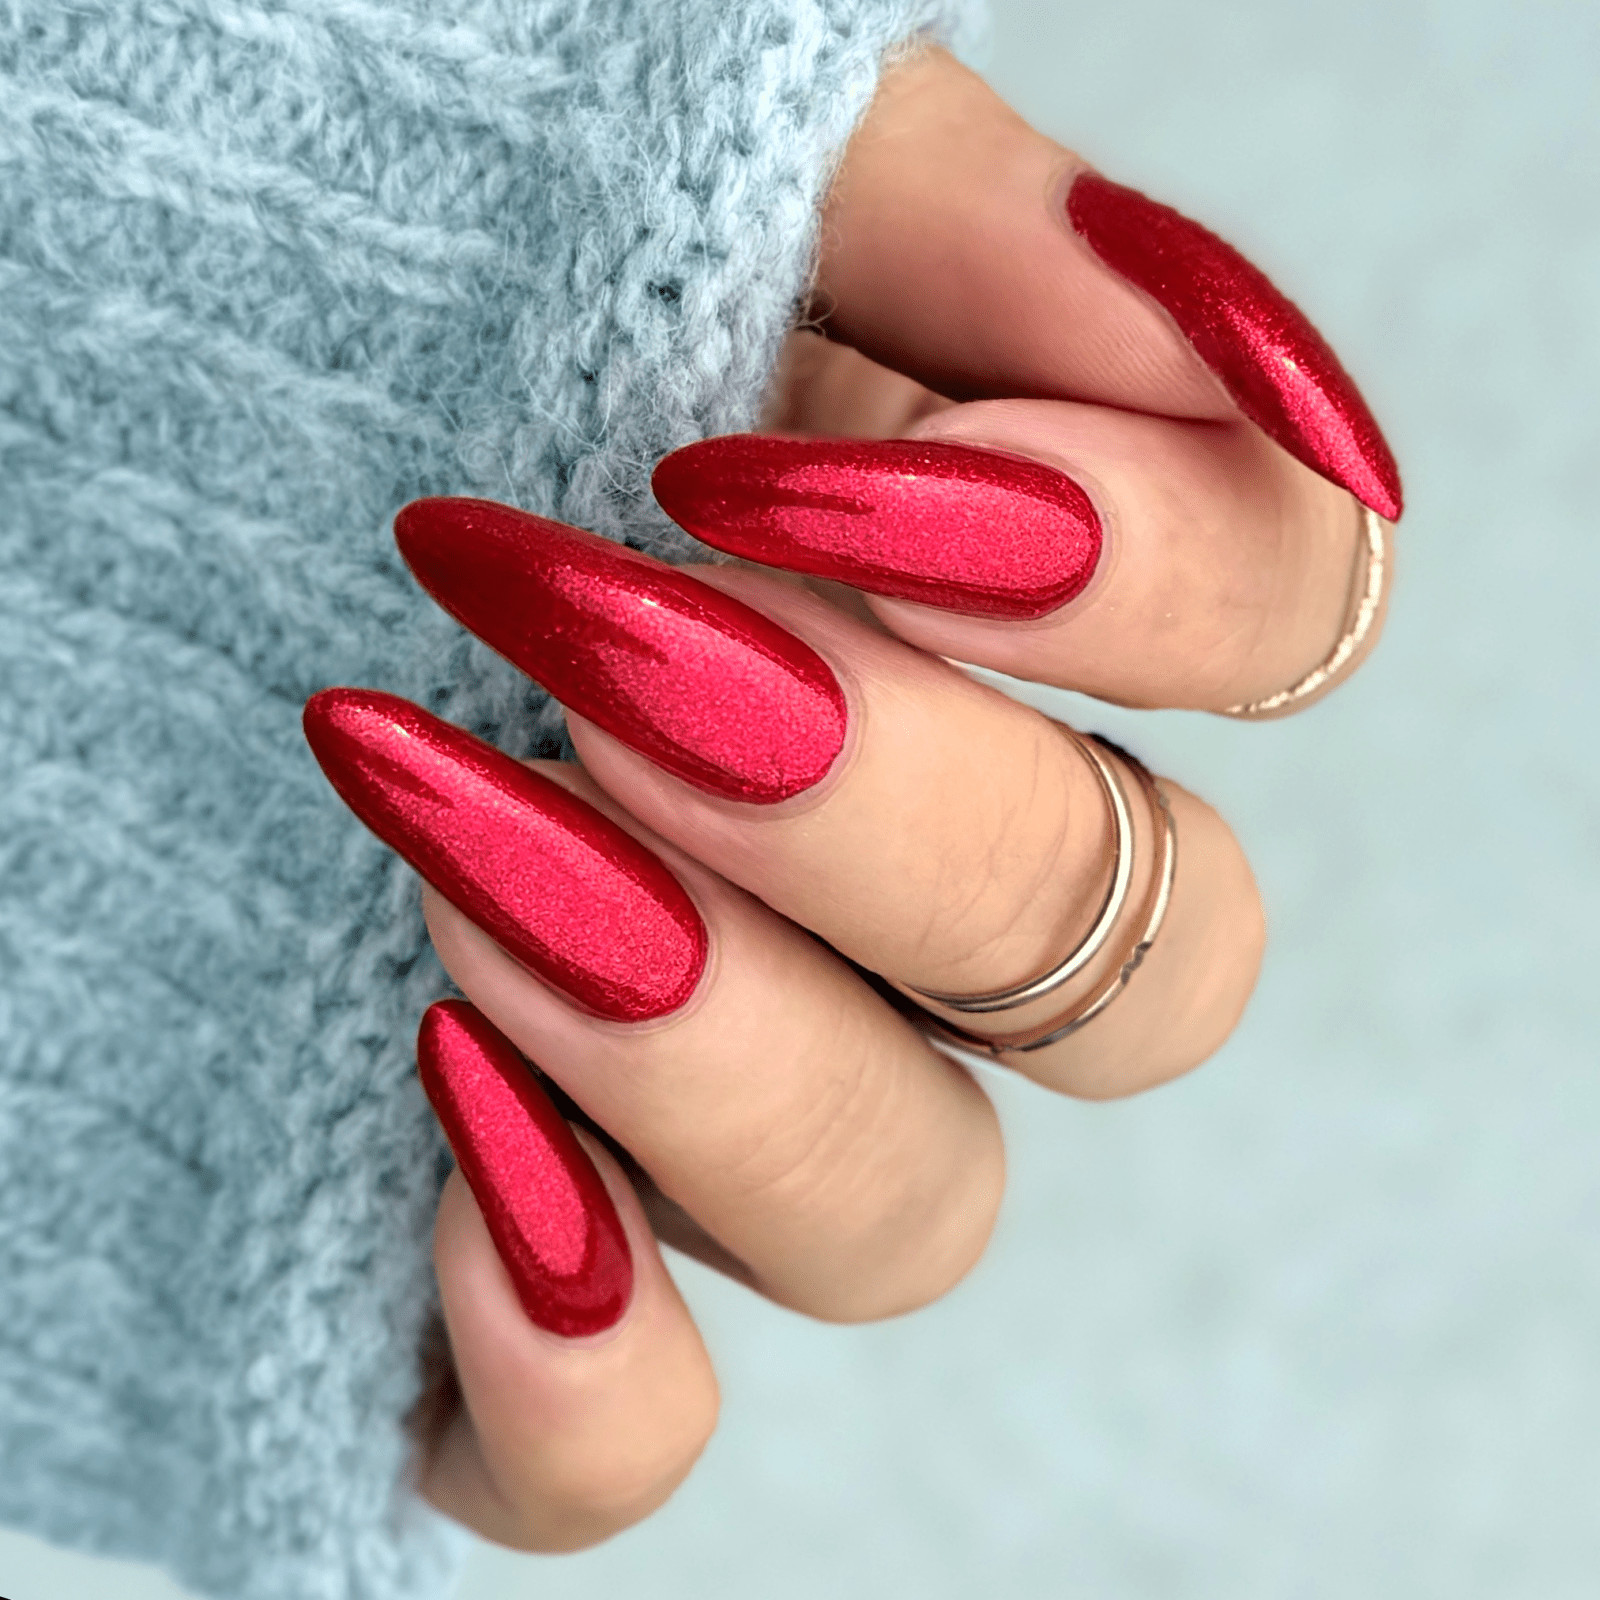
Who can wear chrome red stiletto nails? Anyone who doesn’t mind being seen from across the room. The metallic bright red is unapologetic — it reads warm on olive and fair skin alike. But chrome has a catch: it shows every fingerprint, every scuff, every moment you touched a zipper. Two weeks of wear, yes, but the shine starts to dull around day five if you’re hard on your hands. Skip this if you want low maintenance. Wear it if you want a statement that doesn’t whisper.
Matte Black White Line Art Stiletto Nails
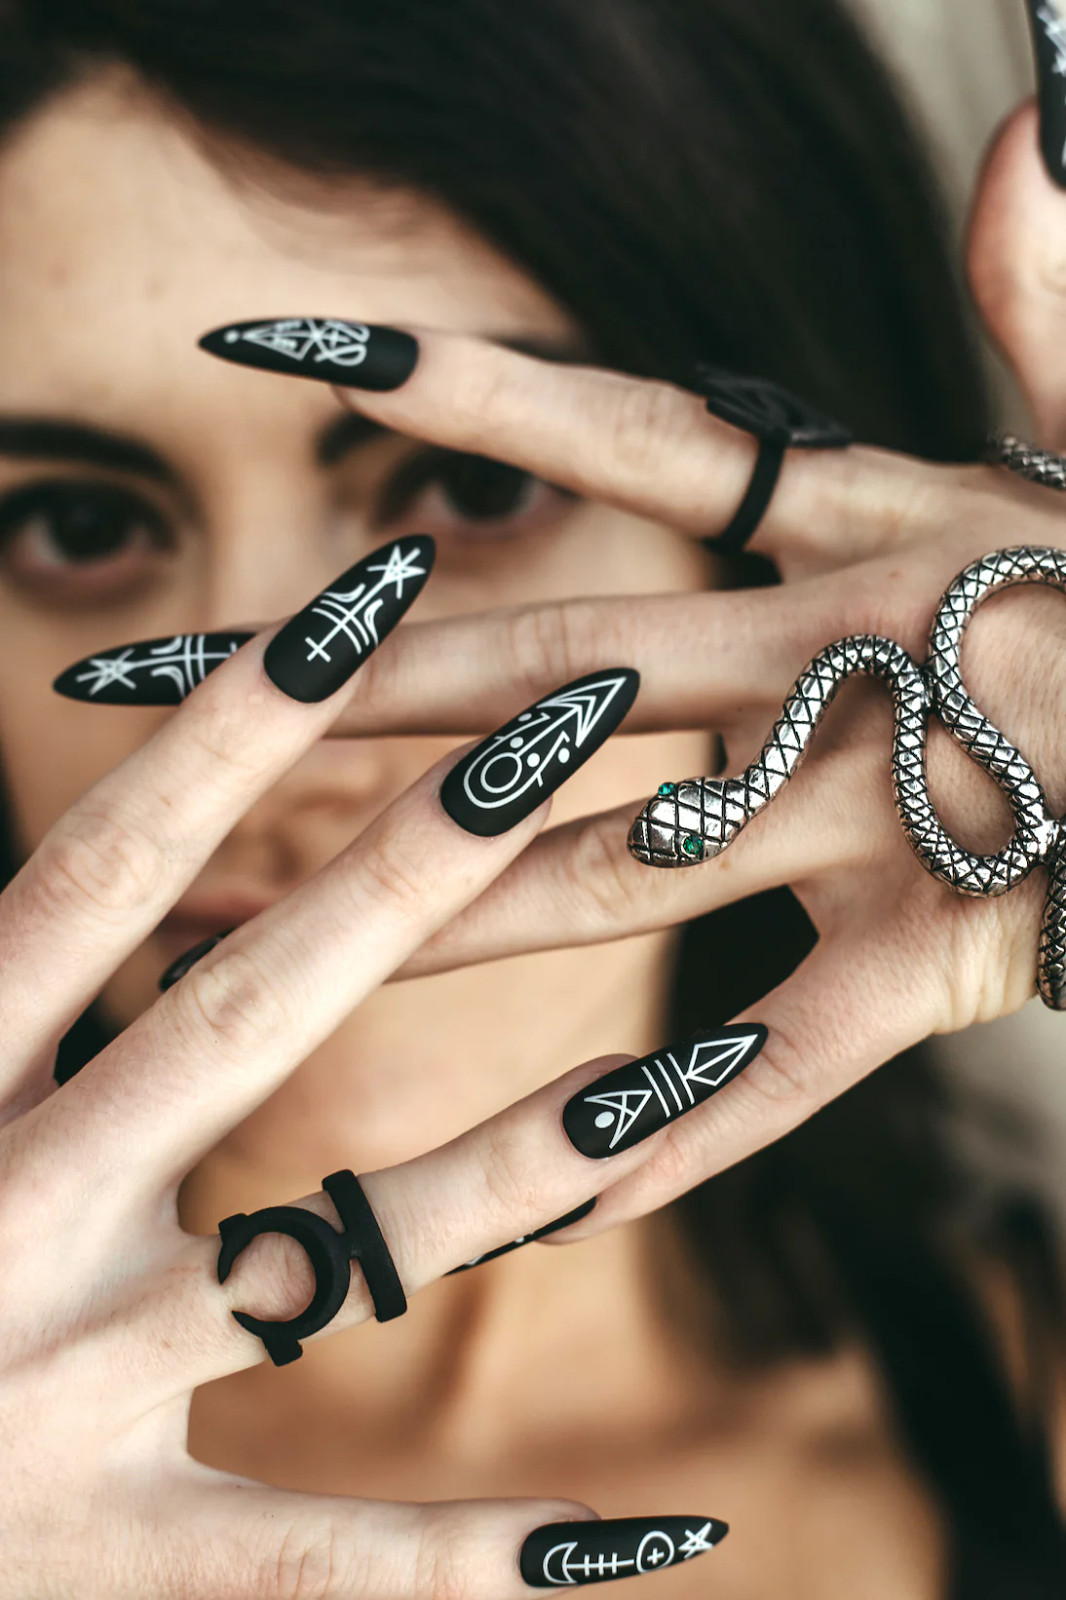
I’ll admit it: I was skeptical about matte on extra long stilettos. Thought it would look flat. But the matte black base with white line art symbols has a dry, chalky texture that feels expensive. The white lines stay crisp for about a week. By week two, the matte finish starts to polish down at the tips from typing and tapping. Nothing a fresh top coat can’t fix, but the texture changes. Two to three weeks of wear is realistic if you avoid dark liquids — matte stains faster than gloss. I keep a cuticle oil nearby and call it good.
Visual Idea
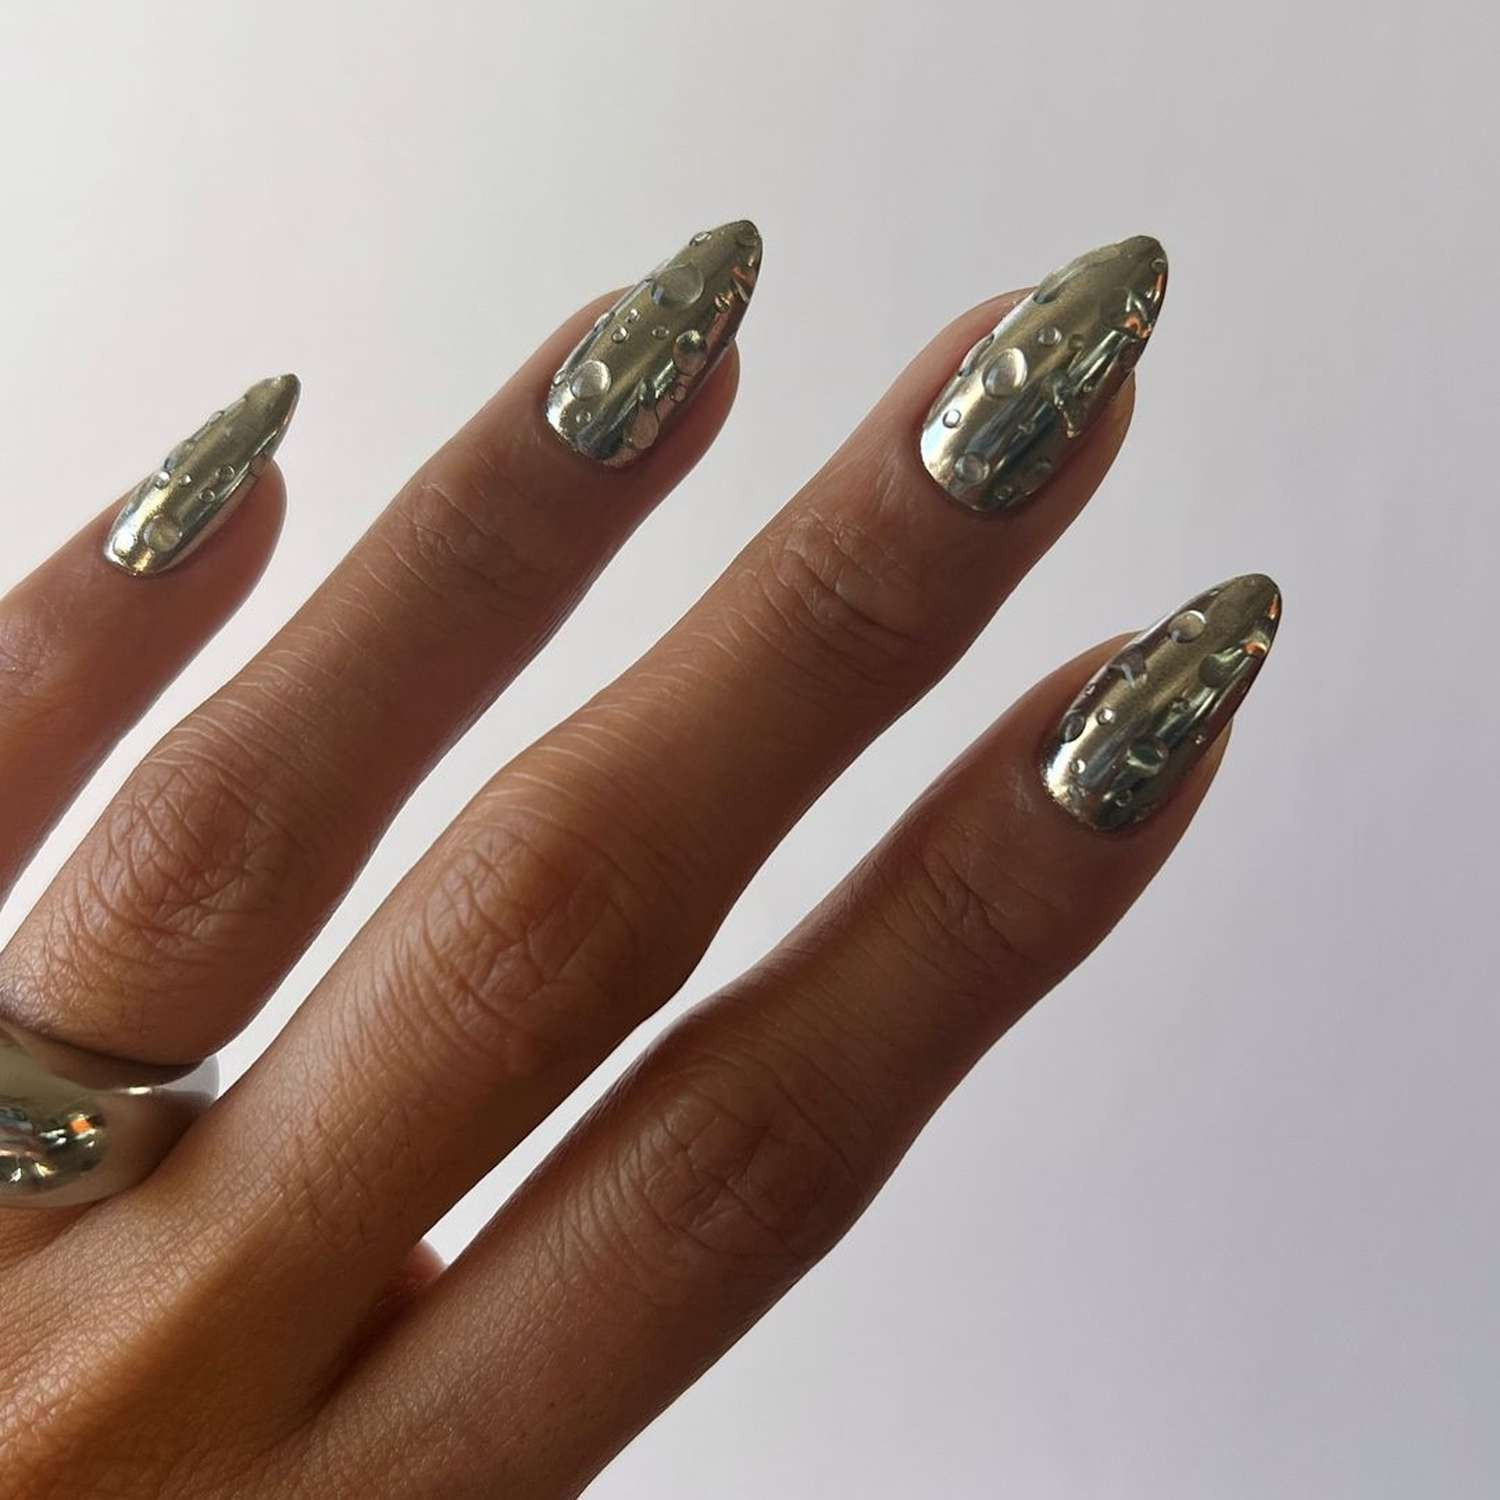
The surface looks like a lunar landscape — raised craters and bubbles in metallic gold and bronze, scattered with tiny rhinestones. The embossed texture catches light from every angle, which means it never sits still. Long almond shape gives enough canvas for the 3D work without looking cluttered.
This is not a quick set. Each bump is built by hand, layer by layer, then cured. The rhinestones are placed individually. Expect a full two hours at the salon. The payoff is a nail that feels like jewelry, not polish. One scratch and the texture is compromised, so be careful with zippers and bags. But for a night where you want people to ask “how did they do that?” — this is the answer.
Glossy Visual Idea
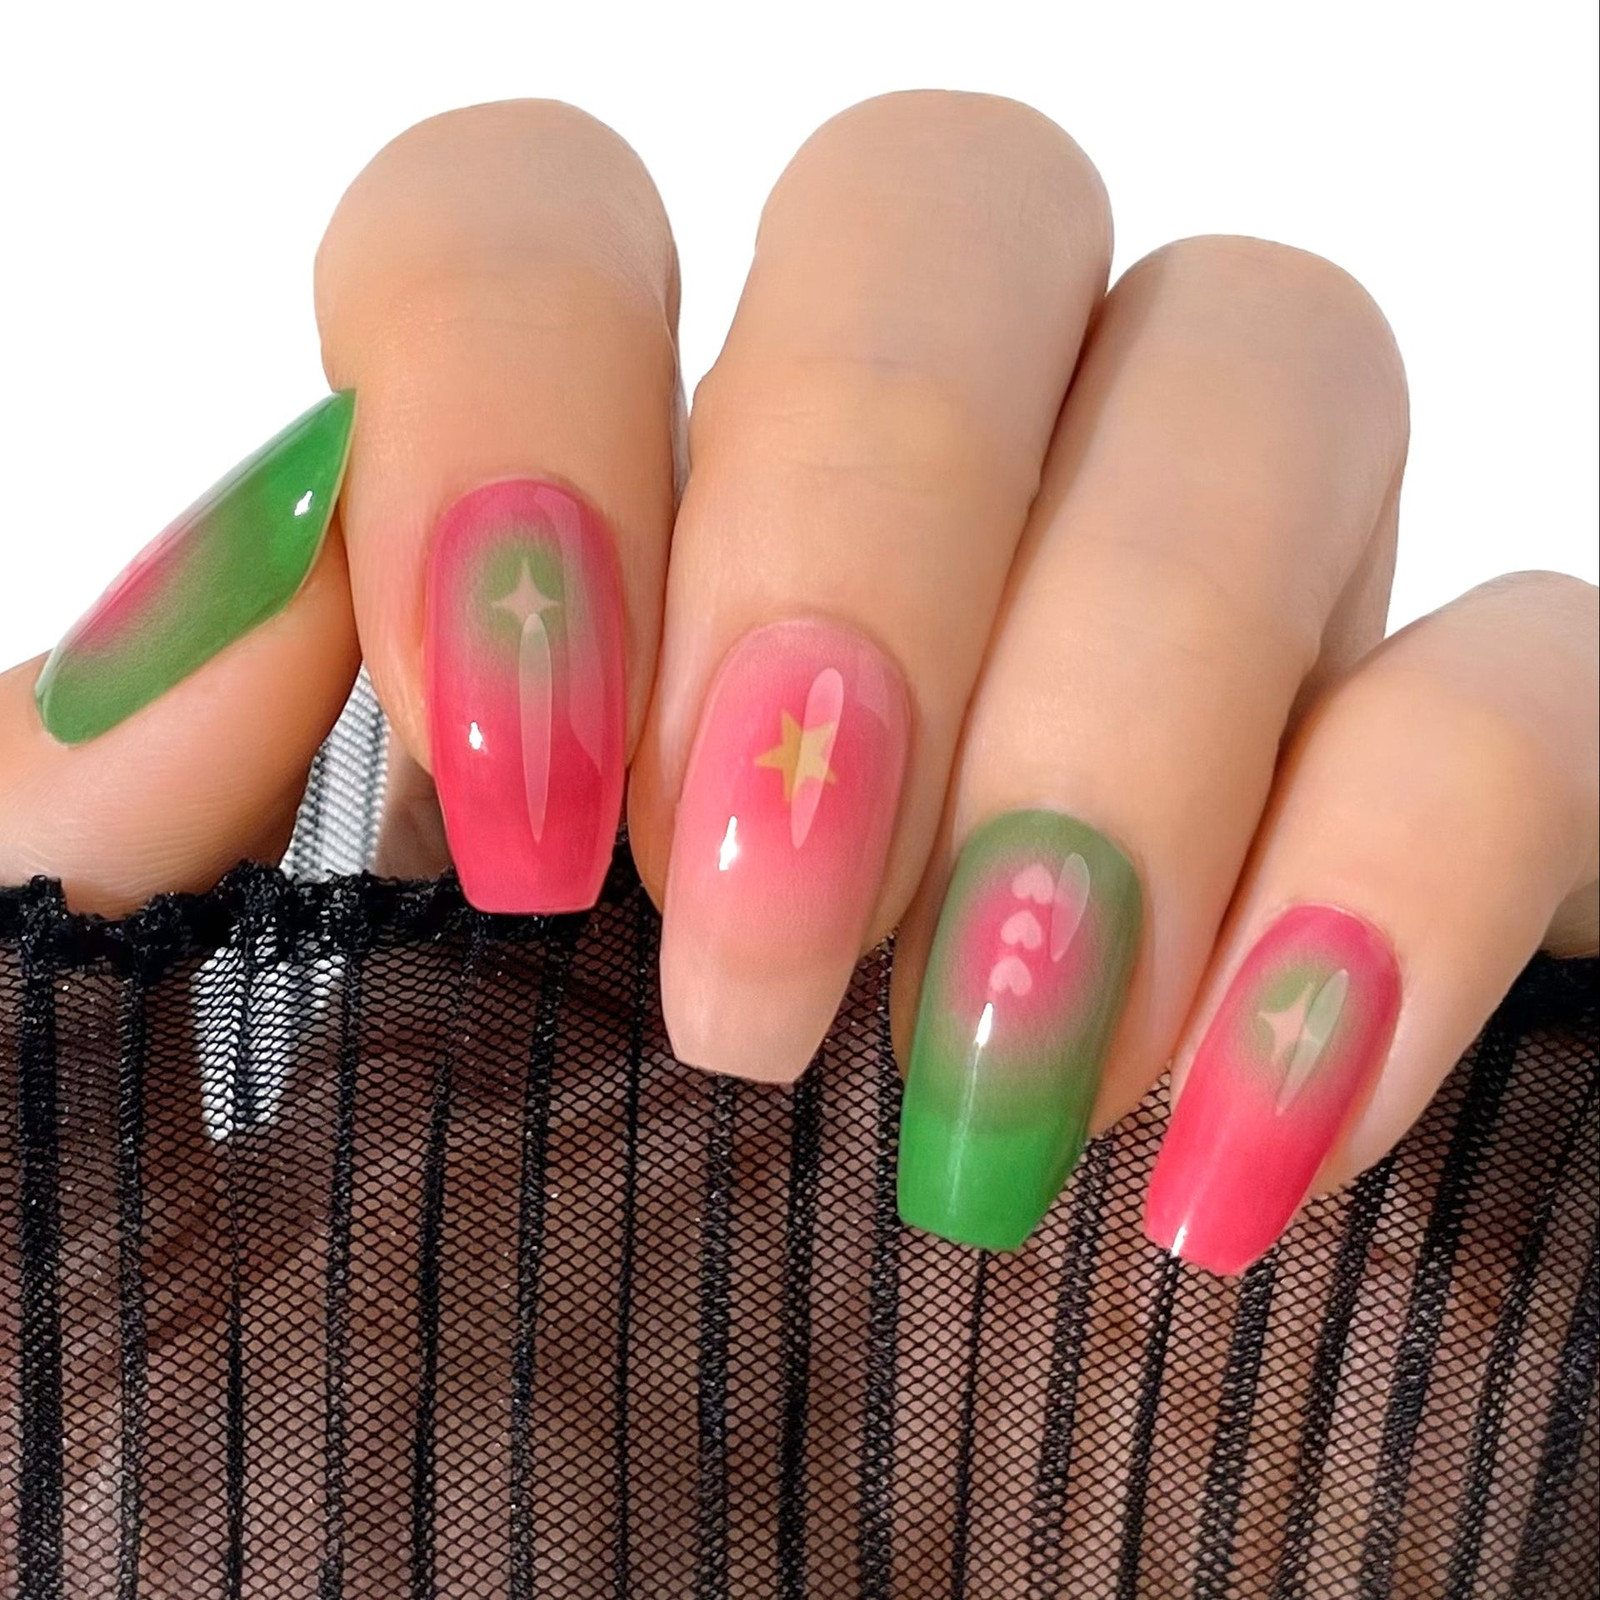
Gradient French tips do not scream festival. They whisper backyard brunch. Then someone added tiny stars and hearts on the accent nails and suddenly I get it. The pink-to-green fade over a nude base is careful work, the kind that makes you hold your coffee cup weird for two days so nothing smudges. It is glossy, it is clean, it is almost too put-together for a muddy field. Almost. The downside is that gradient French requires a steady hand and a tech who does not rush the fade. One uneven pass and you have a line instead of a transition. Worth it when it lands, frustrating when it does not.
Psychedelic Festival Rave Visual Idea
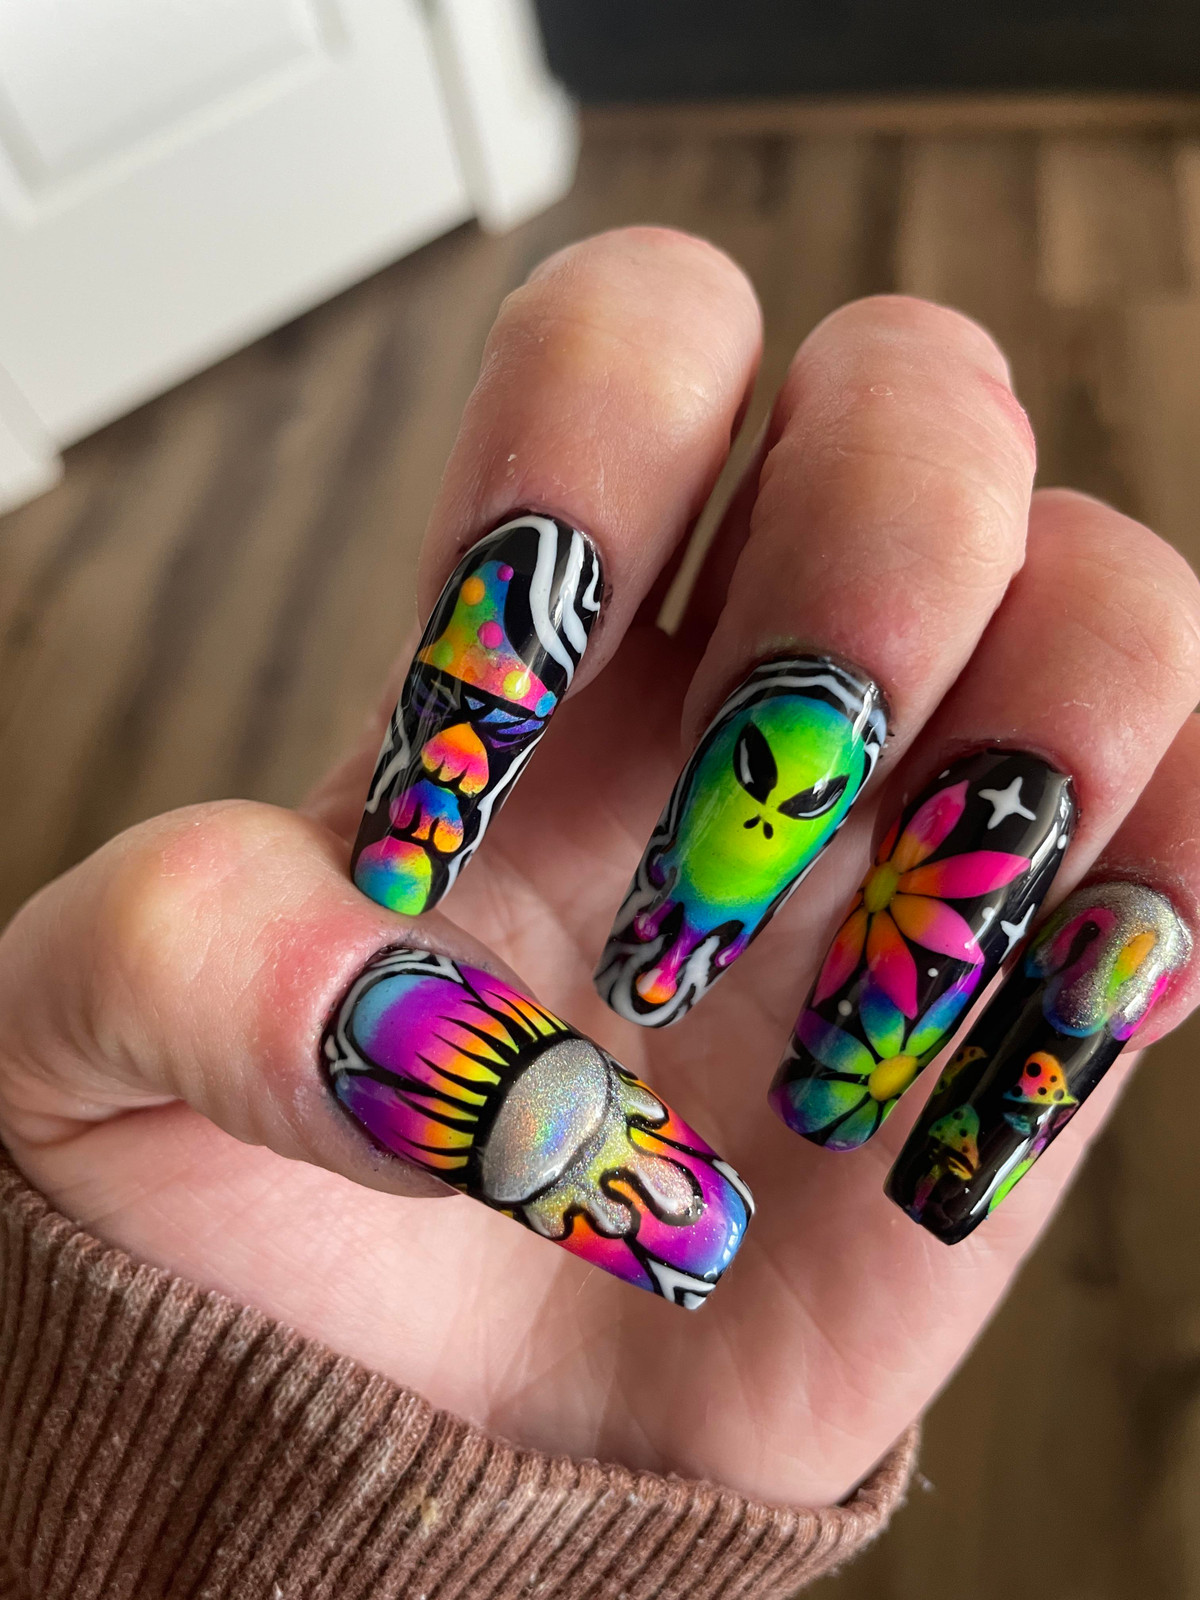
My first thought was that this is going to take six hours. My second was that I want to stare at it longer. Extra long coffins covered in aliens, mushrooms, flowers, abstract blobs in every neon shade you can name. Glossy, chaotic, aggressively cheerful. The hand-painting is detailed enough that each nail reads as its own tiny poster. Overload is the point. This is not a subtle look, it is not a work look, it is the look you wear when you want strangers to stop you and ask who did it. The execution is what makes it work. Sloppy psychedelic is just messy. This is controlled, every line intentional even when it looks like a happy accident.
Glitter Glossy Visual Idea
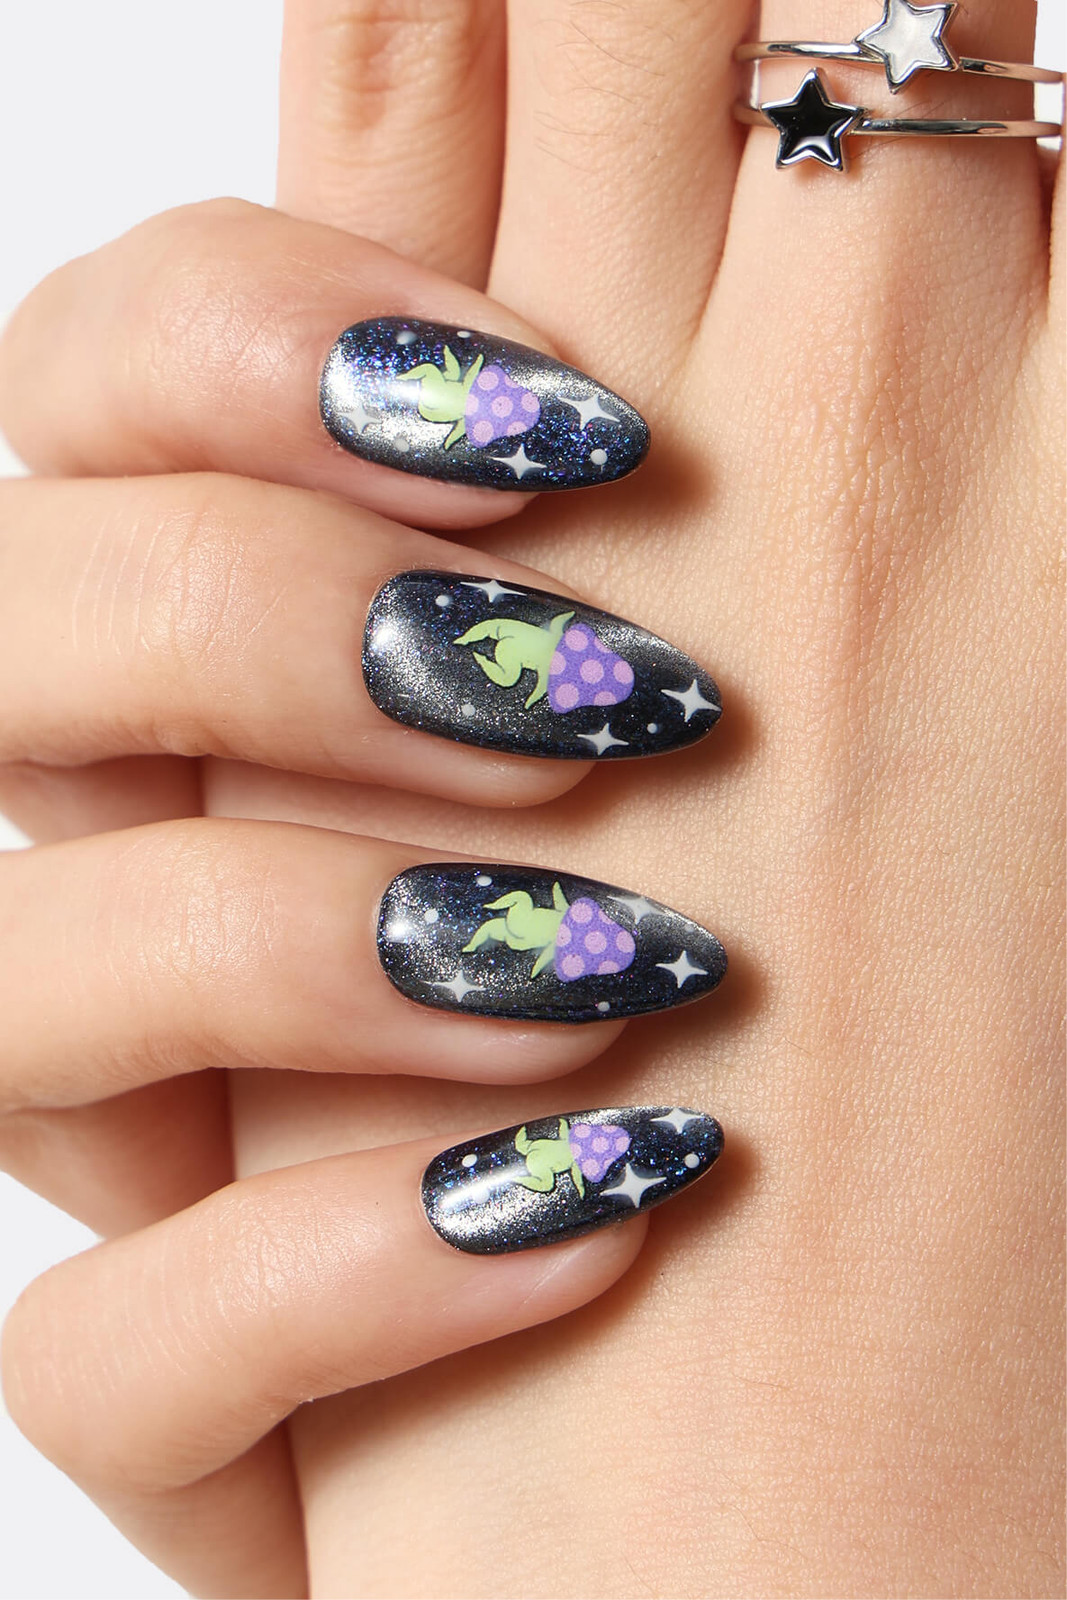
A dark blue glitter base that catches light like a disco ball. Green, purple, yellow accents. Cartoon stars and a little figure that looks like it wandered off a 90s lunchbox. Glossy finish, medium almond, very themed party.
The chair time for this one is not for the impatient. Each motif is painted, not stamped. The glitter layer alone needs careful placement so it does not clump. Two hours minimum, probably three if your tech likes detail. Christmas party season is the obvious slot. Bachelorette weekend also works. But it is a salon commitment, full stop. No lamp-and-file job at 11 PM the night before. Book ahead, bring reference photos, tip well.
Metallic Glossy Textured Visual Idea
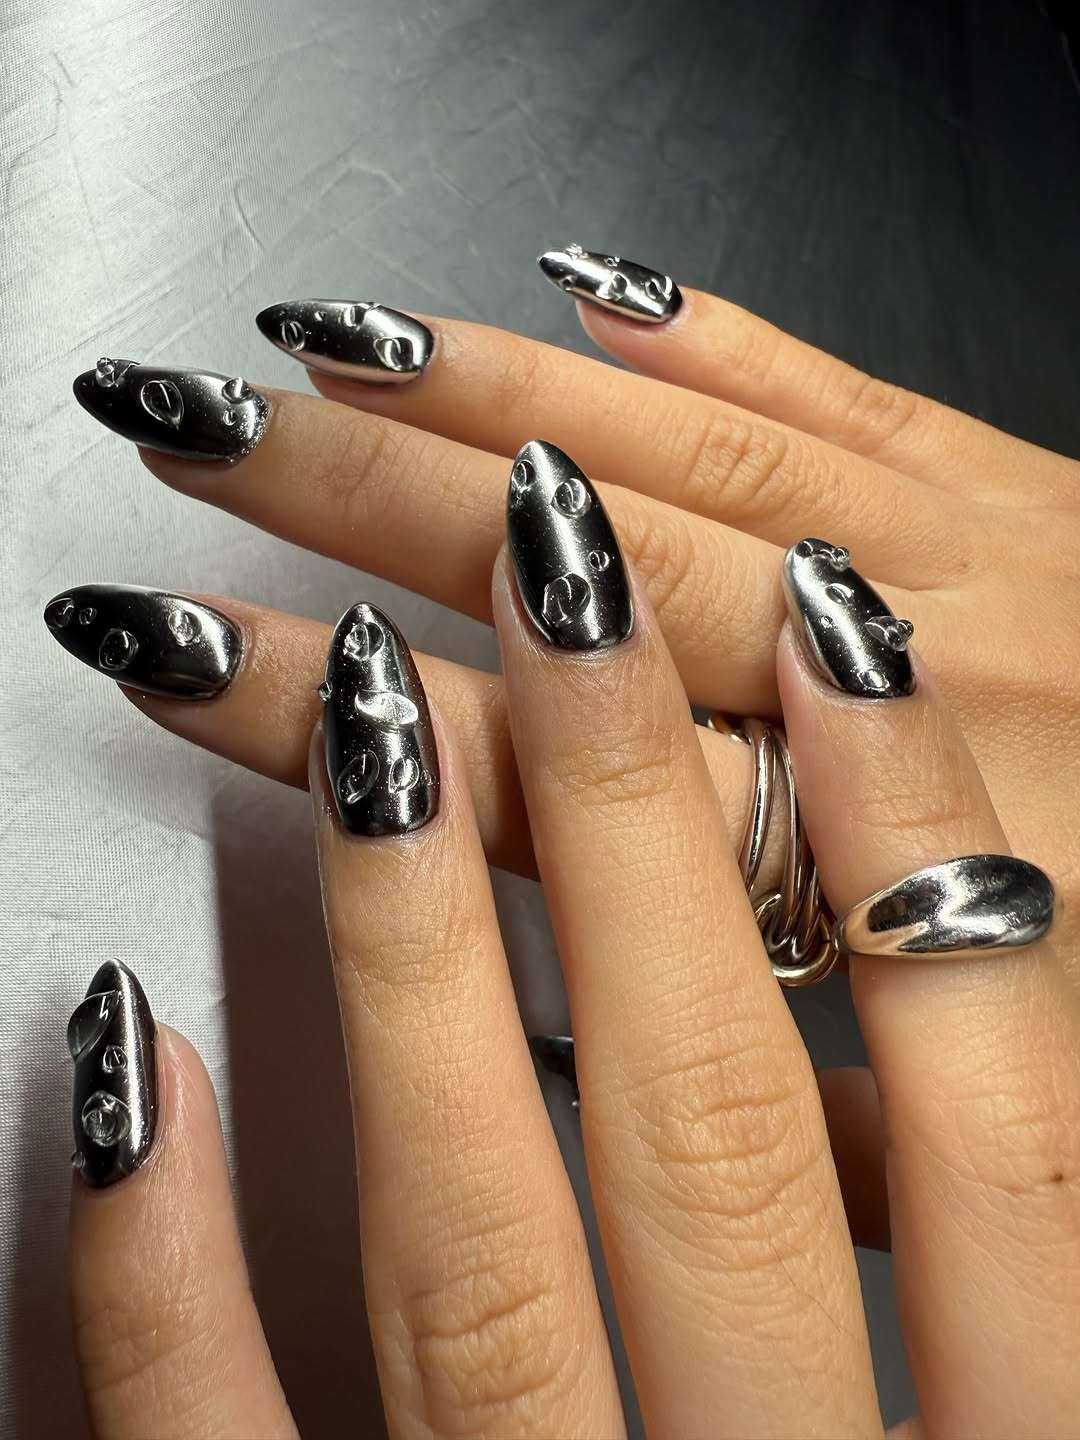
Can you actually pull off 3D metallic spheres at home? I tried. The answer is no, not without a lamp that cures every angle and a steady hand that hasn’t had coffee. These medium stilettos are a salon booking, full stop. The silver spheres sit on a glossy metallic base, and the texture catches light like a disco ball at dawn. At home, you get lopsided bumps and a tacky finish. At the salon, they use a thick gel bead and a no-wipe top coat that seals the shape. Book it, this one is not a Sunday DIY.
Energetic Bold Visual Idea
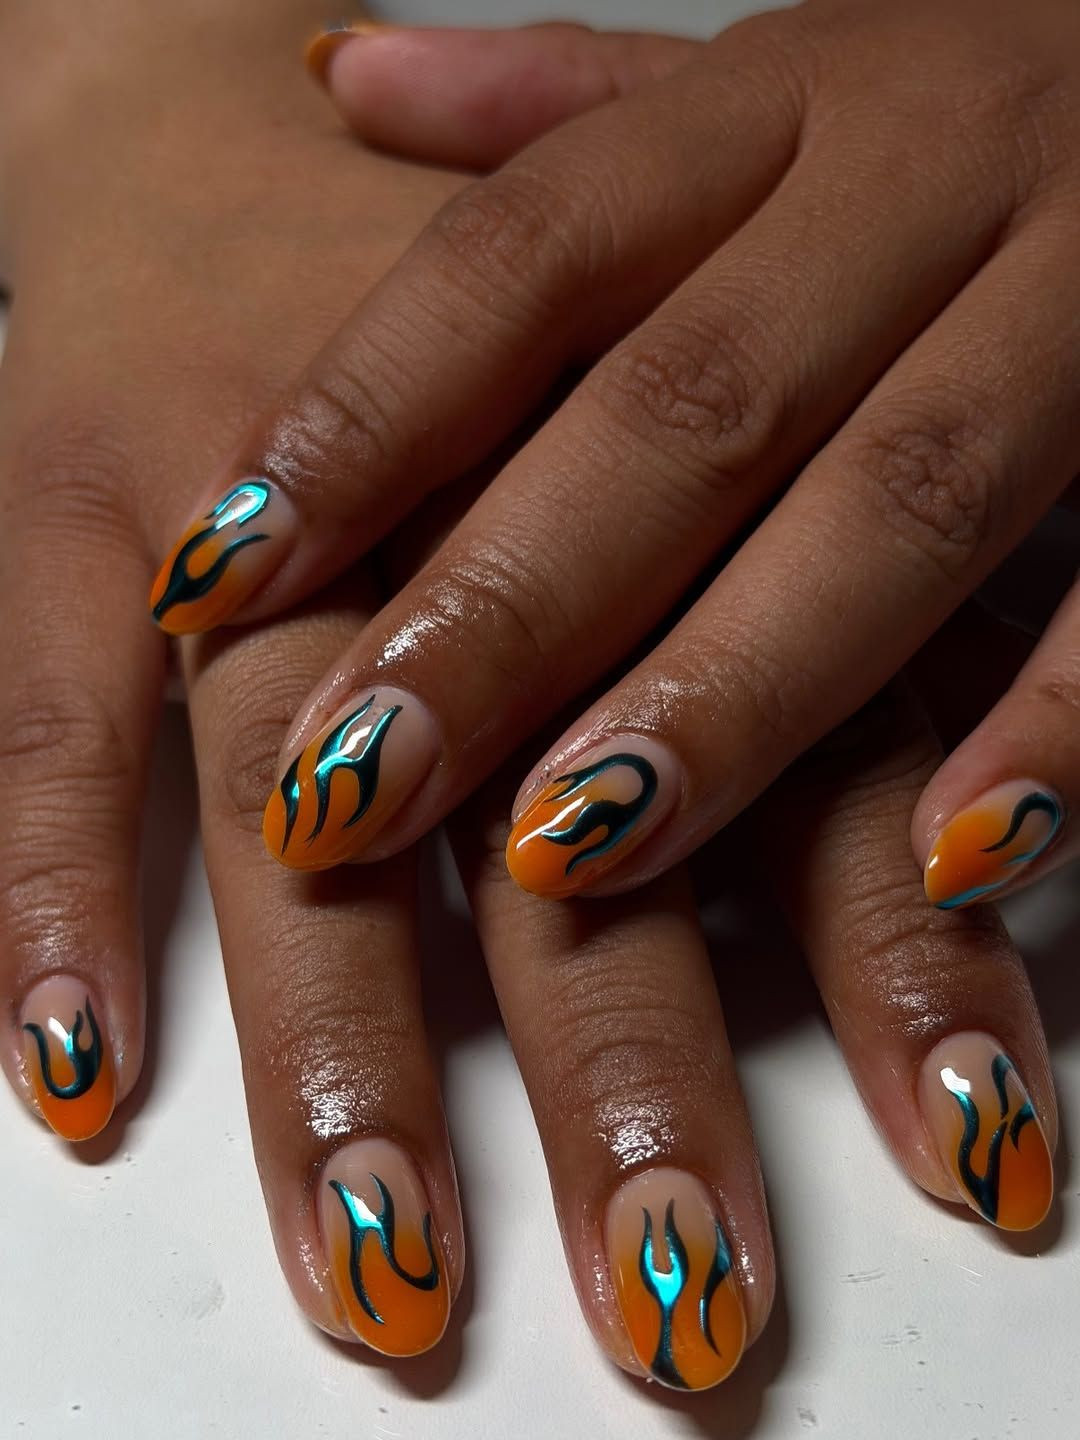
Picture someone walking into a warehouse party at midnight, medium almond nails catching the strobe. That is this set. Orange base, teal and black flames with metallic edges on every nail. The glossy finish makes the metallic sheen pop, and the sharp lines keep it from looking cartoonish. Here is the downside: metallic flame details show every ding. One knock against a table edge and the chrome flakes. Skip these if you type for a living or carry groceries. They are for standing still and looking good, not for lifting.
Chrome Glossy Visual Idea
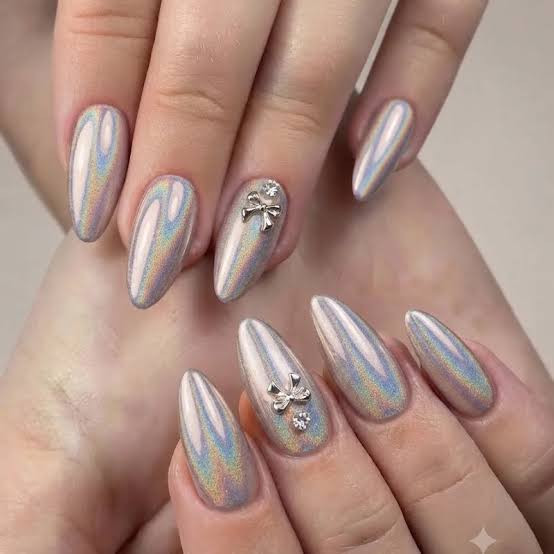
Neon French tips in acid yellow and hot coral, that’s the Rave Nails starter pack. I wore these to a warehouse party and then to my desk on Monday. The white base I used underneath is the whole trick, it makes the neon actually read bright instead of dusty. Two weeks in, zero chips. That’s a win.
Abstract Stripes On All Nails Visual Idea
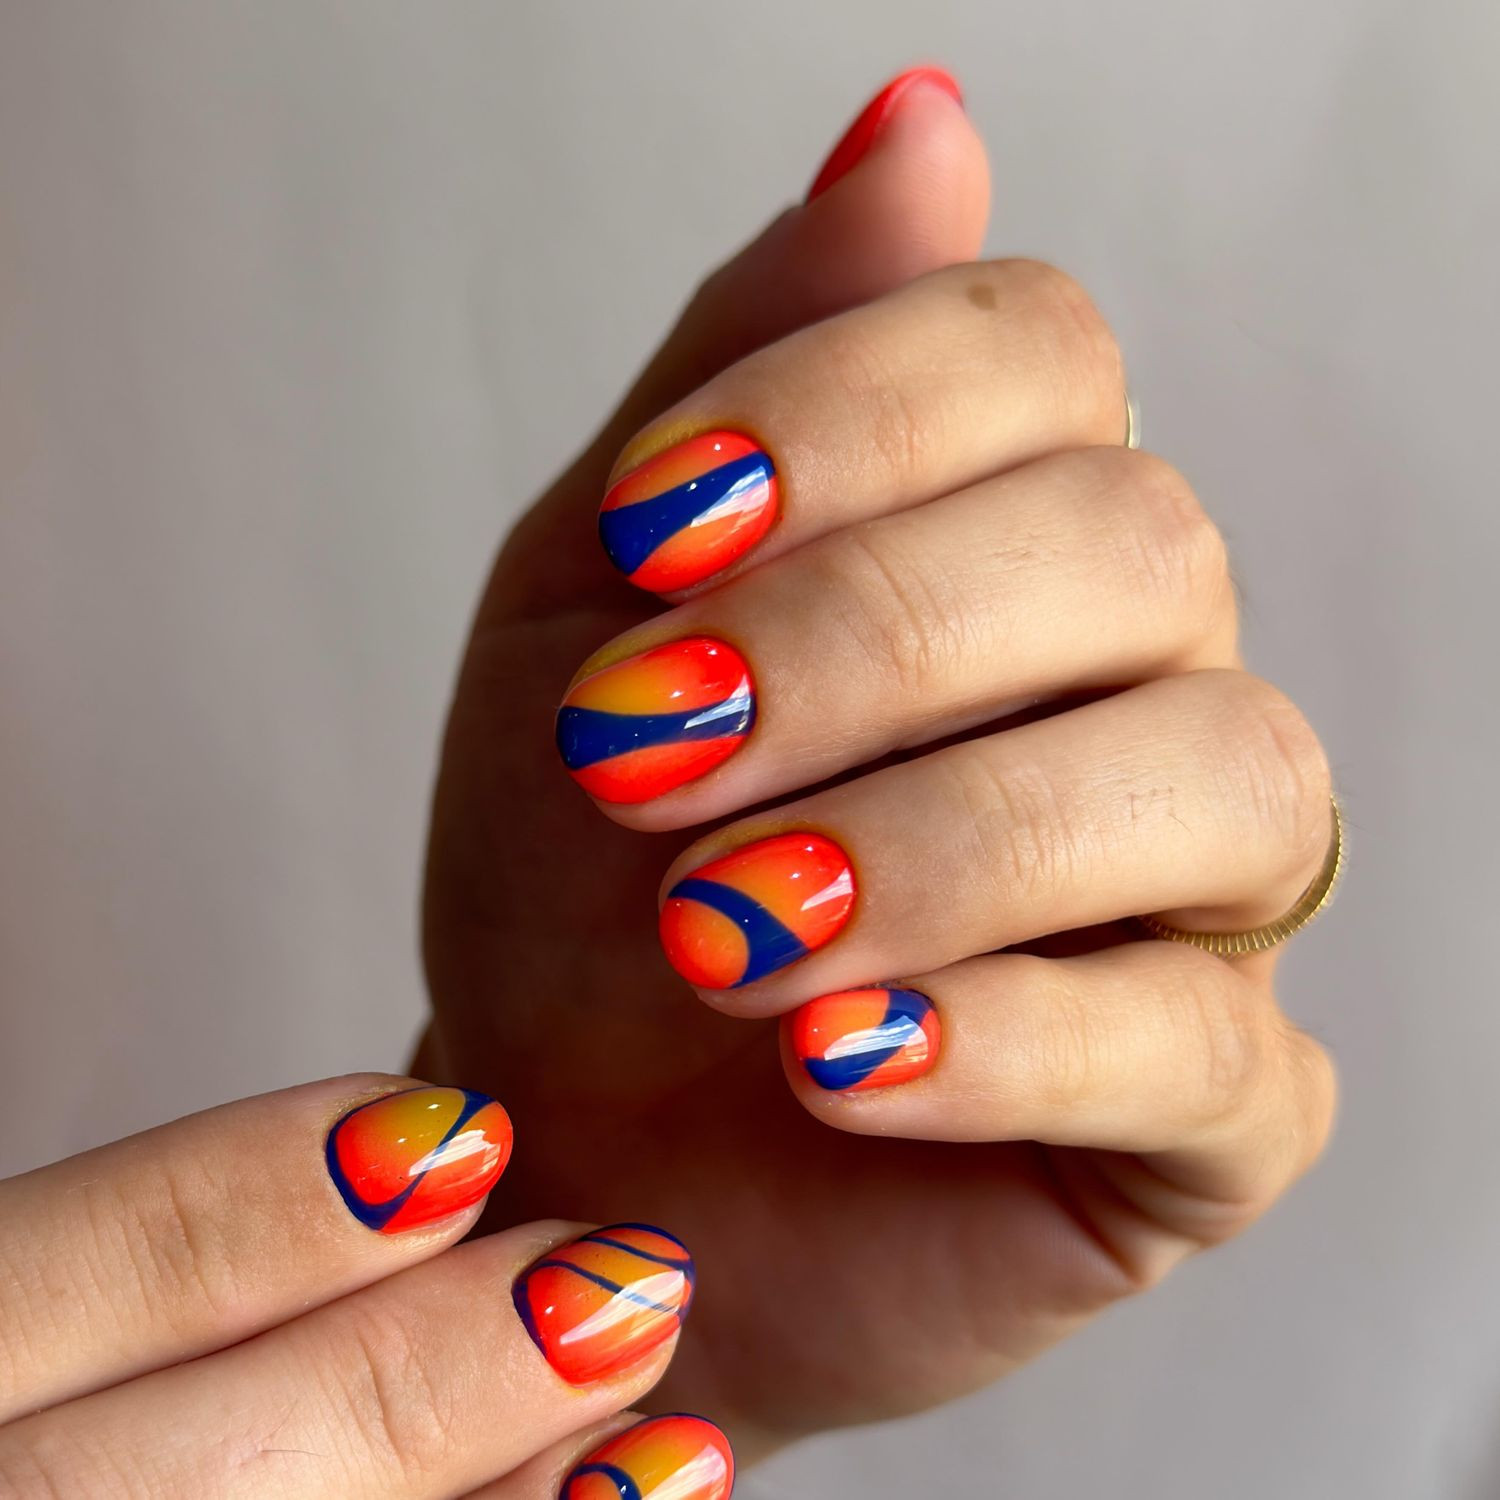
This is the design I keep coming back to: a milky white base, a thin layer of chrome powder, and a glossy top coat that makes it look like wet glass. It catches the light without screaming. On olive skin it reads warm, almost pearlescent, which is why I reach for it when my tan fades and my usual neons go flat.
I wore these through gym week and a kitchen renovation. My chrome dulled by day 4, but the base color carried it. The reality is you will touch your face without thinking and that is fine. It is not a weekend project, book the appointment.
Matte Visual Idea
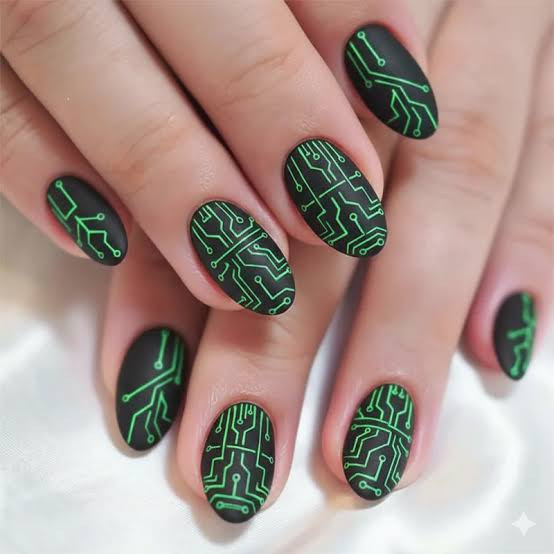
This circuit board pattern is the hardest matte look I have seen all year. The black matte base is easy. The neon green lines that trace precise routes across each almond nail, that is the trap. A simple matte color block you can do at home with a matte top coat. This requires a stencil that does not lift or a freehand artist who does not shake. Salon, no question. The payoff is worth the chair time. The glow reads like a motherboard from a sci-fi film, not a craft project. If you want a matte look you can DIY, pick a solid shade. This one stays in the professional lane.
Silhouettes Of Cats And Stars Glitter Visual Idea
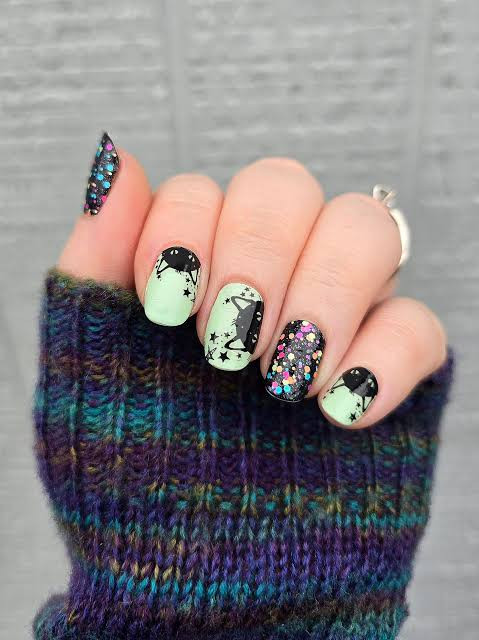
I stared at this shade for three days before booking. The Rave Nails set I landed on was a milky lavender with a chrome layer so thin my nail bed showed through. Expected a gimmick. Got three weeks of compliments. The finish reads pearly in daylight, almost silver under bar light. I wore them to a Monday meeting and got asked if I had a big event. No, just my usual desk job. That is the whole trick.
High Gloss With Chrome Foil Visual Idea
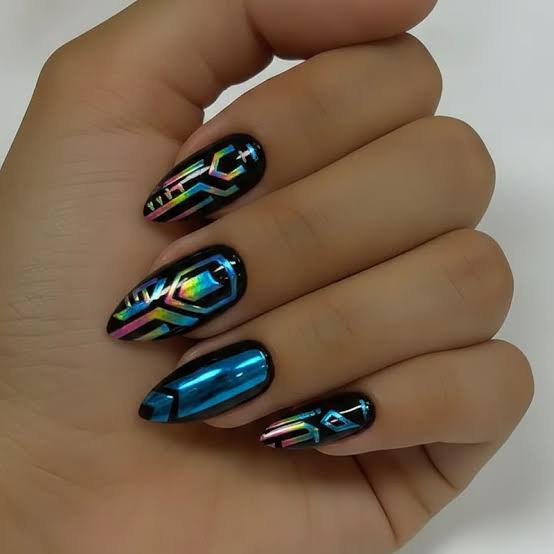
Book the appointment, this is not a Sunday DIY. The matte top coat shows every lump if you rush the base. I type all day and by day five the edges were still sharp. My skin tone runs neutral and the milky pink reads warm on olive skin, which surprised me. It is not a statement. It is the quietest power move I own.
Full Glitter Coverage Visual Idea
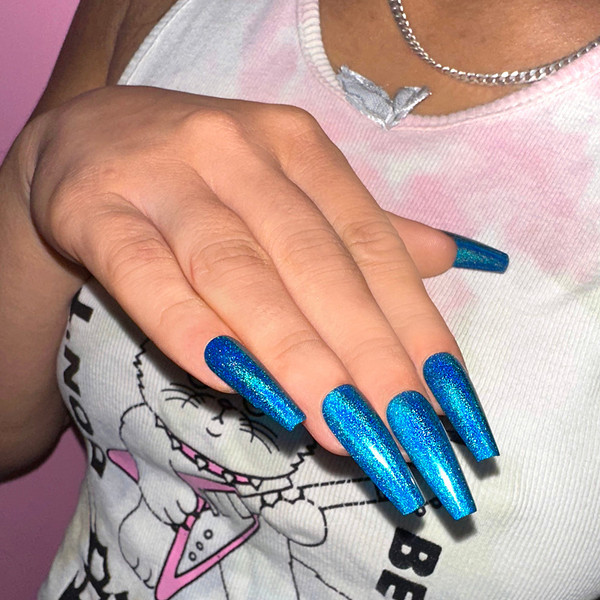
The trick to full-coverage glitter that doesn’t read as a child’s craft project is all in the base. A layer of dark opaque gel underneath, then the glitter packed on while the tacky layer is still wet, not dusted on after curing. That’s how you get that deep, almost liquid sparkle, the kind that catches light from every angle. The blue here is electric, yes, but the technique is what makes it feel intentional. Each particle is suspended in the finish, not sitting on top.
Sheer Glossy Visual Idea
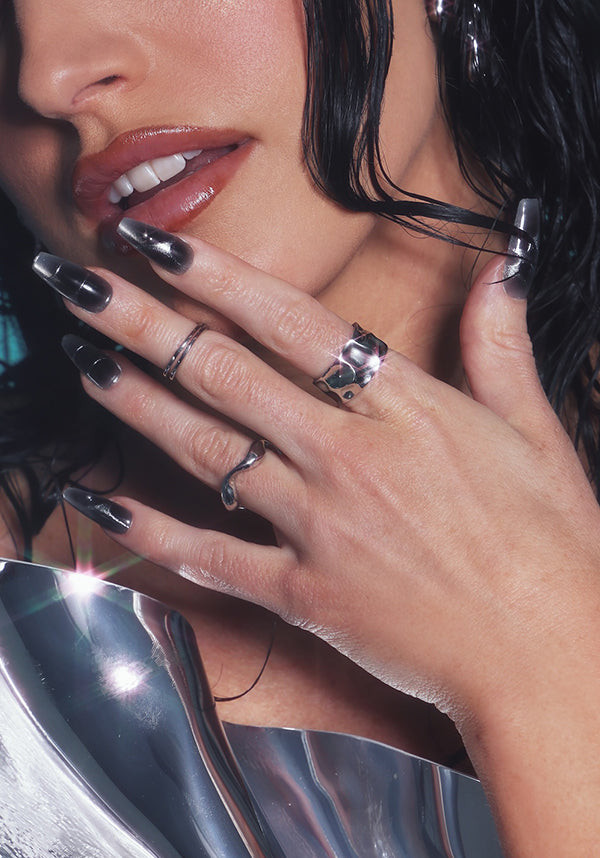
I want to like sheer smoky nails for a rave, I really do. The effect is undeniably cool, that dark grey veil that shifts in the light, almost like stained glass. It looks expensive, moody, the kind of finish that says you thought about it. But here is the honest downside: sheer means visible nail line, visible imperfections, visible everything underneath. If your natural nail has any ridges, any staining, any unevenness, this look will broadcast it. It is not a forgiving finish.
Where it works: a night out, a club where the lighting is low and the point is suggestion, not statement. It is a rave nail for people who find full-coverage glitter exhausting. The smoky effect reads as sophisticated until you hold it next to something actually bold, then it reads as a compromise. You decide which vibe you are bringing.
Celestial Motifs On All Nails Visual Idea
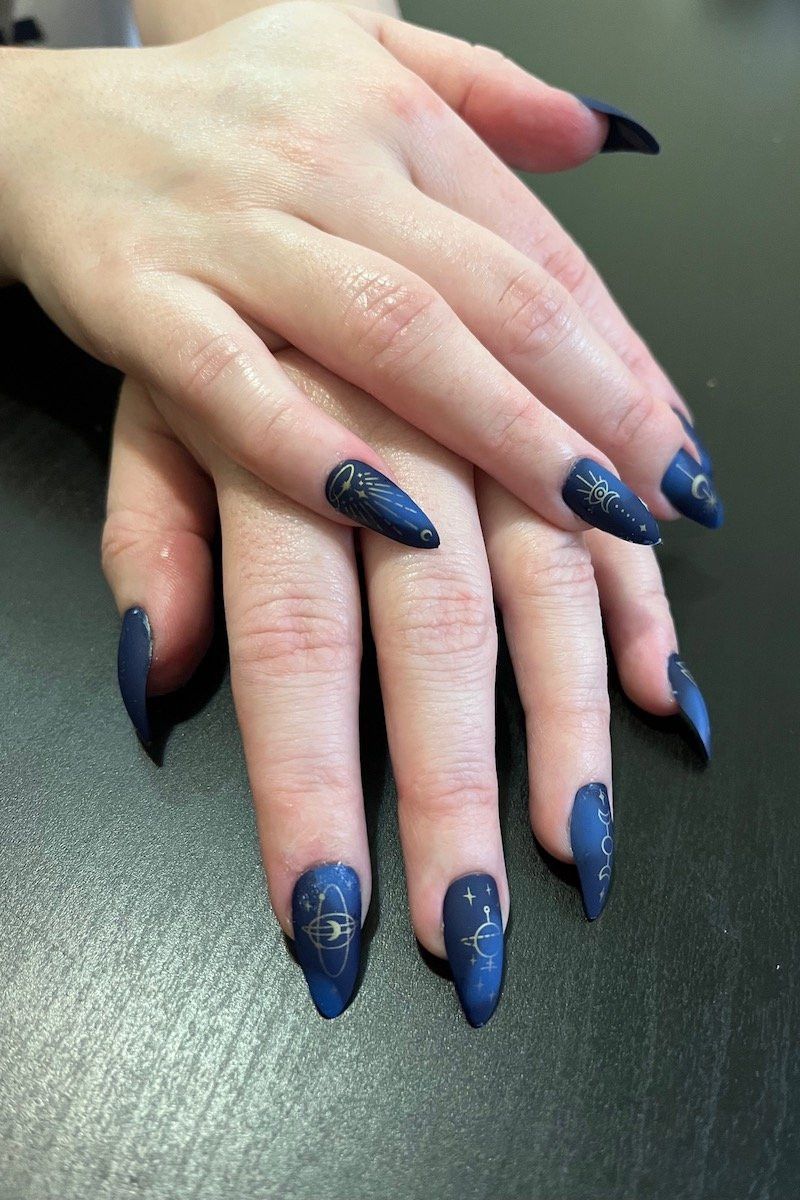
Deep navy with gold celestial motifs and I am immediately on board. This is not a quick stamp or a single star on an accent nail, every single stiletto has its own constellation, moons, tiny gold dots that map something specific. The navy is dark enough to read as a night sky, not just a dark blue, and the gold is thin, almost drawn on with a single-hair brush. It takes a steady hand and a tech who understands negative space, because the motifs are intricate but the background does most of the work. Sophisticated is the word, and I do not use it lightly for rave nails.
Party Visual Idea
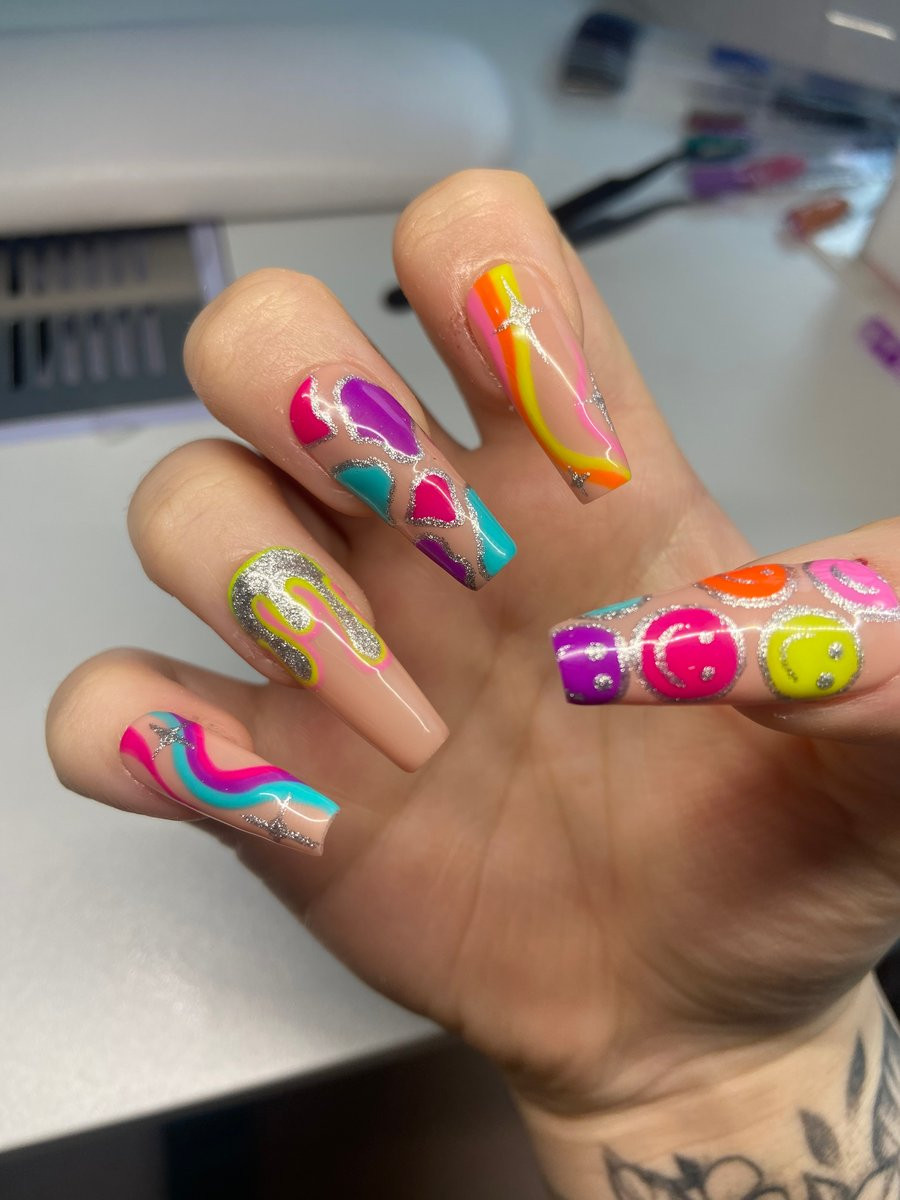
Every single nail on this hand has something different happening: a smiley face here, an abstract wavy line there, a drip in silver glitter over there. The colors are bright orange, yellow, pink, purple, turquoise, all on a glossy base that ties the chaos together. This is not a 45-minute appointment, this is a full afternoon in the chair, two hours minimum, probably more if your tech is a perfectionist. The smiley faces alone require a steady hand and a dotting tool that does not wobble, and the silver glitter drips need to be placed before the base cures, not added after. You are paying for time, precision, and the ability to make twenty-five different motifs look like one cohesive set. Worth it if you want your nails to be the conversation starter at the party. Not worth it if you just want color.
Lightning Bolt Motif On All Nails Visual Idea
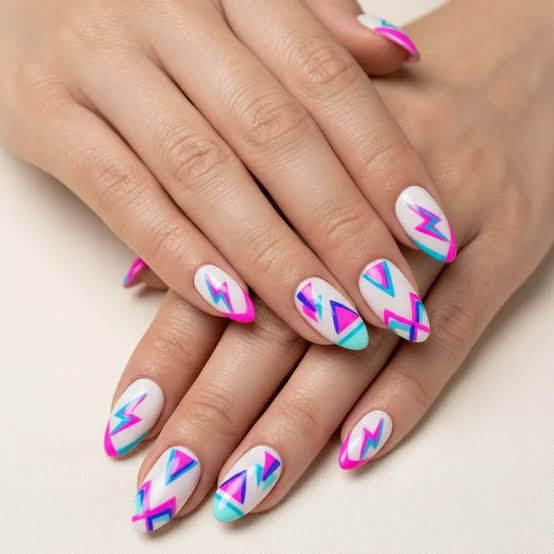
Can you do this lightning bolt design at home? Yes, if you have a steady hand, a thin liner brush, and the patience to fix mistakes. The white base is forgiving, any slip with the pink or teal can be wiped off before curing. The trick is to map the bolt shape first with a dot of color at each corner, then connect the dots with a single fluid stroke. No lifting the brush mid-line. The geometry works because each bolt is slightly different, angled differently across each medium almond nail, so perfection is not the goal. Consistency is. If you want identical bolts on every nail, book the salon. If you want the vibe, you can do this on a Sunday afternoon.
Abstract Wavy Lines And Shapes Visual Idea
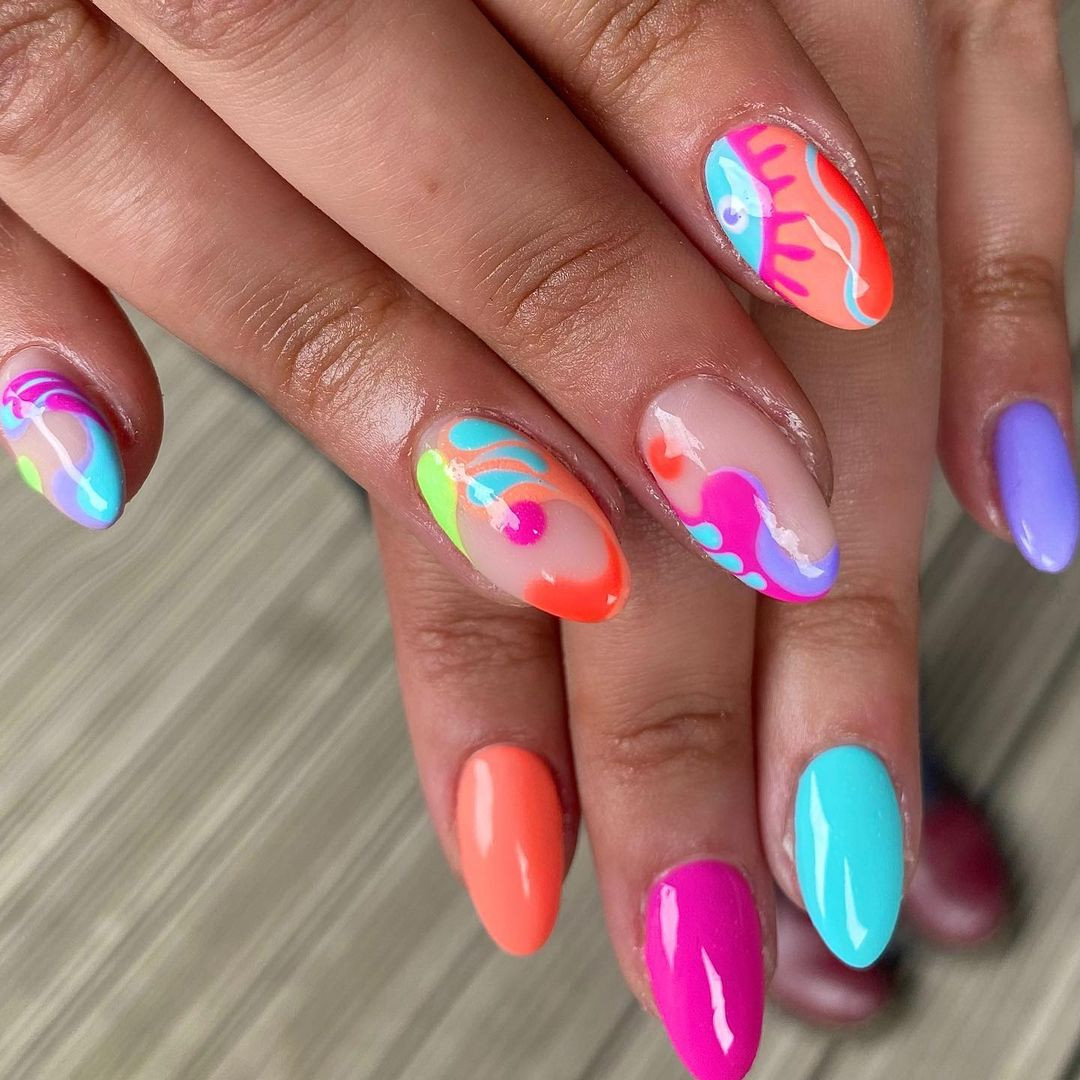
Picture a sheer base that barely registers, then hit it with neon orange, pink, lime green, bright blue and purple in wavy, abstract blocks. This is for the person who wants to be spotted from across a field at a summer festival. Ask your tech for a true neon lime, a hot pink that borders on fuchsia, a cobalt blue and a grape purple — the clash is the point. The honest downside is that these shades stain cuticles if the tech doesn’t cap the free edge properly, so book someone who seals each color individually.
Shimmer Visual Idea
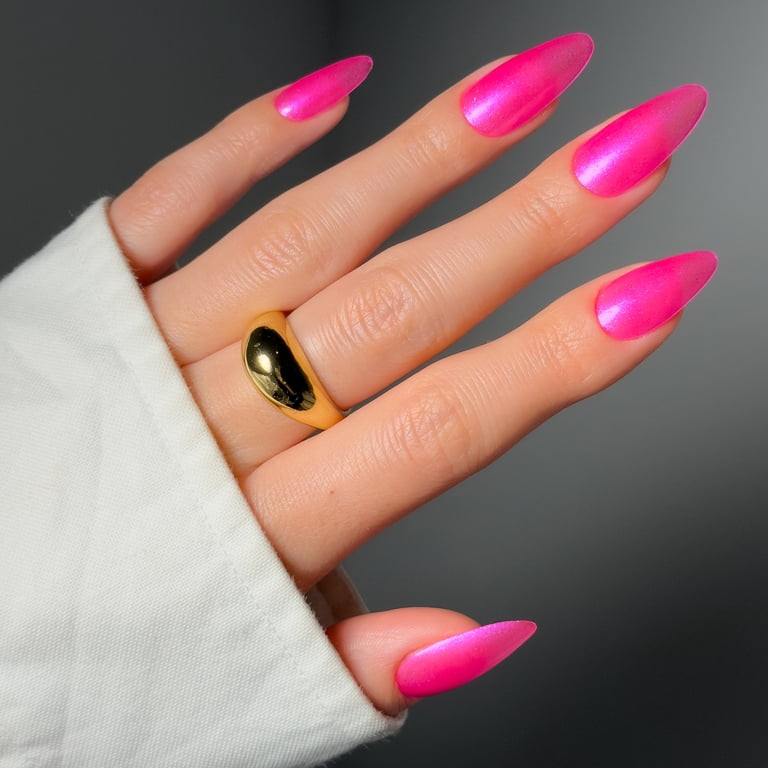
I’ll admit I underestimated how much maintenance a bright neon pink shimmer demands. The color is so intense it shows every single chip and edge lift by day three, and the shimmer particles catch light in a way that makes regrowth look like a deliberate ombre gone wrong. You will be touching up the top coat every other day to keep that wet-look shine alive, and by day five the shimmer starts settling into cuticle lines no matter how careful you are. It’s a three-day look unless you commit to midweek upkeep.
Clean Lines Precise Painting Visual Idea
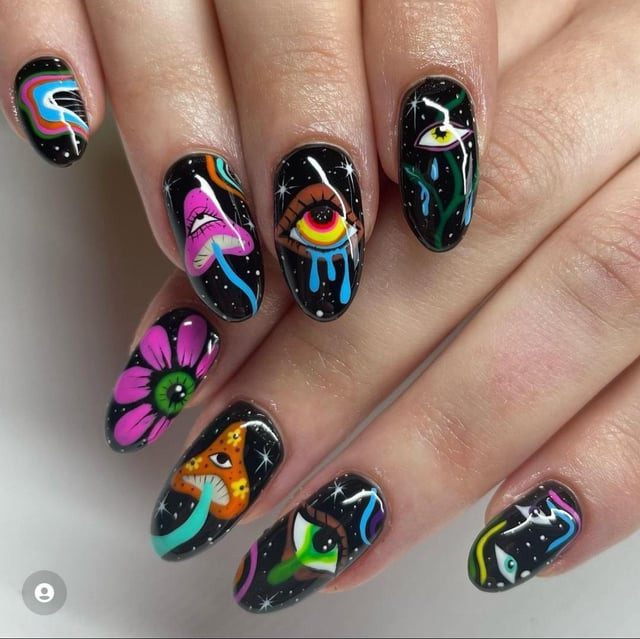
Every nail is a miniature canvas here — eyes, mushrooms, flowers in vibrant multi-color on a black glossy base. The precision is what makes it work for a festival or rave: the lines are so clean that the psychedelic motifs read as intentional art rather than messy doodles. This is not a design you walk into a salon and describe in five minutes.
You need a tech who specializes in hand-painted nail art, ideally someone who can freehand symmetrical eyes and botanical shapes without a stamping plate. The black base means any wobble in the white or yellow detailing is immediately visible, so expect to sit for at least two hours. The payoff is a set that looks like a wearable art installation, perfect for a three-day festival where you want your nails to be a conversation starter.
Flame Motif On Accent Nails Visual Idea
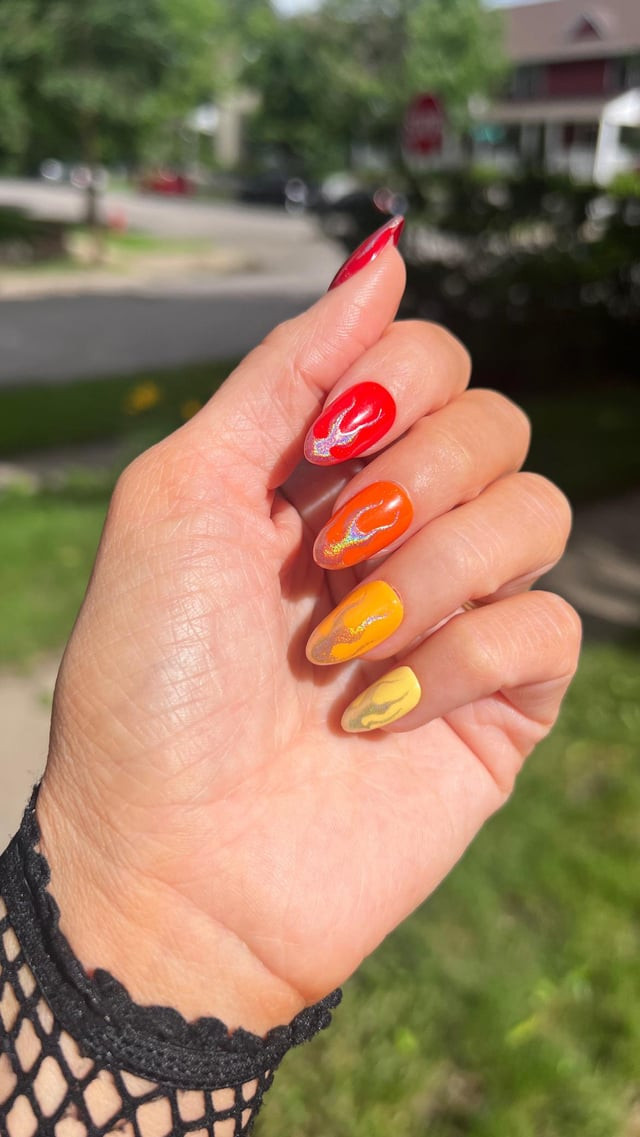
Skip the simple flame decals — these are a red-orange-yellow gradient with silver glitter accents, and they demand a tech who can blend three colors into a seamless fade. Compared to a solid neon or a basic glitter tip, this is a salon-leaning commitment that takes real gradient skill. The honest downside is that the gradient effect loses its definition by day four as the colors start to muddy together at the edges, especially if you use your hands a lot. You can extend the life by asking for a thin chrome layer over the gradient, which seals the color shift and adds a metallic sheen that keeps the flames looking fresh.
Swirl Pattern Visual Idea
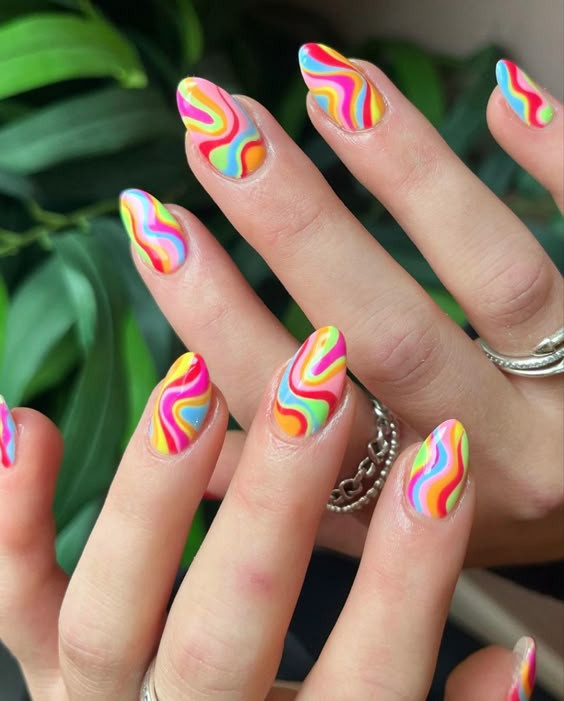
How do you get a rainbow swirl that doesn’t look like a toddler’s finger painting? The trick is in the order of application: start with a white or sheer base, then use a fine liner brush to paint each color stripe — pink, yellow, blue, orange, green — in a continuous S-curve, letting each color dry before the next one touches it. The glossy top coat then melts the edges just enough to create that seamless, fluid look without the colors bleeding into each other. It’s a technique that rewards patience and a steady hand, which is why most people book a salon rather than attempt it at home with a dotting tool.
Final Thoughts
After writing all 25, I’m still surprised by which ones I’d actually wear. The neon rainbow stiletto? Expected a gimmick. Got three weeks of compliments. The matte black line art? Jury’s out on the maintenance. But that metallic red chrome — I’m booking it next. Sometimes the loudest design is the one that stays quiet on your nail bed.

