
Pastel nails have a way of making a manicure feel instantly fresh, polished, and effortlessly pretty. Soft pink, dreamy lavender, baby blue, creamy white, and delicate mint are perfect when I want color without anything too bold. But pastel shades can be much more interesting than a simple coat of polish. With the right shape, finish, and tiny details, they can look modern, elegant, playful, or surprisingly sophisticated. I love how a subtle shimmer can transform a delicate pink, while a pastel French tip gives a classic manicure a completely new mood. Marble accents, fine metallic lines, tiny pearls, and soft gradients can also make these gentle colors feel much more special. Are you looking for an everyday manicure that still feels polished, or something pretty enough for a special occasion? The good news is that pastel nail designs can easily work for both. From barely-there shades to creative combinations, these ideas are here to inspire your next manicure and help you find a pastel look that feels completely your own.
Dreamy Pink and Lavender Gradient With Delicate Details
I love a manicure that looks soft at first glance and then reveals tiny details the longer I look at it. Here, a milky pink base melts into cool lavender and pale blue toward the tips, creating an airy gradient across the square-shaped nails. The transition is beautifully subtle rather than sharply divided, while fine silver accents, tiny rhinestones, and delicate linework add just enough sparkle. The result feels feminine without becoming overly sweet.
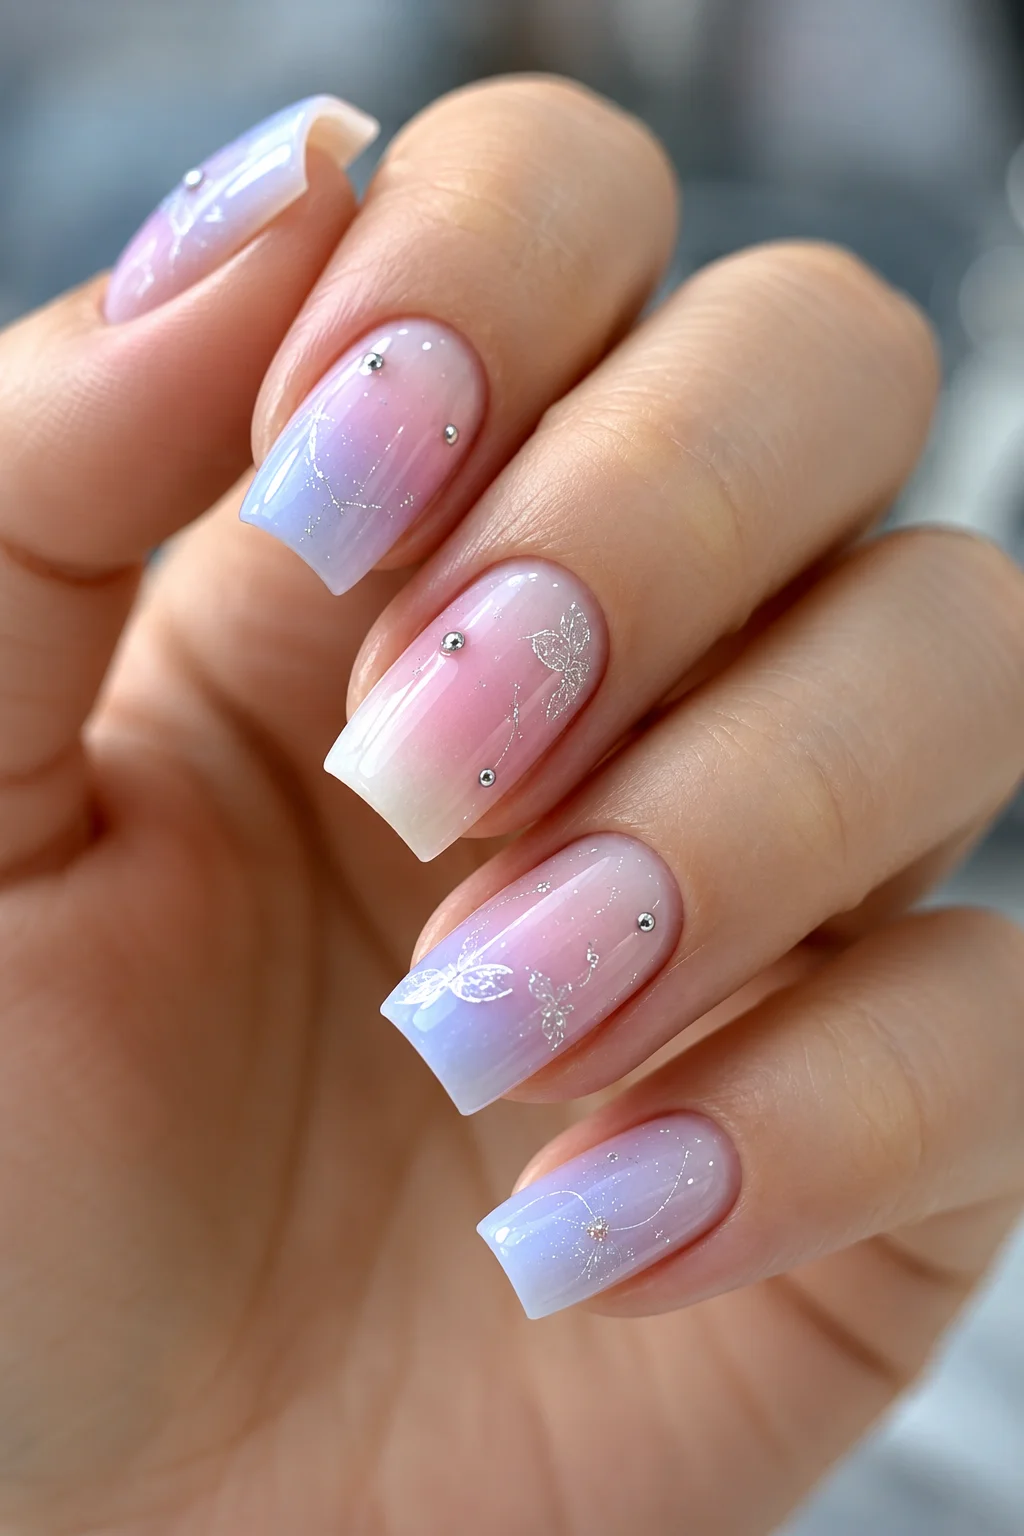
For this kind of finish, I would start with a sheer milky pink gel such as OPI Funny Bunny or a similar translucent white-pink shade, then add a pale lavender and soft baby blue gel for the gradient. A very fine silver nail-art brush, silver micro-glitter, tiny rhinestones, and a high-shine top coat complete the look. I prefer keeping the decorative elements extremely fine because the pastel color combination already gives the manicure plenty of personality.
At home, I would apply the milky base first and cure it before lightly sponging or blending lavender and blue toward the free edge. I would repeat the gradient in thin layers rather than trying to create full opacity immediately. Once the color is smooth, I would add the fine silver details and place the rhinestones with a small amount of nail adhesive or builder gel before sealing everything carefully with top coat. The trick is patience; pastel gradients look much cleaner when each layer stays thin.
This is one of those manicures I would save for a spring or summer appointment when I want something delicate but not completely minimal. The cool lavender gives the pink a more sophisticated edge, and the tiny reflective details catch the light beautifully. Would I wear this to a wedding? Absolutely. But I could also see it working with a simple white outfit and barely-there jewelry on an ordinary weekend.
Soft Pink and White With a Single Silver Sparkle
I am always drawn to manicures that use contrast sparingly, and this combination gets that balance right. Soft pink nails sit beside a creamy white accent, while one nail carries a dense silver glitter finish that becomes the focal point. The remaining nails are kept smooth and simple, with rounded almond shapes that make the entire manicure feel elegant and easy to wear. It is pastel styling without the need for elaborate nail art.
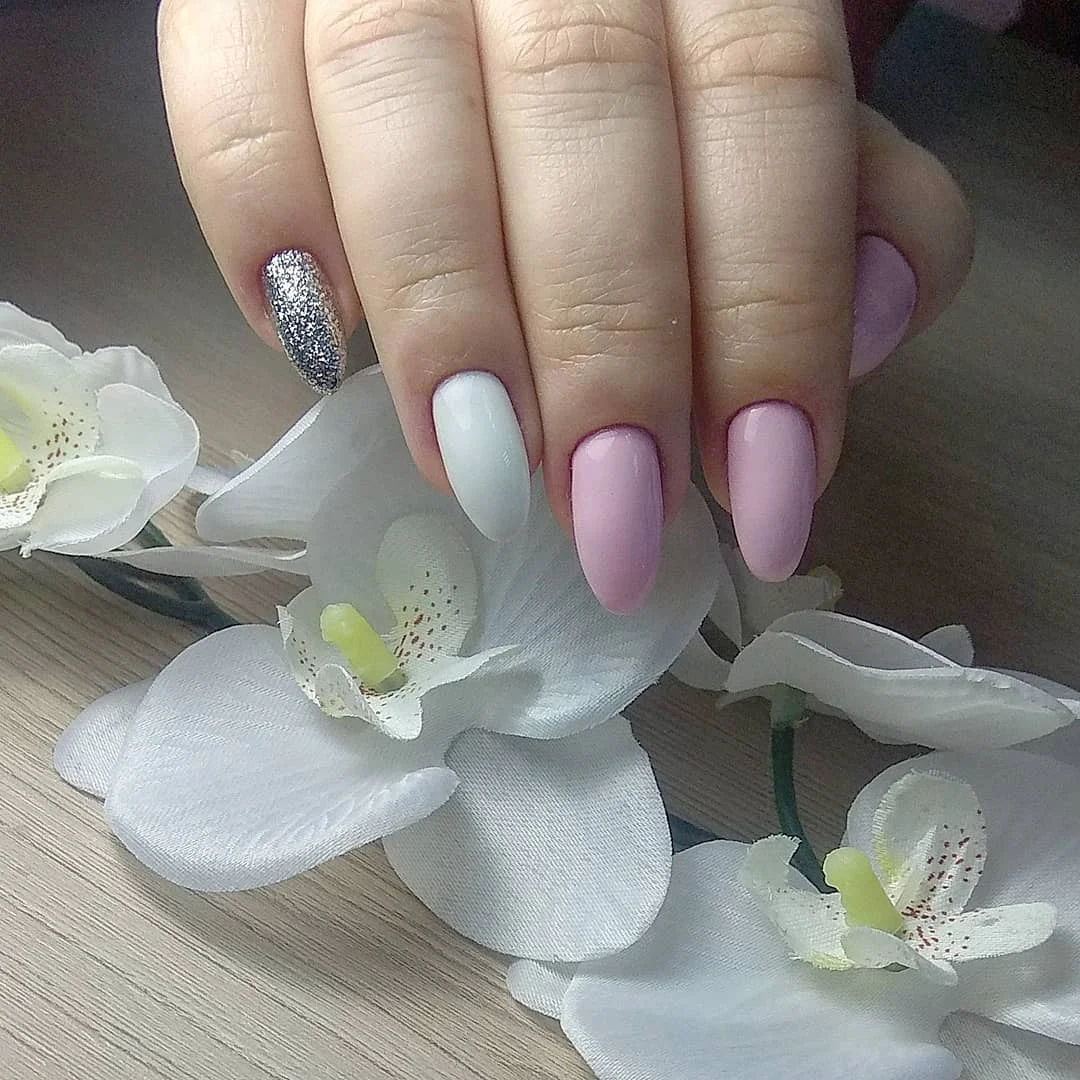
I would use a muted pastel pink, a clean milky white, and a fine silver glitter polish or reflective gel. A glossy top coat is essential here because the simplicity of the design depends on a smooth, glass-like surface. For the glitter accent, I like a densely packed silver formula rather than chunky pieces, as it gives the manicure a more refined finish.
The application is wonderfully straightforward. I would shape the nails into a soft almond silhouette, apply the pink shade to most of the nails, and use the milky white on one or two accent nails. After curing, I would build the glitter accent in thin coats until it becomes opaque, then finish everything with top coat. Keeping the glitter concentrated on one nail is what makes this design feel intentional instead of busy.
Personally, I think this is one of the easiest pastel ideas to adapt for everyday life. It has enough sparkle for a special occasion but remains restrained enough for work, travel, or a casual dinner. If I wanted to make it even softer, I would swap the silver glitter for a pearly chrome finish.
Pink French Tips With a Fine Metallic Outline
The classic French manicure gets a softer, more playful update here through a combination of translucent nude pink, pastel pink tips, and an ultra-thin metallic line. I particularly like the way the silver detail follows the curve of the French tip instead of covering the whole nail. Some nails carry the pink tip while others use a pale lavender base, creating variation without losing the overall harmony.
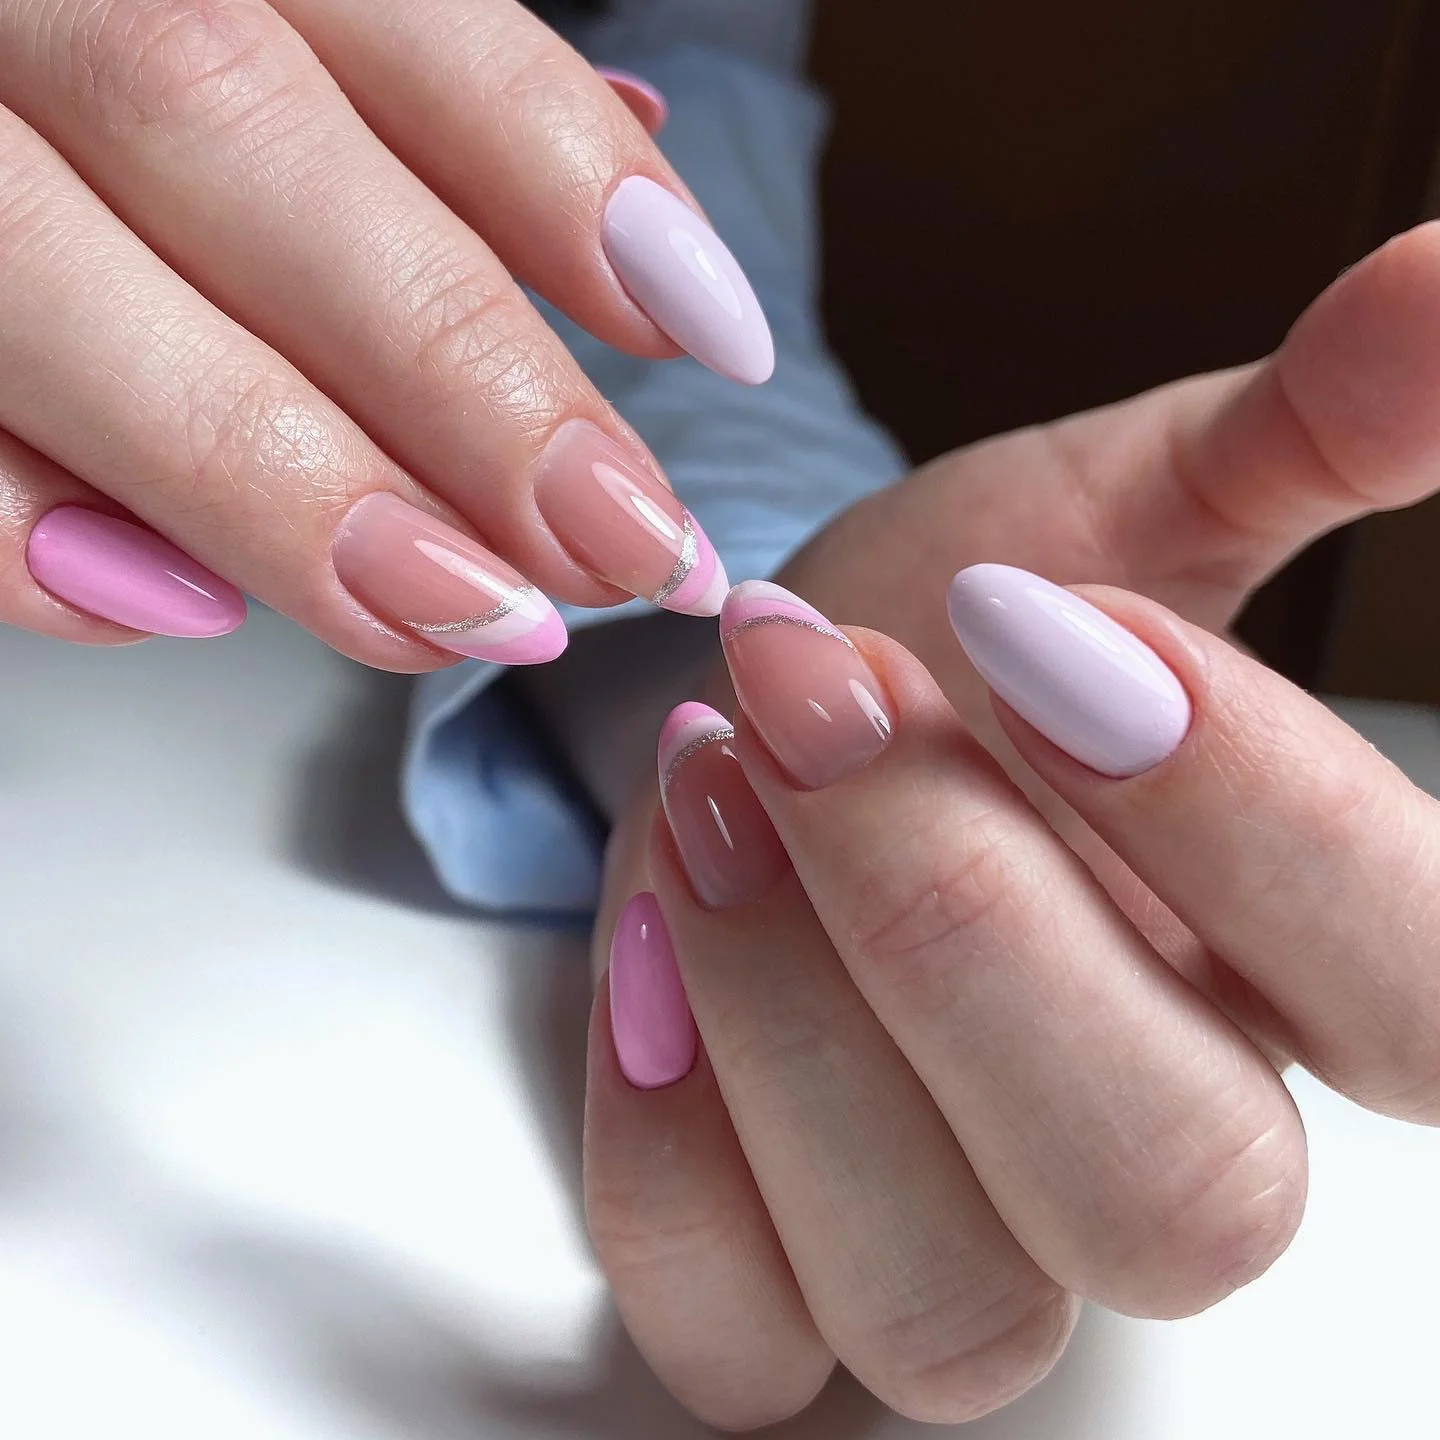
For this design, I would choose a sheer pink nude base, a medium pastel pink, a pale lavender cream, and a silver striping gel or metallic nail-art polish. A very fine liner brush makes a huge difference because the metallic border needs to stay delicate. I would also keep a glossy top coat nearby to bring out the clean shine of the finished manicure.
I would begin by shaping the nails into a soft almond form and applying the sheer nude base. For the French tips, I would use a fine brush to create the curved pink edge, allowing the color to follow the natural shape of each nail. After curing, I would trace a very thin silver line just beneath the pink tip. It takes a steady hand, but I find that resting my little finger on the table makes detailed work much easier.
This is the kind of pastel manicure I would choose when I want something polished enough to feel timeless but still current. The metallic line gives the traditional French shape a little fashion-editorial energy. And honestly, it is a clever option if you love nail art but do not want to commit to a complicated design on every nail.
Milky White and Blush Pink With Golden Curves
There is something incredibly pretty about milky white paired with a barely-there blush gradient. These nails use that combination as a soft canvas for thin gold curves that sweep diagonally across the surface. The elongated square shape gives the design a crisp structure, while the pale pink showing through the white keeps everything delicate. I especially like how the metallic detail follows the shape of the nail rather than sitting in one predictable spot.
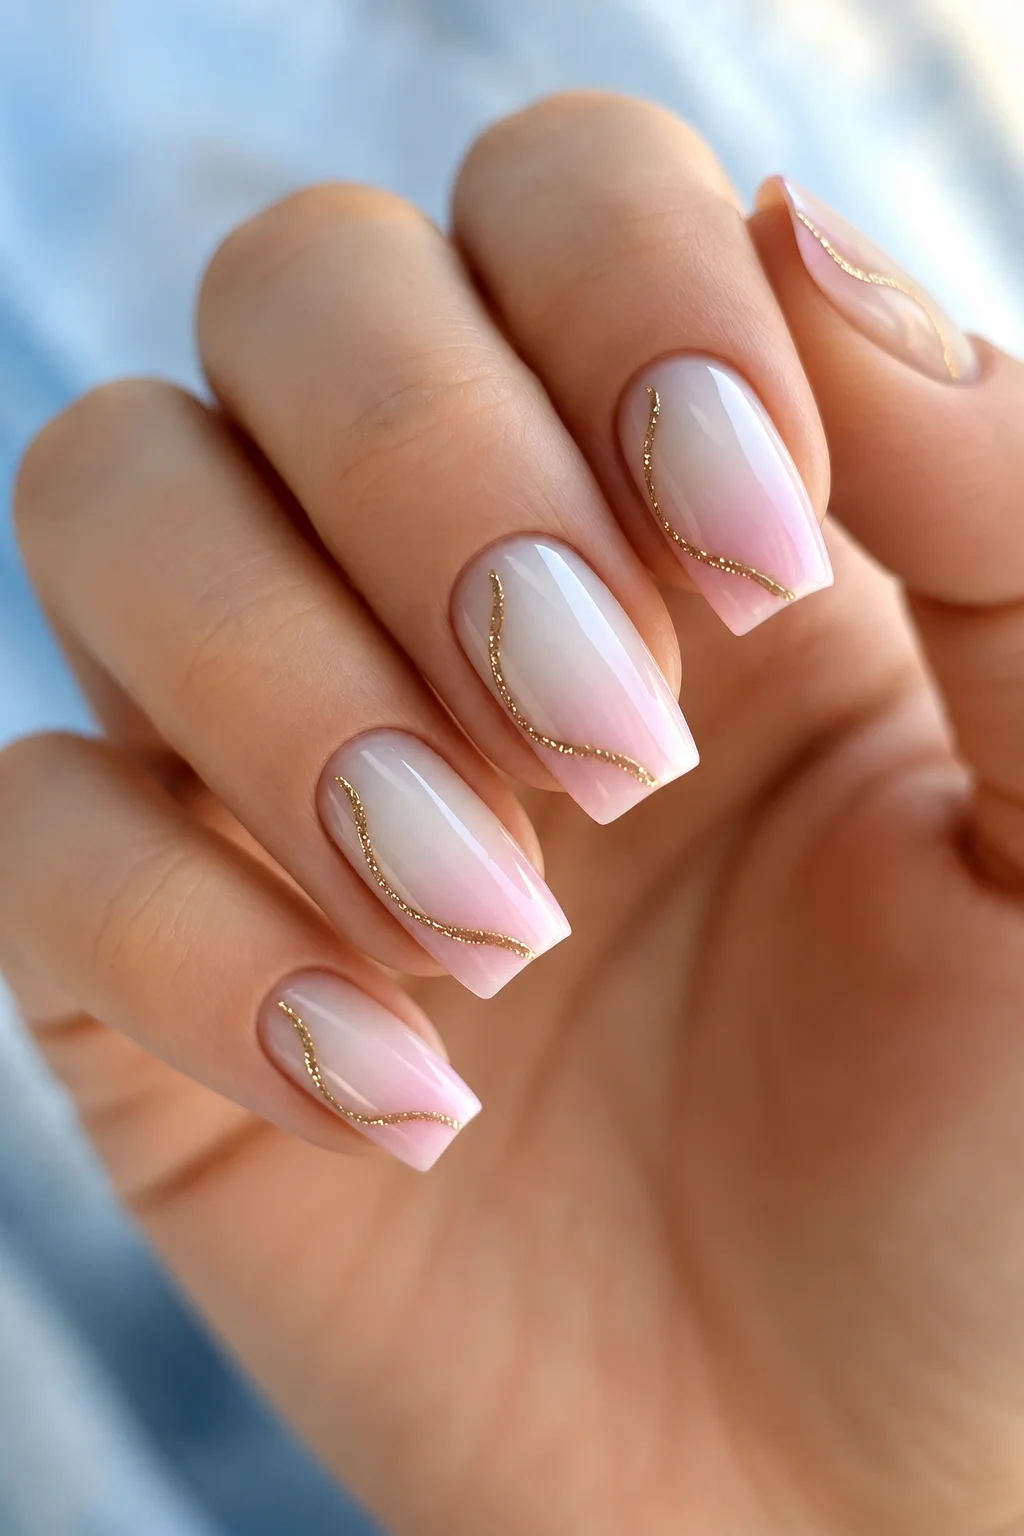
I would reach for a milky white gel, a sheer blush pink, and a fine gold striping gel. A neutral pink base underneath the white can help create the softly diffused effect seen here. For the metallic element, I prefer a fine-line gold gel with enough pigment to remain visible but not so much that it overwhelms the pastel palette.
To recreate it, I would start with a thin sheer pink base and add a milky white layer toward the center and tip, softly blending the two shades. Once cured, I would use a fine liner brush to draw a sweeping gold curve across each nail. I would vary the placement slightly rather than forcing every line to look identical. That small imperfection makes the manicure feel more organic and handmade.
I would wear this design when I wanted my nails to coordinate with gold jewelry without looking overly decorated. The blush-and-white combination feels particularly fresh for spring and summer, while the gold gives it enough warmth to transition into early fall. Sometimes one delicate line really is all a manicure needs.
Lavender Marble With Fine Gold Veining
Soft lavender becomes much more sophisticated when it is treated like a marble surface. I love the contrast between the solid lavender nails and the accent nails carrying translucent white marbling with irregular gold veins. The rounded almond shape keeps the design graceful, while the glossy finish makes the pale purple look almost creamy. It is delicate, but there is definitely something more artistic happening beneath the surface.
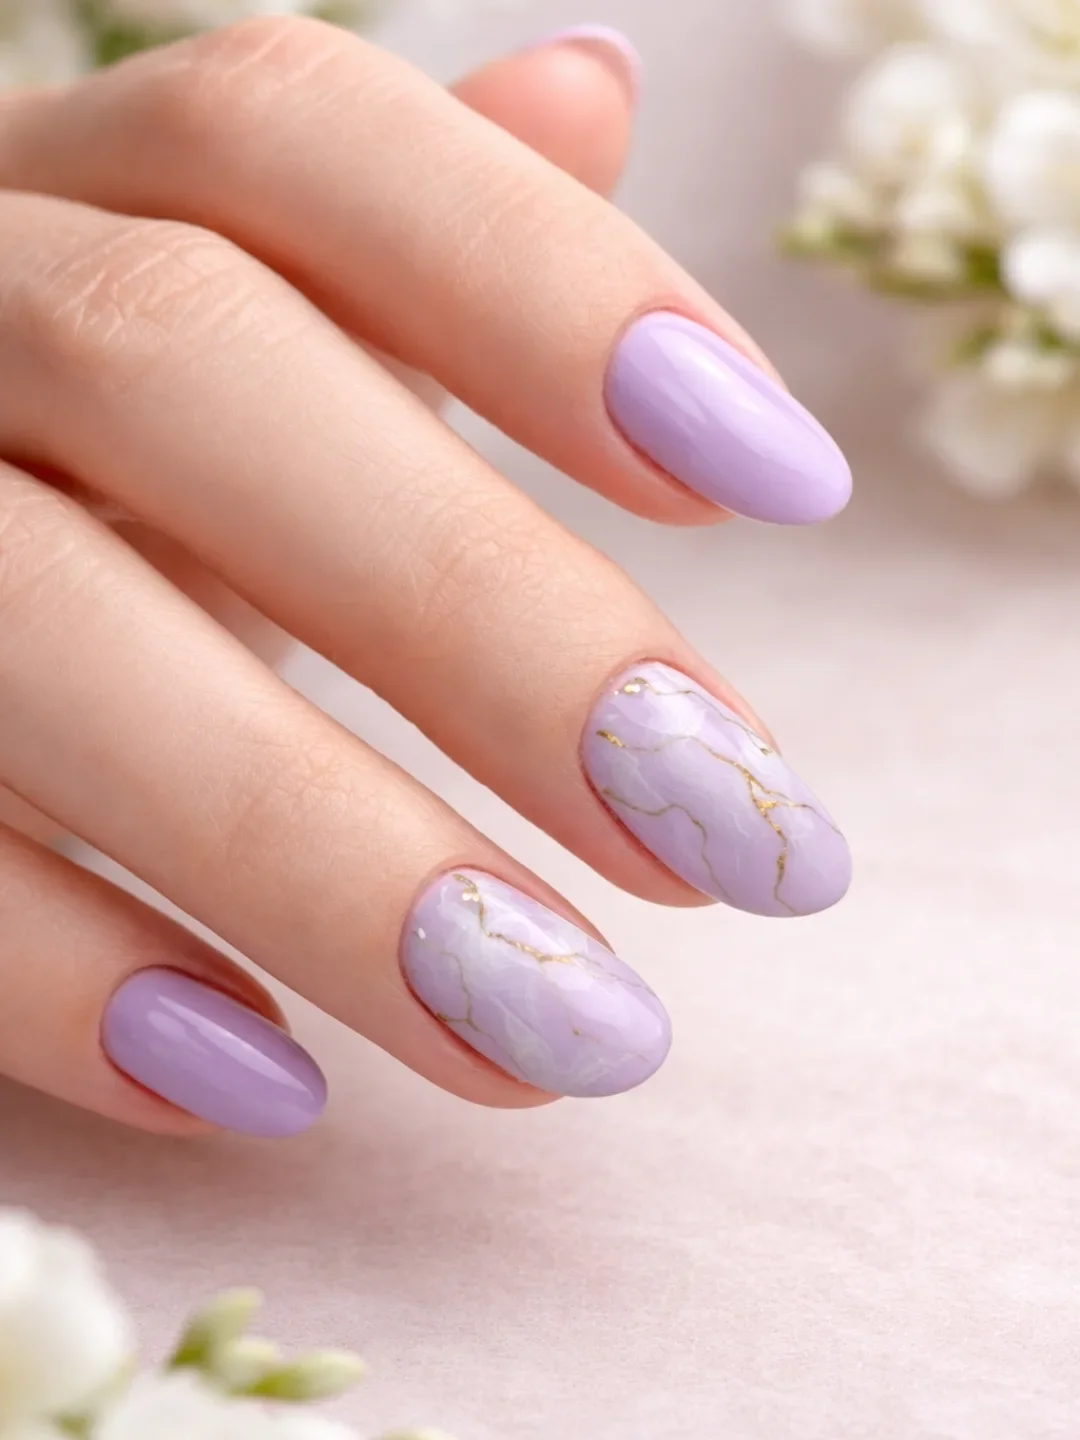
I would use a pastel lavender cream, a sheer white or milky gel, and a fine metallic gold polish. For the marble effect, a thin nail-art brush and a slightly diluted white gel work well. I would keep the gold lines irregular and extremely fine because natural marble rarely looks perfectly symmetrical.
After applying the lavender base, I would select two or three accent nails for the marble treatment. I would layer wispy white lines over the pale purple, soften some of them with a clean brush, and then add narrow gold veins while the surface is still easy to work on. Once cured, a glossy top coat pulls all of those layers together. I would avoid overworking the marble because the beauty is in those soft, uneven movements.
This is probably the pastel design I would choose when I want something a little more elevated. Lavender can sometimes read very youthful, but the marble and gold immediately give it a more sophisticated direction. It would look gorgeous with a cream sweater, simple gold rings, and a manicure that does not need to shout for attention.
Glossy Pink With a Soft Pearly Glow
Sometimes I do not want nail art at all. I just want a beautiful color, a perfect shape, and enough shine to make me keep looking at my hands. This manicure uses a soft pink base on rounded oval nails, with a subtle pearly shimmer sweeping across selected nails. The effect is understated but luminous, almost like a sheer veil of light over the pink.
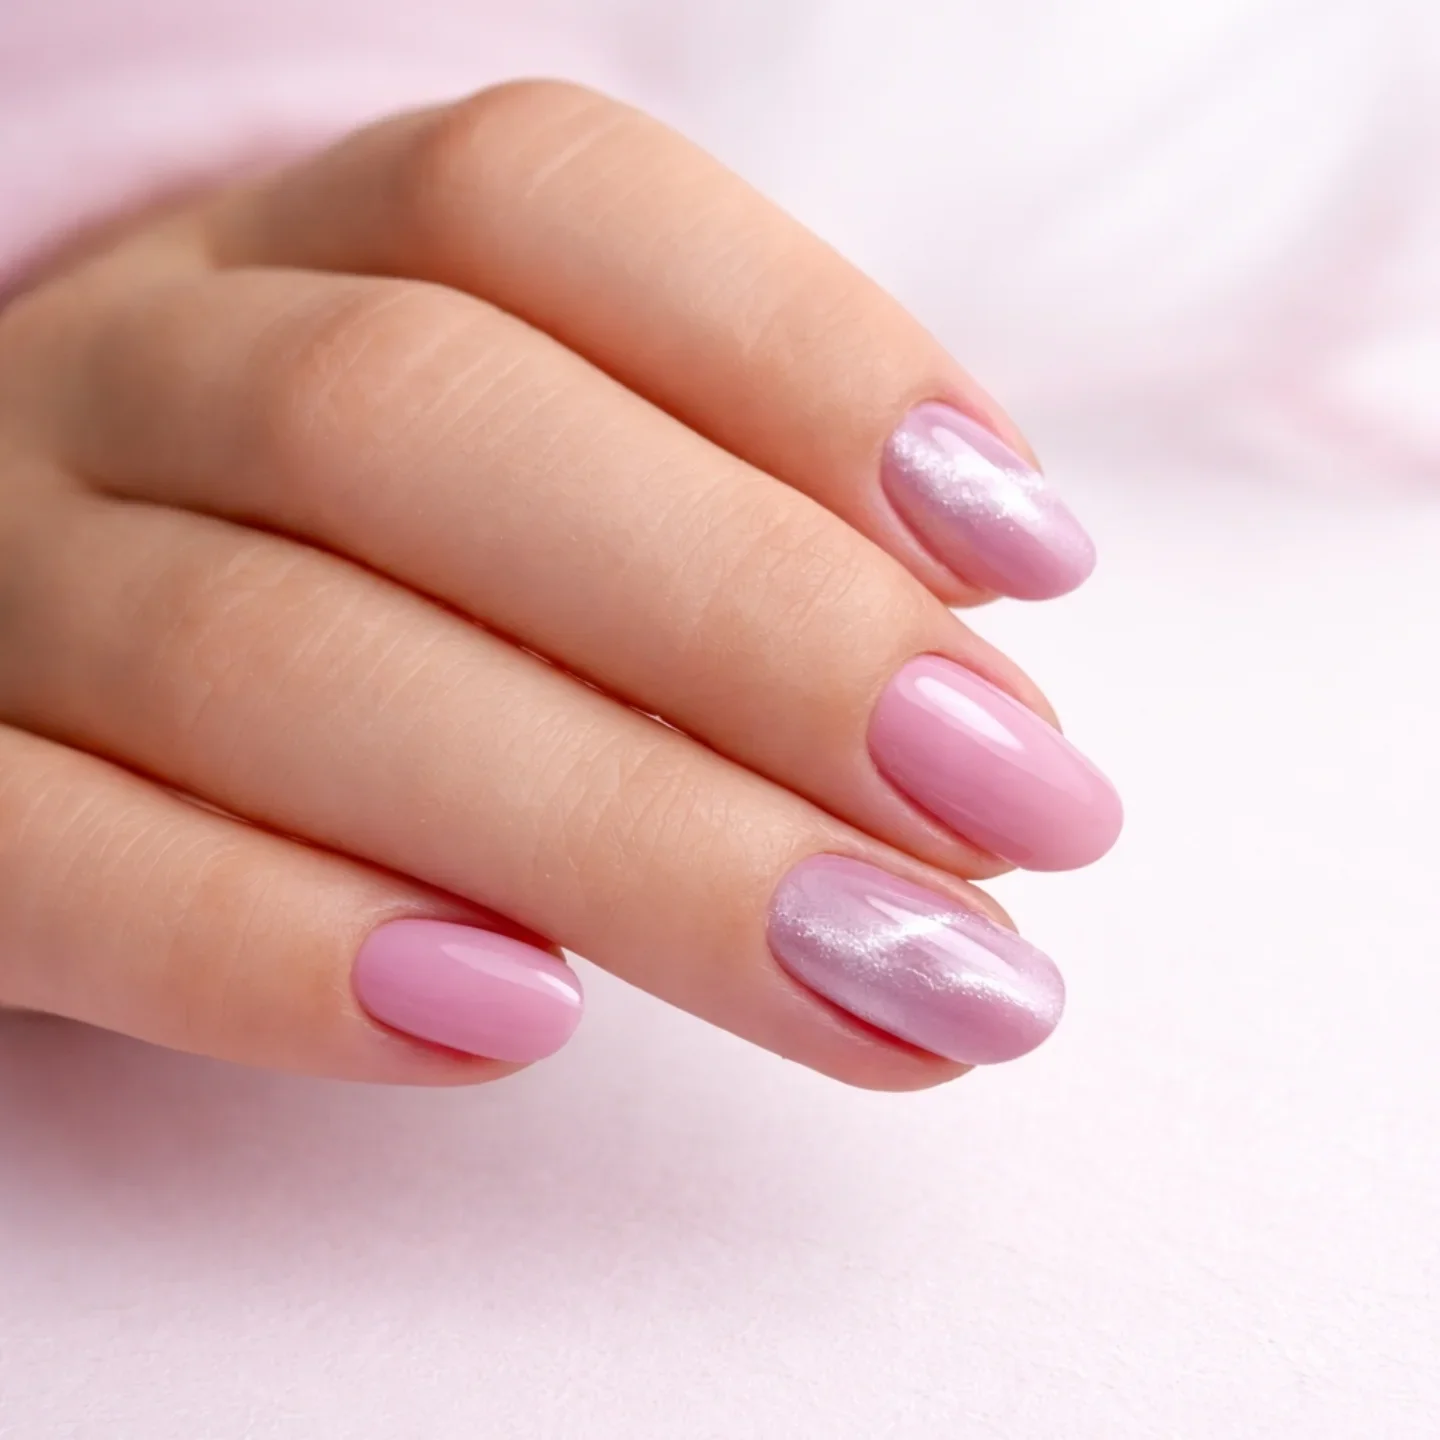
A creamy pastel pink gel and a fine pearl or iridescent powder are all I would need for the main effect. A glossy no-wipe top coat helps preserve the smooth surface and intensifies the reflective finish. If I wanted a similar result without powder, I would choose a sheer pink polish with a built-in pearl shimmer.
I would first apply two thin coats of the pink shade, curing each layer properly if I were using gel. On the accent nails, I would add a small amount of pearl powder over the cured color and gently buff it until the surface looks even. Then I would seal everything with top coat. The key is restraint; too much chrome powder can turn a soft pastel manicure into a much stronger metallic look.
For me, this is the definition of an easy pretty manicure. It works when I want something feminine but do not have the mood for rhinestones, lines, or elaborate details. The subtle shimmer also makes it especially appealing for summer evenings when natural light hits the nails and suddenly that little glow becomes the star.
Pastel Rainbow Tips With Tiny Floral Details
Why choose one pastel shade when several can work together? This manicure mixes lavender, soft pink, mint green, pale blue, and milky white in a dreamy French-tip arrangement. Tiny white floral motifs and delicate glitter accents add another layer without taking away from the gentle color palette. The square shape gives all those soft colors a neat framework, which keeps the design from feeling scattered.
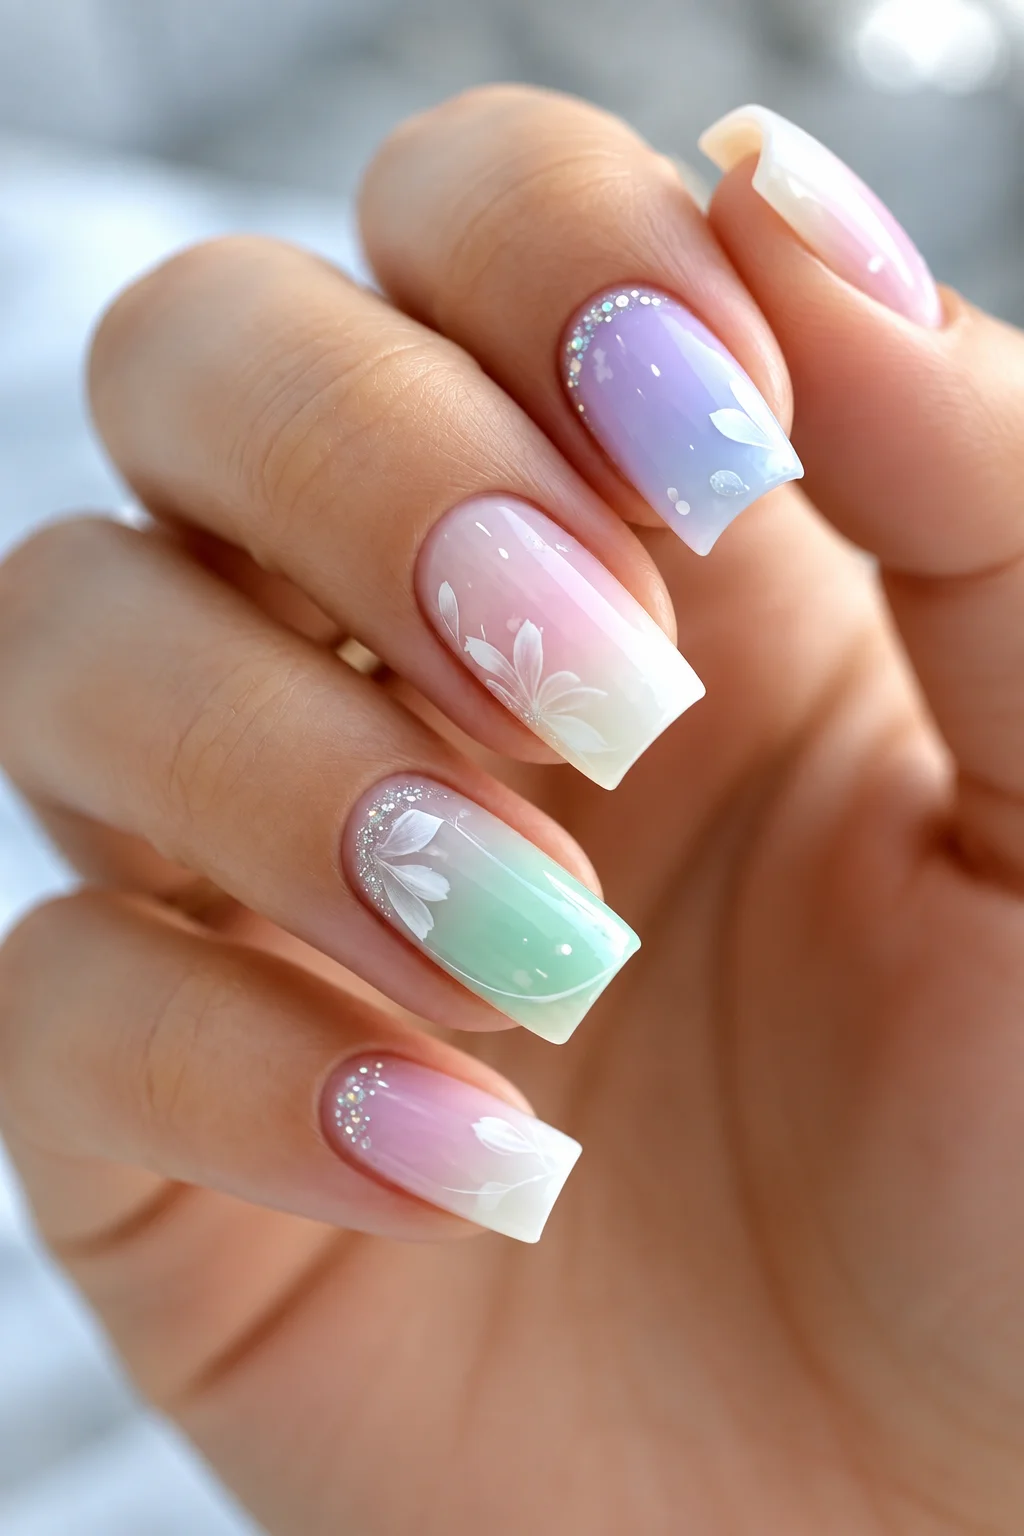
I would use several pastel gel colors in similar levels of saturation, along with a sheer pink or nude base. A fine white nail-art brush can create the tiny petals, while silver glitter or a subtle shimmer gel adds the small sparkling accents. I would keep the top coat intensely glossy because shine helps the different pastel shades blend visually.
I would apply the sheer base first and then create the pastel tips one color at a time, allowing each shade to remain clearly visible. For the floral accents, I would use a very fine brush to make simple white petal shapes rather than detailed botanical artwork. A few tiny glitter touches near the cuticle or edge are enough. Once everything is cured and sealed, the design becomes surprisingly cohesive.
I think this is a lovely choice for someone who wants to experiment with pastel colors without committing to one shade. It has that cheerful summer feeling, but the colors remain soft enough for everyday wear. If I were choosing this for myself, I would probably keep the outfit simple and let the manicure provide the playful detail.
Milky Pastel Nails With Gold and Pearl Accents
This final combination takes the soft pastel aesthetic in a more refined direction. The base is a creamy milky pink-white, giving the nails an almost translucent finish, while one accent nail features an abstract gold detail with tiny pearl-like embellishments. The long square shape adds structure, and the mostly monochromatic color palette makes the decorative accent feel especially intentional.
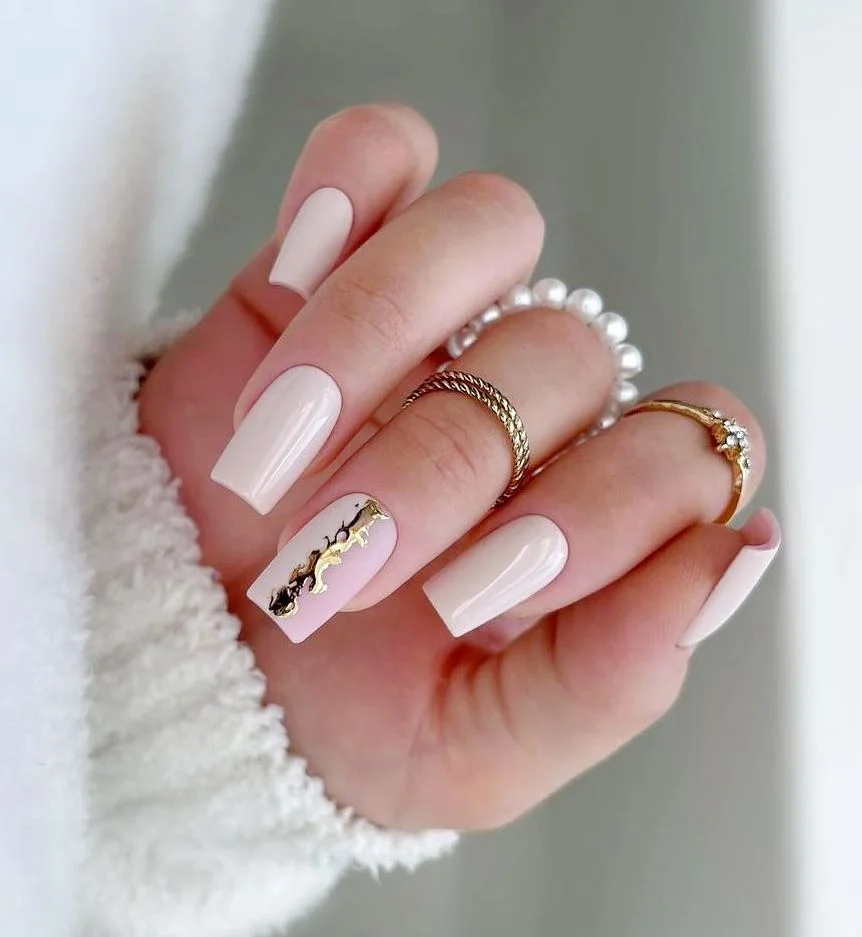
I would use a milky white-pink gel, a sheer nude base, fine gold foil or metallic gel, and tiny pearl or crystal embellishments. A glossy top coat will keep the pale base looking smooth and clean. I would also use a small detail brush and nail adhesive or builder gel for securing the embellishments so they sit neatly on the surface.
To recreate the look, I would build the milky base in thin layers until the desired softness appears. On the accent nail, I would add small pieces of gold foil or draw an irregular metallic detail, then place the tiny embellishments along the design. I would finish by carefully sealing the surrounding surface without flooding the decorative pieces with too much product. The goal is a polished accent, not a heavily decorated nail.
I keep coming back to this kind of manicure because it feels elegant without being overly formal. The milky pastel foundation makes it easy to wear with almost anything, while the gold detail gives the hands a little extra polish for dinners, celebrations, or a summer event. If I wanted a pastel manicure that could quietly carry me from daytime plans to an evening occasion, this would be high on my list.
Soft Lavender With Playful Black Speckles
I love how a pale lavender base can feel delicate without becoming overly sweet. The softly rounded oval shape keeps this manicure clean and wearable, while the scattered black speckles add just enough contrast to make the pastel color feel more modern. The tiny irregular marks are intentionally varied rather than perfectly uniform, which gives the design a relaxed, almost handmade character. It is the kind of manicure I would choose when I want something pretty and polished but still a little unexpected.
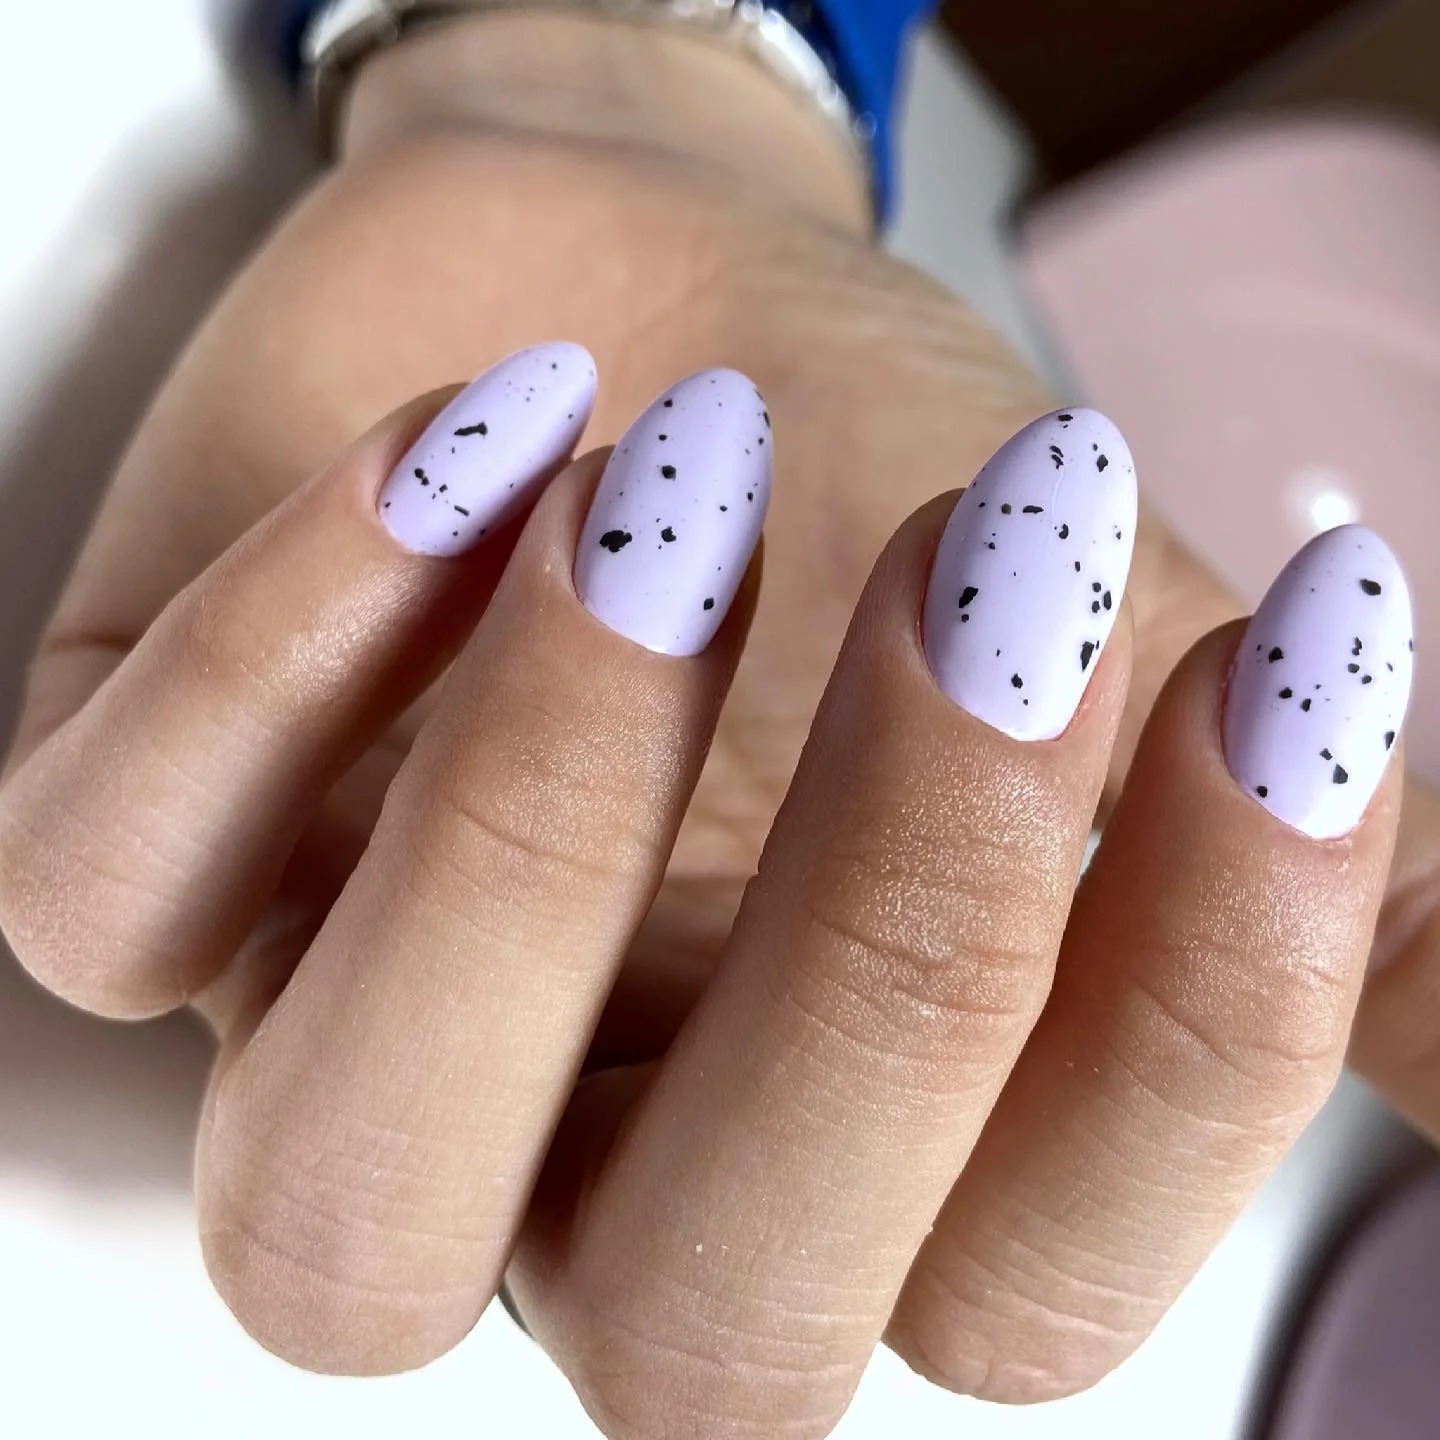
For a similar finish, I would start with a creamy pastel lavender gel polish rather than a sheer lilac. A shade such as OPI Do You Lilac It? or a comparable soft lavender works well as the foundation, while a black nail-art gel or very fine black polish can create the speckles. I would also keep a fine detail brush or dotting tool nearby because the beauty here is in creating dots and tiny fragments of different sizes.
I usually build this look by shaping the nails into a softly rounded oval, smoothing the surface, and applying two thin coats of lavender. Once the base is completely cured, I add the black marks sparingly, concentrating a few near the center and leaving enough lavender visible between them. A glossy top coat pulls everything together and makes the pastel shade look almost creamy.
For me, this is an easy transition manicure when I want pastel nails without committing to an ultra-feminine design. The lavender feels especially fresh for late summer, while the black details give it enough edge to work with denim, black basics, or a simple white outfit. Would I wear it for an everyday week? Absolutely.
Blush Pink Ombré With Delicate White Details
Soft pink and white are one of those combinations I never really get tired of, especially when the color transition is this smooth. The nails begin with a translucent blush-pink effect and melt gradually toward milky white tips, creating a soft ombré that makes the nails look longer and incredibly neat. I also love the fine white botanical detailing, which is kept delicate enough that it does not overpower the base. Tiny metallic accents add a subtle glint without turning the manicure into full-on sparkle.
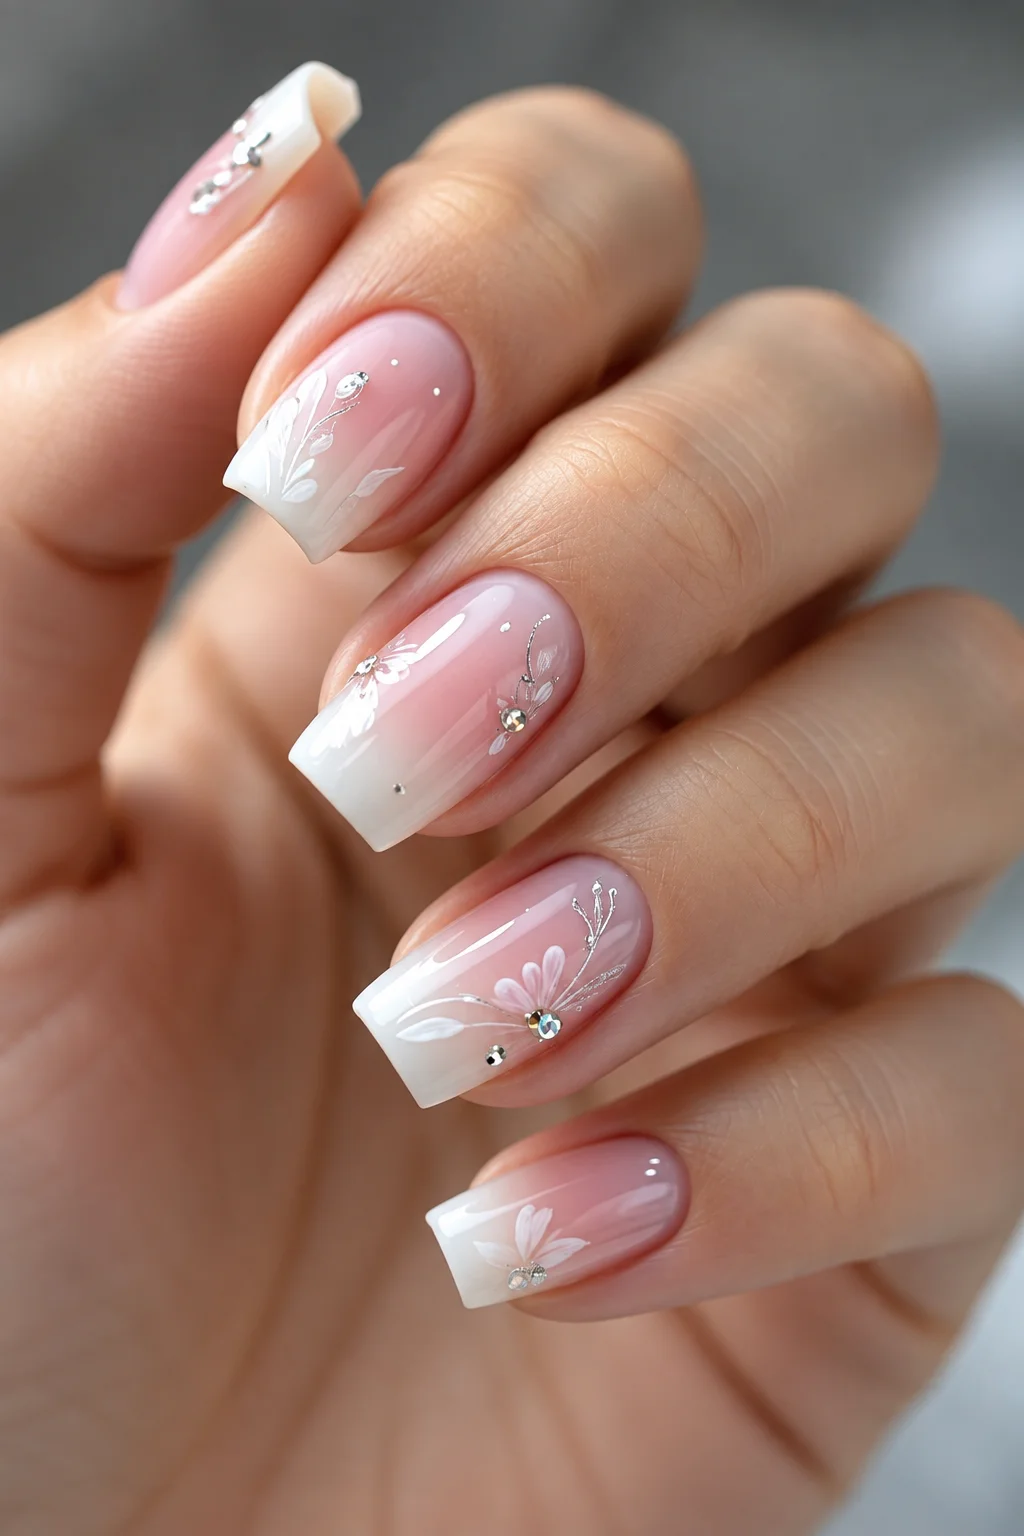
For this style, I would reach for a sheer pink builder gel or milky nude gel polish, a soft white gel color, and a very thin nail-art brush. Small gold or silver embellishments can be added for the tiny accents, although I would keep them minimal. A glossy top coat is essential because it gives the gradient that smooth, glassy finish that makes the colors blend beautifully.
I would create the ombré by applying the sheer pink close to the cuticle and gradually layering white toward the tips with a small sponge or blending brush. After curing, I would paint the fine leafy motifs using a highly pigmented white gel and a liner brush. The small metallic details come last, followed by a careful layer of glossy top coat.
I find this manicure particularly pretty when I want something romantic but still current. It has that fresh, clean feeling that works beautifully with summer dresses, wedding-guest outfits, or even an ordinary white tee. The little botanical details are what make me stop scrolling—they give a familiar pink-and-white manicure a much more personal finish.
Glossy Pink and Lilac Ombre
Sometimes the most effective pastel manicure is the one that does not need any decoration at all. Here, a rosy pink melts into a cool lilac, creating a smooth gradient across an elongated oval shape. The glossy surface catches the light beautifully, making the transition between the two colors look almost fluid. I particularly like that the colors remain soft rather than neon, so the manicure feels playful without becoming loud.
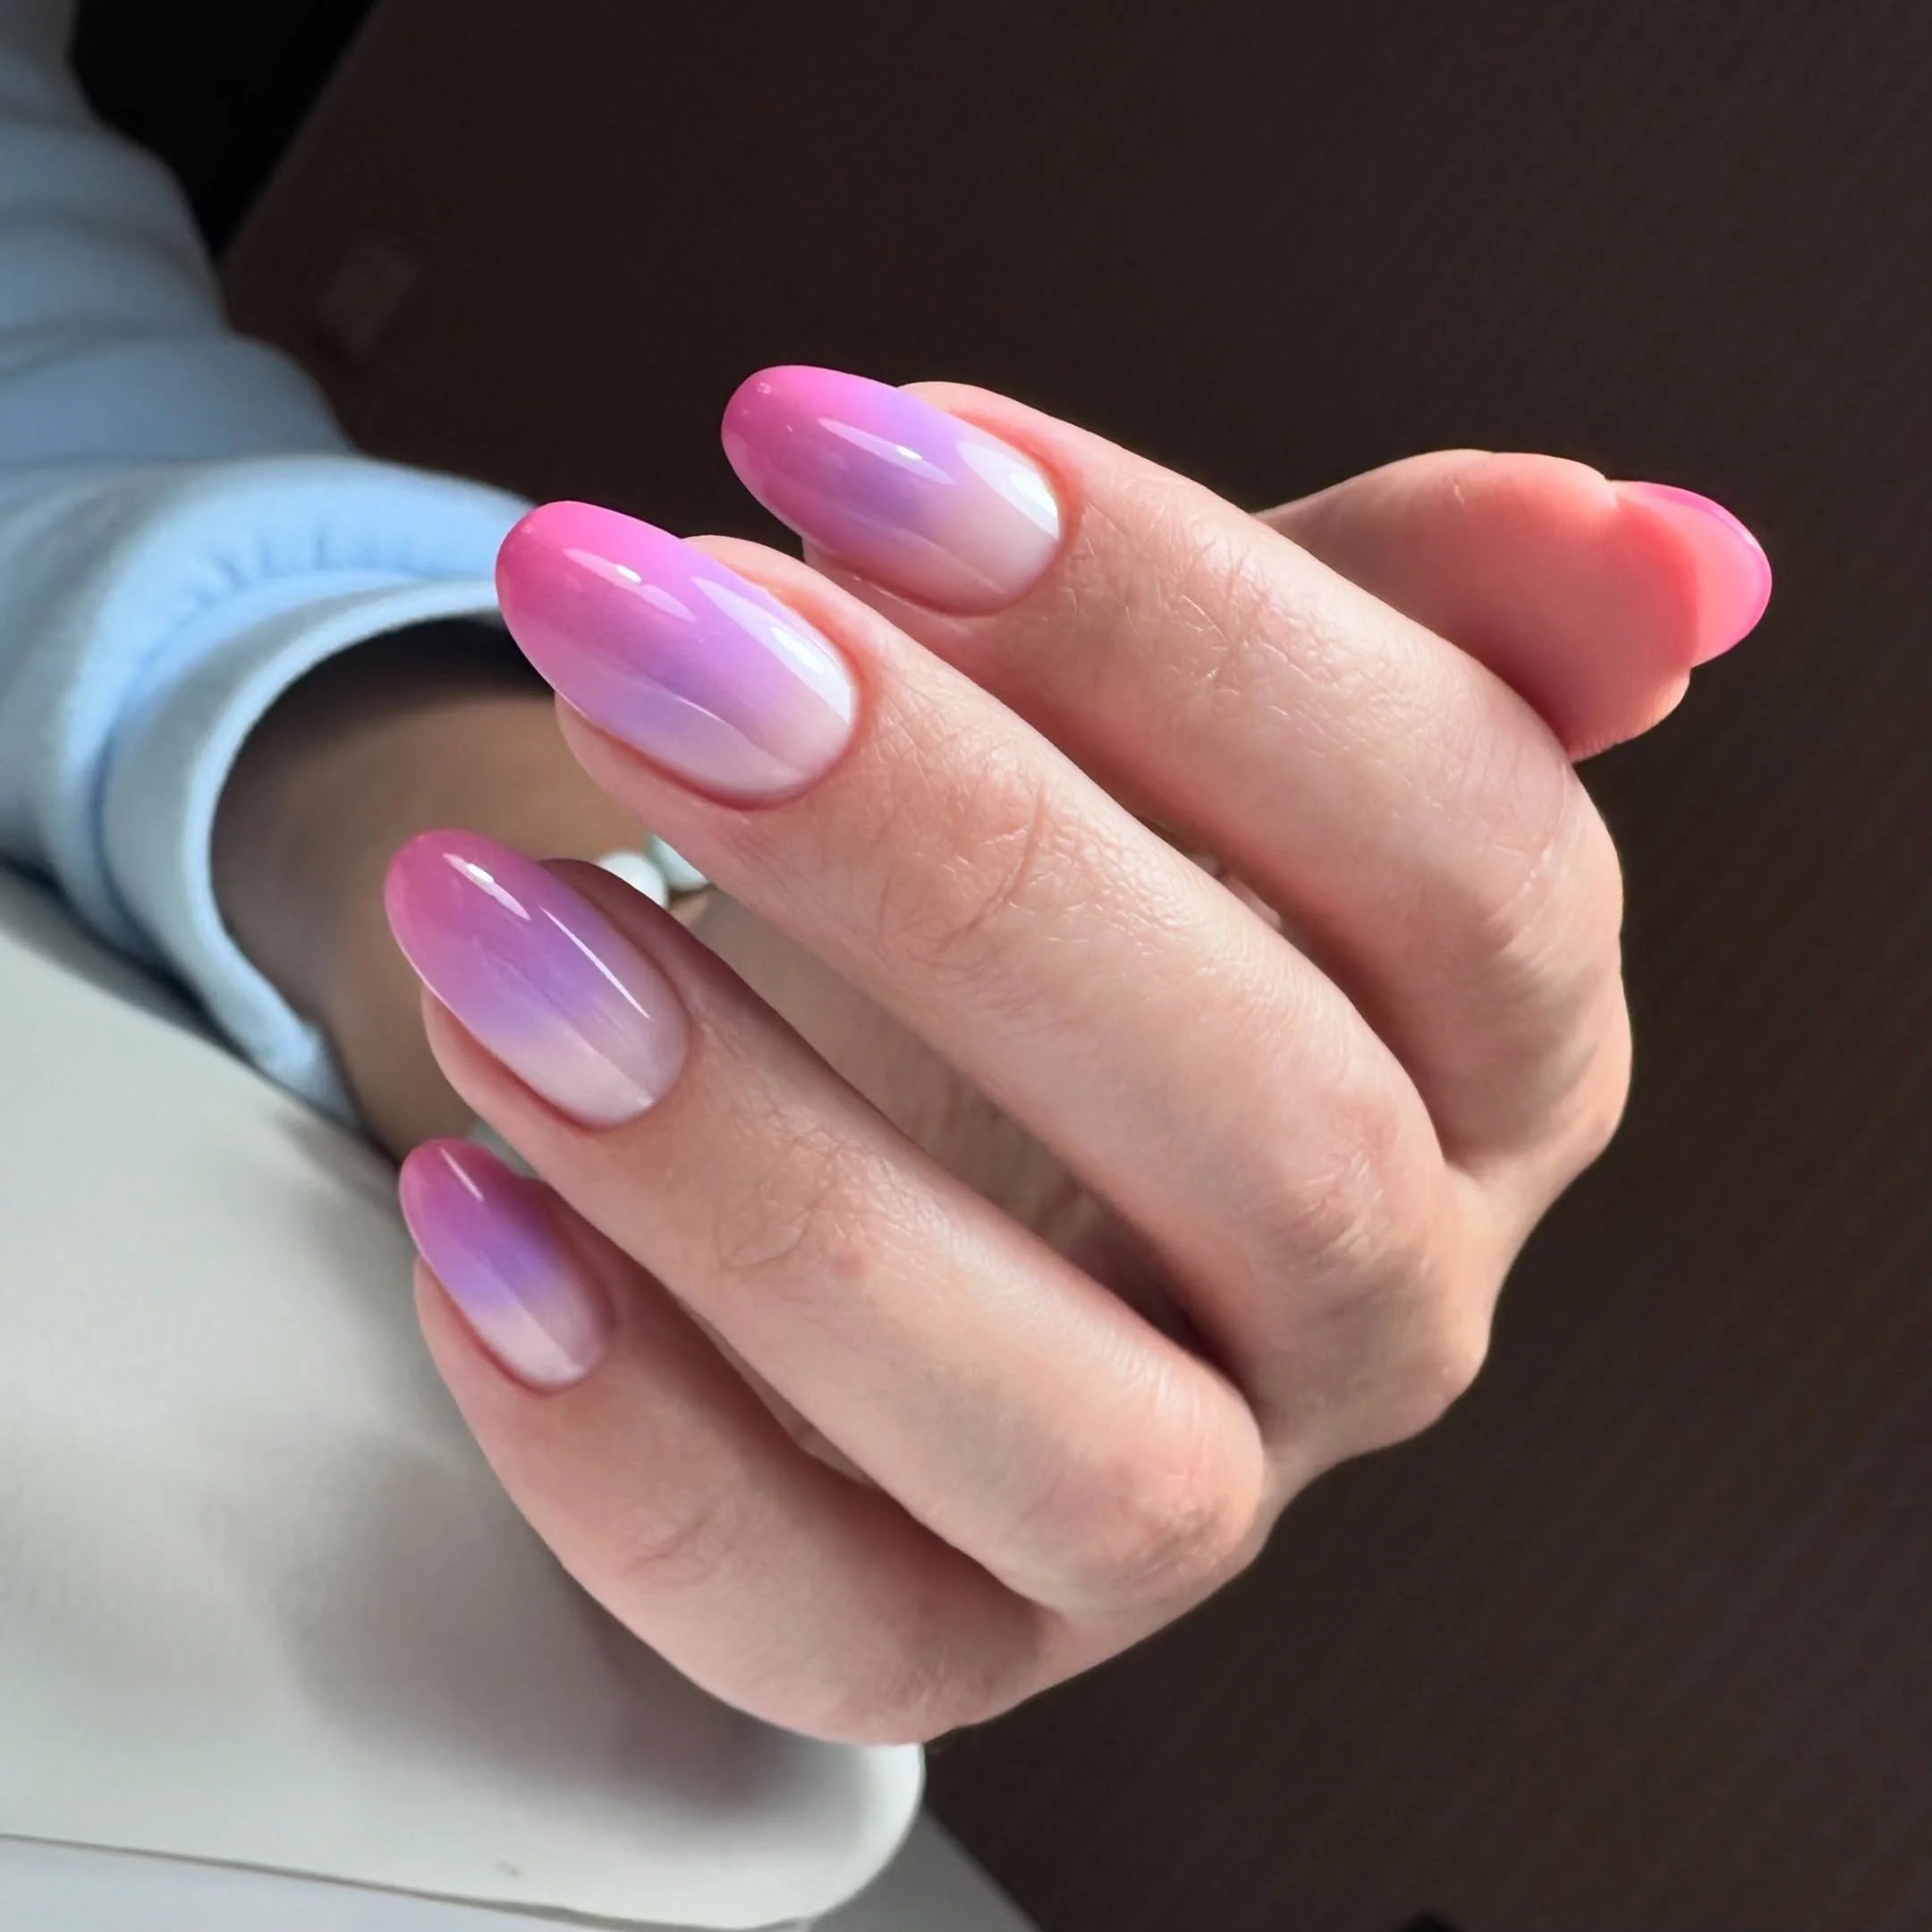
I would use two gel polishes with similar opacity so the transition stays seamless: a medium pastel pink and a pale lavender. A sponge or ombré brush makes blending easier, while a high-shine top coat gives the finished manicure its reflective surface. If I wanted an even softer result, I would add a sheer milky layer over the gradient before the final top coat.
My approach is simple but requires patience. I would apply the pink and lavender in overlapping sections, gently blend where they meet, cure, and repeat until the transition looks smooth. Thin layers matter here because too much product can make the gradient muddy. Once I am happy with the color, I finish with a generous but controlled glossy top coat.
This is one of those designs I would happily keep on for a full week because it works with almost everything. The pink brings warmth, the lavender keeps it cool, and together they create a soft pastel combination that feels very current. If you usually think nail art is too much for your everyday style, this could be your easy entry point.
Pink and White Botanical French
A pastel manicure becomes instantly more interesting when the classic French idea gets a botanical update. I love the contrast between the sheer pink base, crisp white tips, and delicate white leafy motifs. The nails have a softly squared shape with enough length to make the artwork visible, while the design remains restrained because only selected nails carry the detailing. It feels feminine without looking overly decorated.
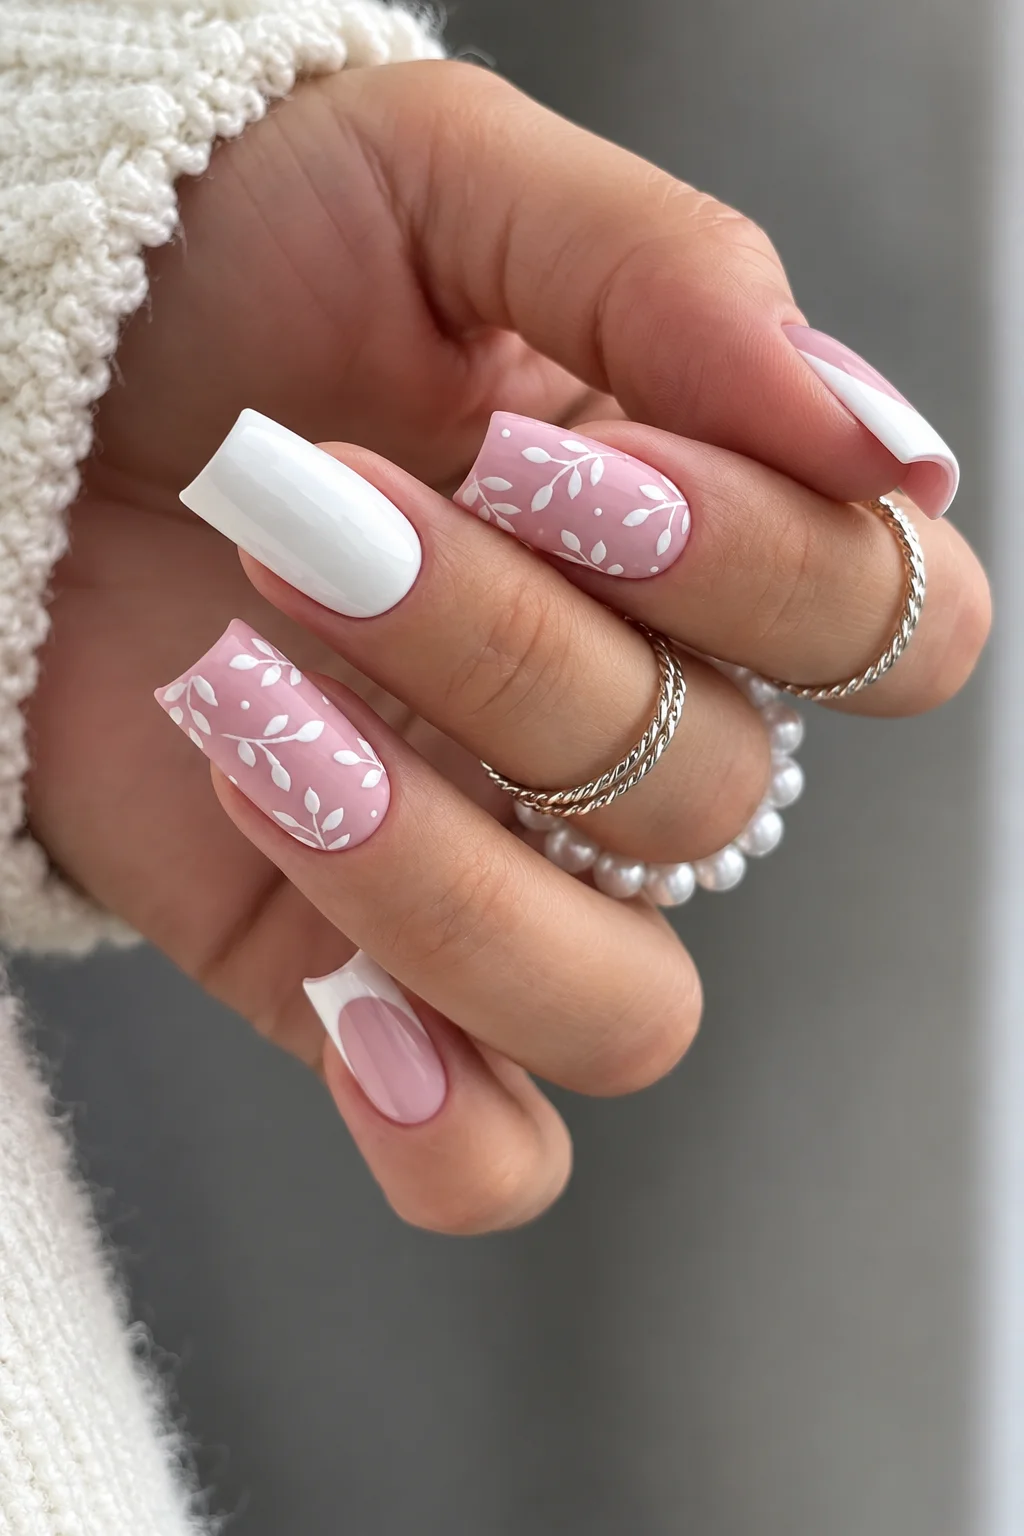
For the base, I would choose a translucent blush-pink gel polish and a soft white for the French tips and artwork. A fine liner brush is the most useful tool because the leaves need delicate, controlled strokes. I would also use a glossy top coat and, if desired, a sheer pink overlay to soften the contrast between the natural nail color and the white details.
I would begin by creating the pink base and then carefully painting the white tips, keeping their width consistent across the nails. Once cured, I would add the tiny leaf clusters to the selected nails, varying their placement so the manicure does not look too symmetrical. The final glossy layer should be thin enough to preserve the crisp artwork.
I can see myself choosing this for a summer brunch, a vacation, or a day when I want my manicure to quietly make the outfit feel more finished. There is something wonderfully fresh about pink, white, and delicate greenery-inspired detailing. It is polished enough for an office but still has that little Pinterest-worthy moment.
Lavender Micro French With a Clean Nude Base
This manicure proves that a French tip does not have to be white to look timeless. A transparent nude-pink base keeps the nails natural-looking, while soft lavender tips create a subtle pastel frame around each nail. The shape is rounded and moderately short, which makes the design especially practical for everyday wear. I like the restraint here: the lavender is noticeable, but it never takes over.
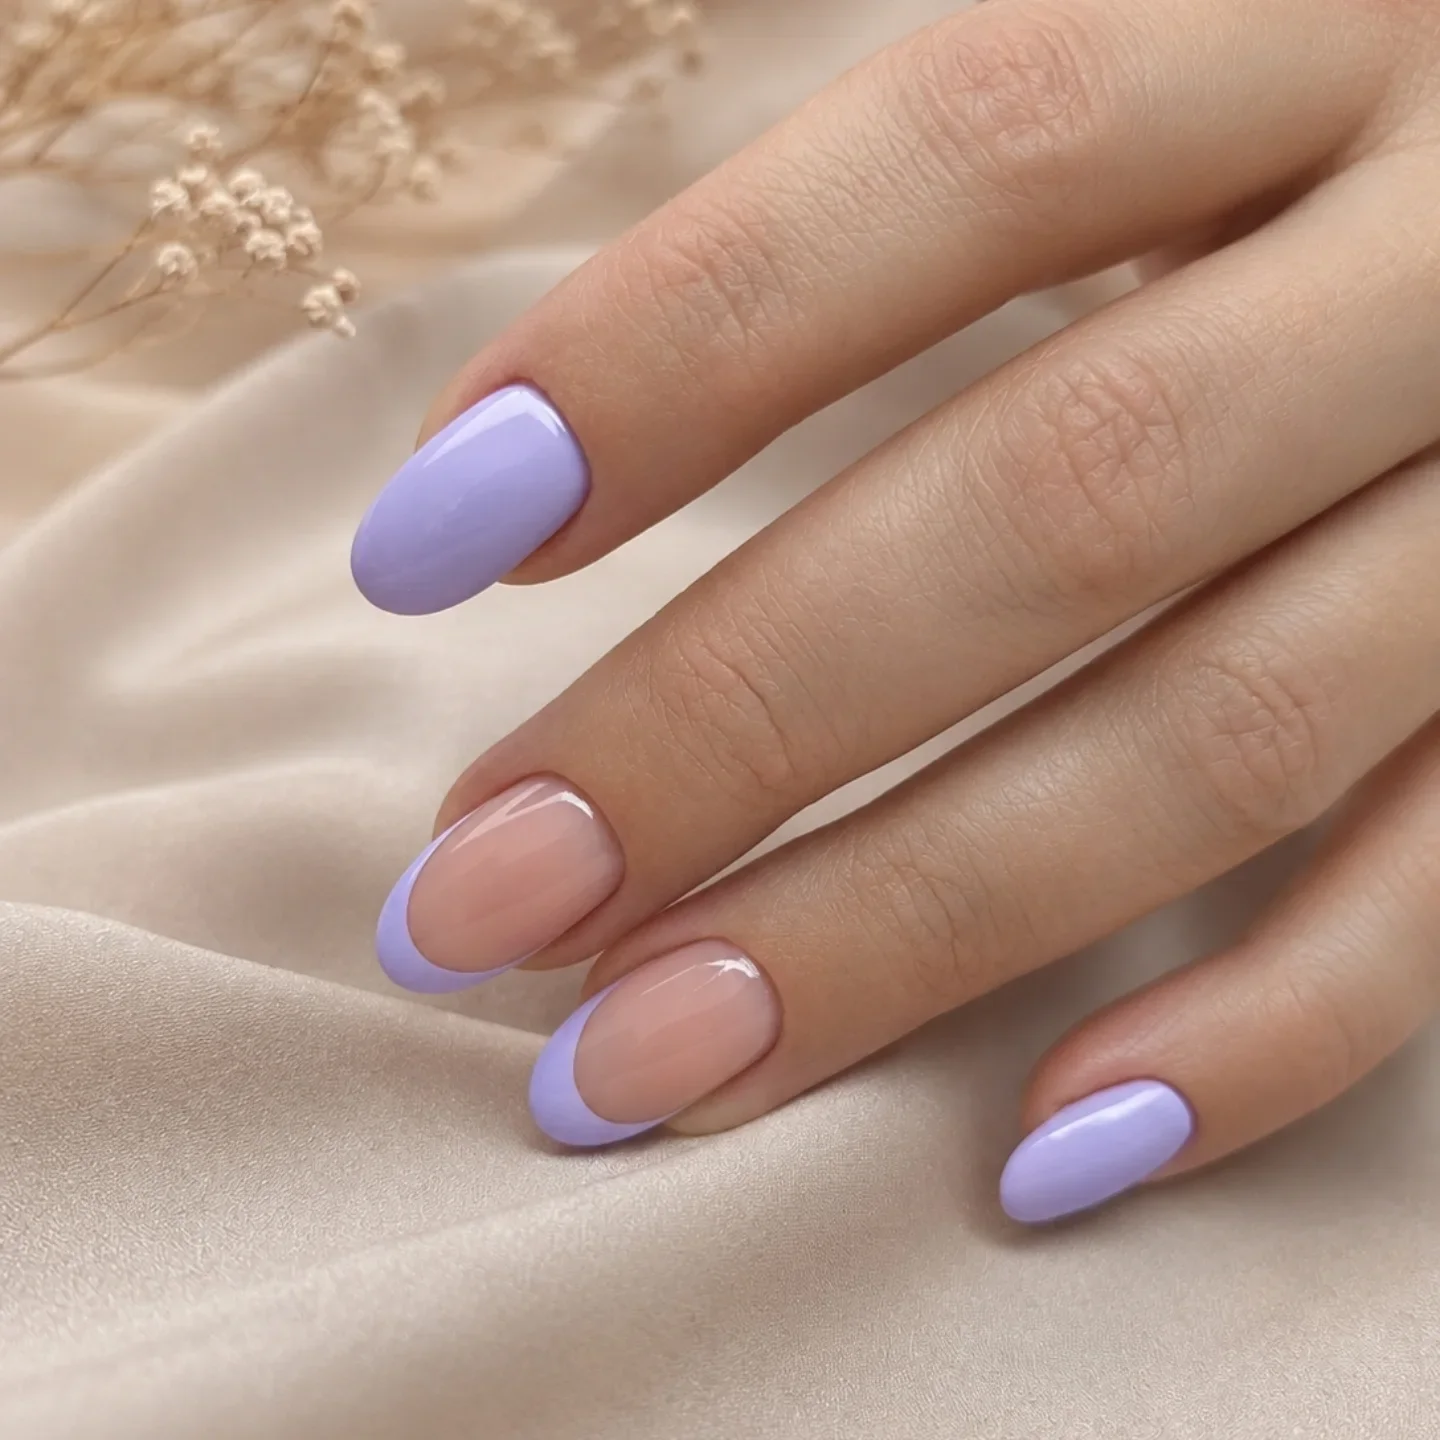
I would use a sheer nude or blush gel polish for the base and a creamy pastel lavender for the tips. A fine French-tip brush or stamping guide can help create a neat curved edge, especially on shorter nails. For the finish, I would use a glossy top coat that allows the nude base to retain its healthy-looking shine.
After shaping and prepping the nails, I would apply one or two very thin coats of the sheer base. I would then paint the lavender tips with a fine brush, following the natural curve of each nail rather than making the line too straight. If one tip looks slightly uneven, I would correct it before curing rather than trying to disguise it later.
This is probably the most effortless idea in this group for me. I could wear it with a blazer, jeans, a swimsuit, or a simple knit and never feel like the nails were competing with my clothes. Want pastel color without a full-color manicure? This is exactly where I would start.
Pastel Green and Pink With Silver Accents
Now we are getting into the more playful side of pastel nail design. Soft pistachio green alternates with translucent pink, while crisp white sections and thin silver details create a graphic finish. The long squared shape gives the manicure a little more presence, but the pale palette keeps it light. I especially like the way the metallic line adds definition between the soft colors.
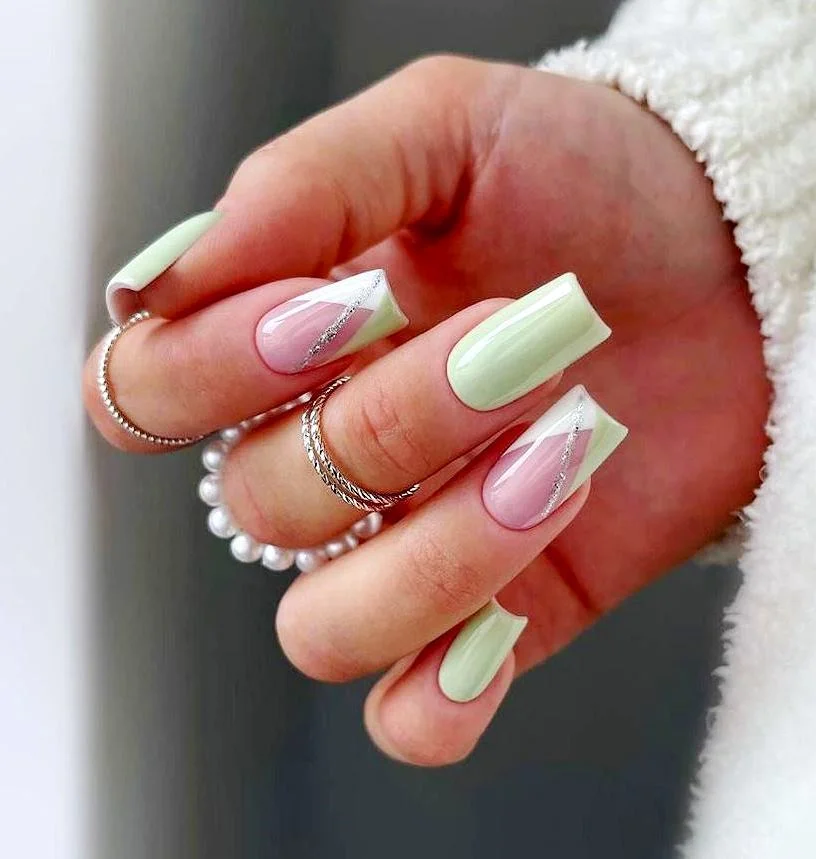
For this look, I would gather a pastel pistachio gel, a sheer pink or nude-pink shade, opaque white gel polish, and a fine silver liner or silver chrome gel. A thin detail brush will make it much easier to create the clean diagonal accents. I would keep the top coat glossy so the different finishes blend into one polished surface.
I would start with the pink or green base depending on the nail, then build the white sections with careful, straight edges. After curing, I would add the slim silver accents along the boundaries of selected areas rather than covering every nail. That little restraint is important because too much metallic detail could quickly change the mood of the manicure.
I would save this one for days when I want my nails to become part of the outfit. The combination of pink and soft green feels particularly cheerful for warm weather, while the silver gives it a slightly cooler, more modern finish. It is playful, yes—but still surprisingly easy to style.
Blush Pink Leaves With Icy Pastel Shimmer
I am always drawn to manicures that mix different textures while staying within the same soft color family. Here, translucent pink nails carry delicate white leafy motifs, while the other nails shift into shimmering pastel finishes that catch hints of lavender, silver, and cool pink. The square shape gives the design structure, and the contrast between creamy pink and reflective shimmer keeps every nail interesting.
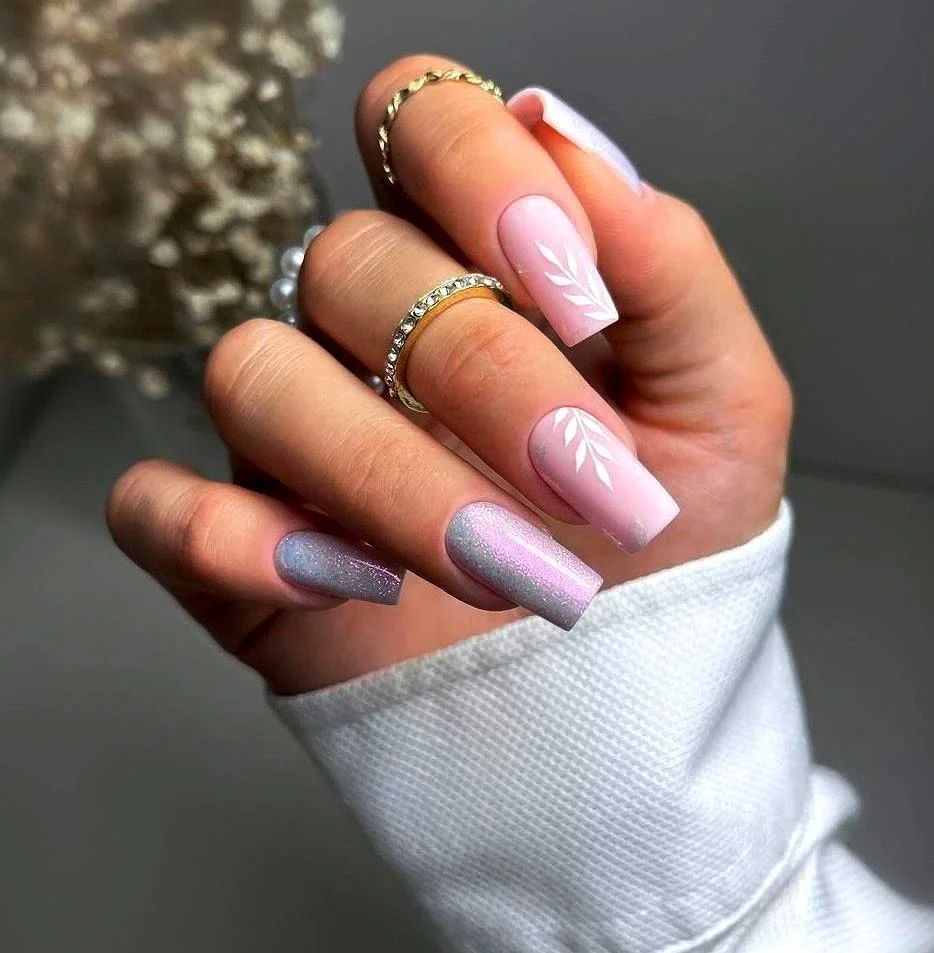
I would use a sheer blush-pink gel, opaque white nail-art gel, and two or three pastel shimmer polishes in cool lavender, pink, and silvery tones. A fine liner brush is enough for the botanical detailing, while a glossy top coat can be used over the pink artwork. For the shimmer nails, I would choose finely milled reflective polish rather than chunky glitter to keep the result sophisticated.
I would paint the pink nails first and allow them to cure before adding the thin white leaves. The shimmer shades can then be applied separately, using two thin coats for an even reflective finish. I would finish everything with the appropriate top coat and check the edges carefully before curing the final layer.
This is the kind of manicure I would pick when I cannot decide between minimalist nails and something more decorative. Why choose one mood when the colors can do both? The soft pink keeps it delicate, while the shimmer gives me that little flash of glamour every time my hands catch the light.
Pink and Blue Pastel Glow
The final look takes pastel color in a much more energetic direction with a luminous pink-and-blue gradient. Each oval nail blends vivid pastel pink into cool sky blue, while a fine reflective shimmer sits across the surface and gives the colors a glowing quality. The result is playful, dimensional, and unmistakably made for someone who wants her manicure to be noticed.
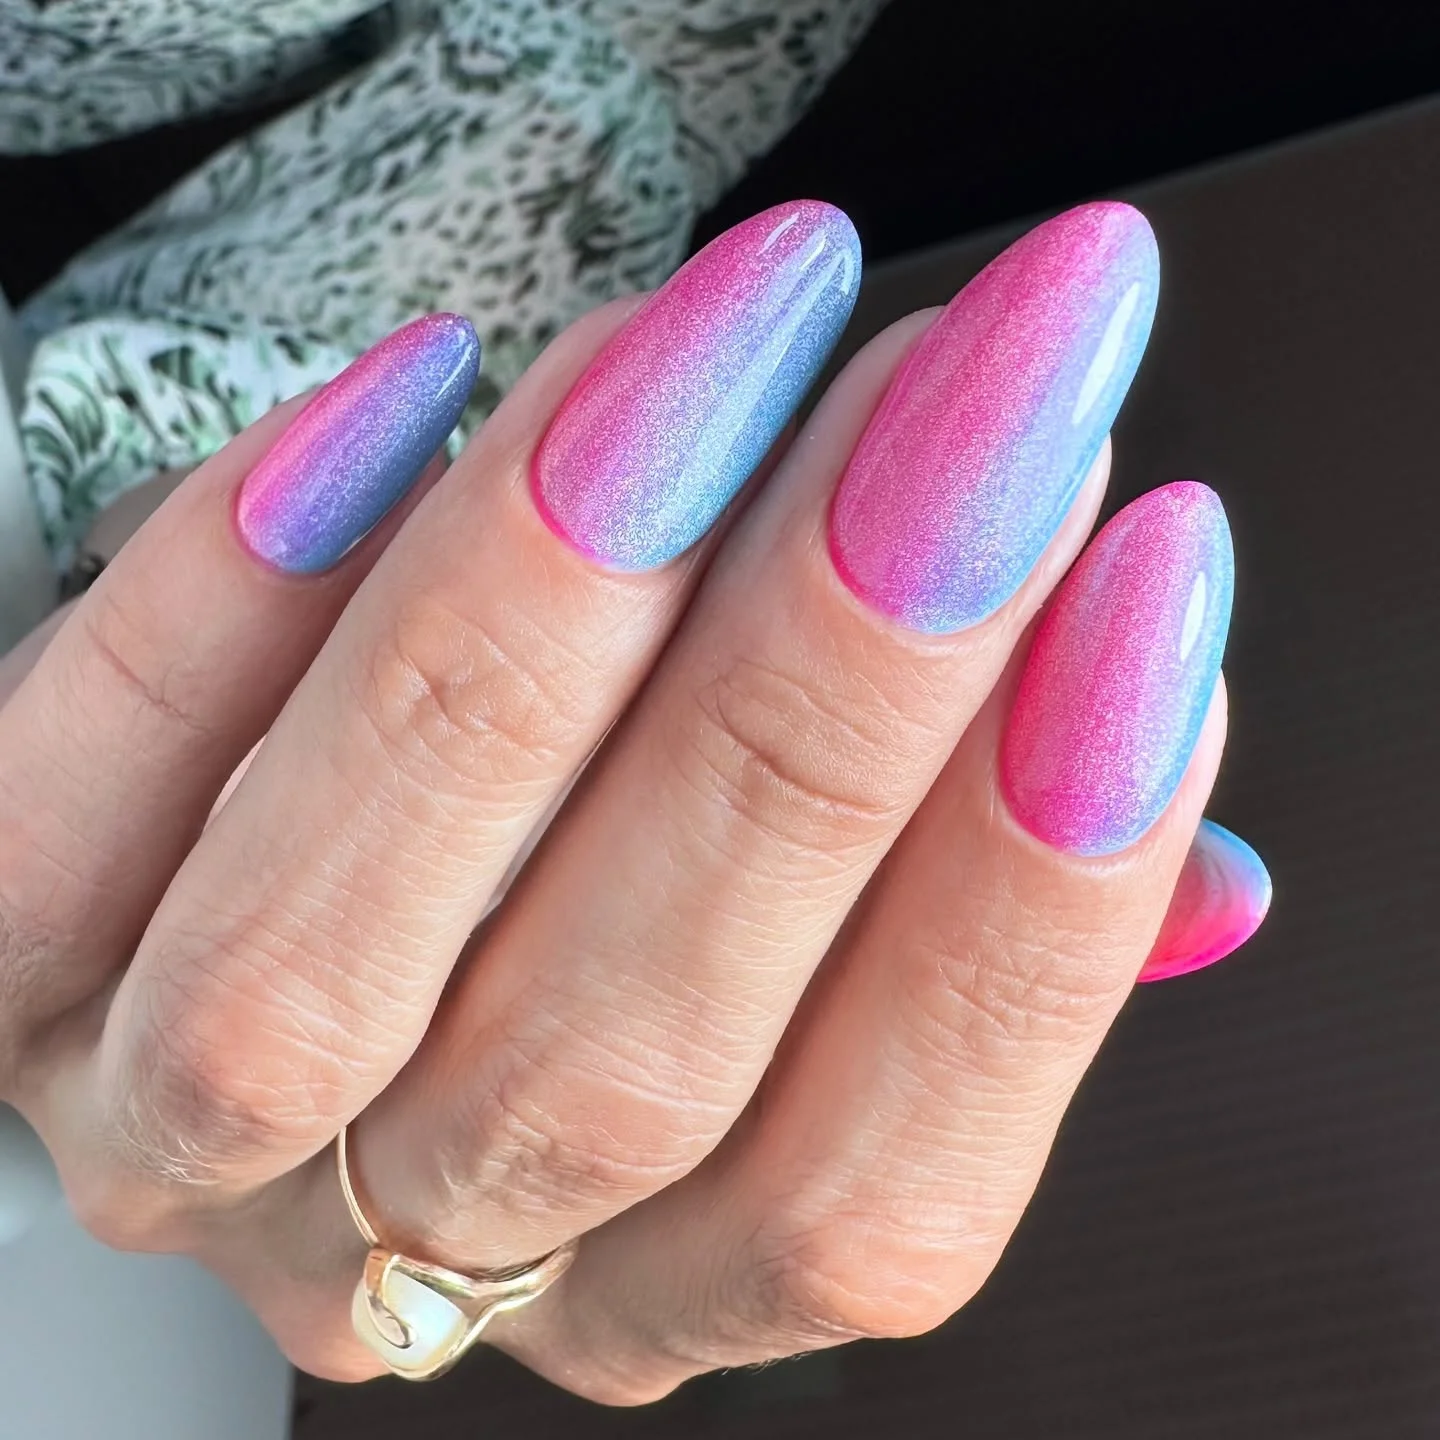
I would reach for a pastel hot-pink gel, a soft powder-blue gel, and a fine pearlescent or chrome shimmer powder. The key is choosing shades with similar intensity so the transition feels intentional rather than patchy. I would also use a smooth glossy top coat to preserve the reflective finish and keep the color looking saturated.
To recreate it, I would apply the two pastel shades in overlapping areas and blend them while the gel is still workable. After curing, I would repeat the process until the pink-to-blue transition has enough depth, then lightly buff in the shimmer effect if the products require it. The final top coat is what turns the whole combination into that sleek, glossy finish.
I love this as a late-summer manicure because it has the energy of a sunset-meets-sky color palette without relying on heavy decoration. It would look fantastic with denim, white, silver jewelry, or even a simple neutral outfit that lets the nails take center stage. If subtle pastels feel a little too quiet for you, this is the version I would try next.
Soft Pastel Marble Nails With a Dreamy Finish
I love how this pastel nail design mixes a milky translucent base with soft washes of mint, pink, lavender, and icy blue. The almond shape keeps the manicure elegant, while the blurred color placement gives each nail a delicate watercolor effect rather than a hard geometric pattern. Thin white lines sweep across several nails, adding just enough definition to keep the pastel shades from looking hazy or flat. It is one of those manicures that feels especially pretty when I want something colorful but still polished.
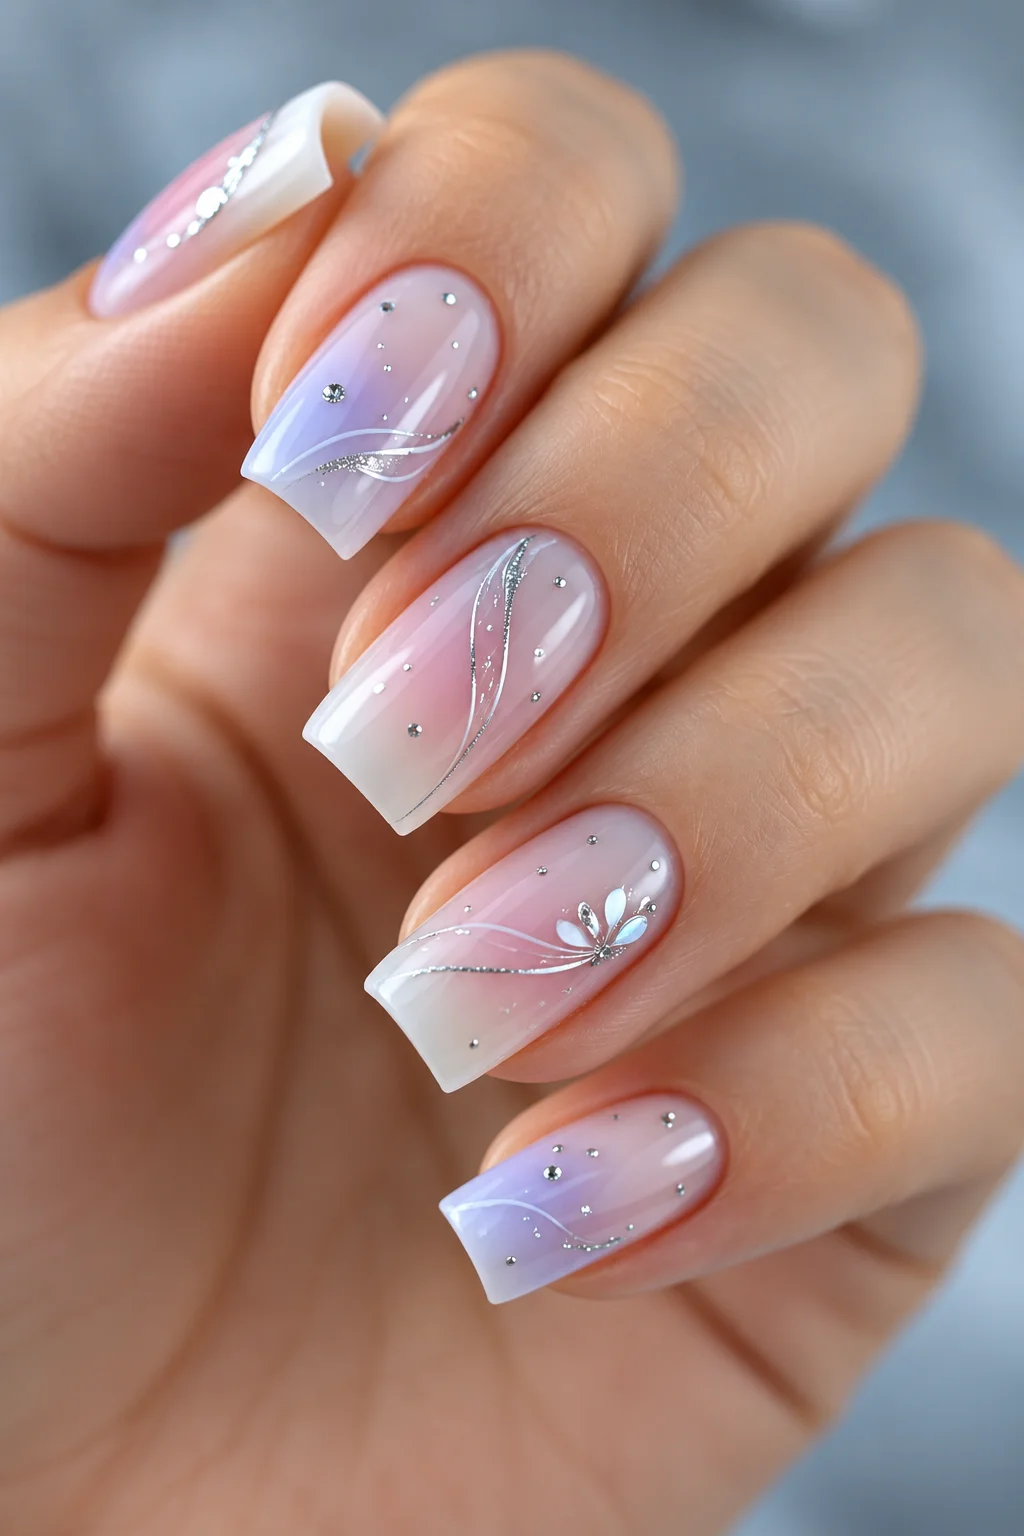
For this look, I would reach for a sheer milky base, then build the color with pastel gel polishes in mint green, baby pink, lavender, and pale blue. A very thin white liner gel is useful for those soft diagonal accents, while a glossy top coat brings out the layered, glasslike finish. I would keep the colors slightly translucent instead of choosing highly pigmented formulas because that transparency is what makes the manicure feel airy.
I start by shaping the nails into a soft almond and applying a thin base coat. After curing, I add the milky layer and lightly blend small amounts of the pastel shades while they are still workable, keeping the transitions irregular and soft. Once I like the placement, I add a few delicate white strokes, cure everything carefully, and finish with a generous layer of glossy top coat.
I especially like this idea for late spring and summer because it has color without feeling heavy. The combination of cool mint and lavender with touches of pink works beautifully with denim, white outfits, and soft neutral clothing. If I wanted to make it more wearable for everyday life, I would simply keep the color patches smaller and let more of the milky base show through.
Pastel Rainbow Waves With a Playful Twist
This manicure takes pastel nail design in a much more playful direction with flowing ribbons of mint, lilac, blush pink, and pale blue. The short rounded almond shape makes the colorful pattern feel surprisingly easy to wear, while the overlapping white lines create a soft separation between the shades. I like that the waves do not have to match perfectly from nail to nail. That slight variation makes the manicure feel hand painted and gives it a relaxed summer personality.
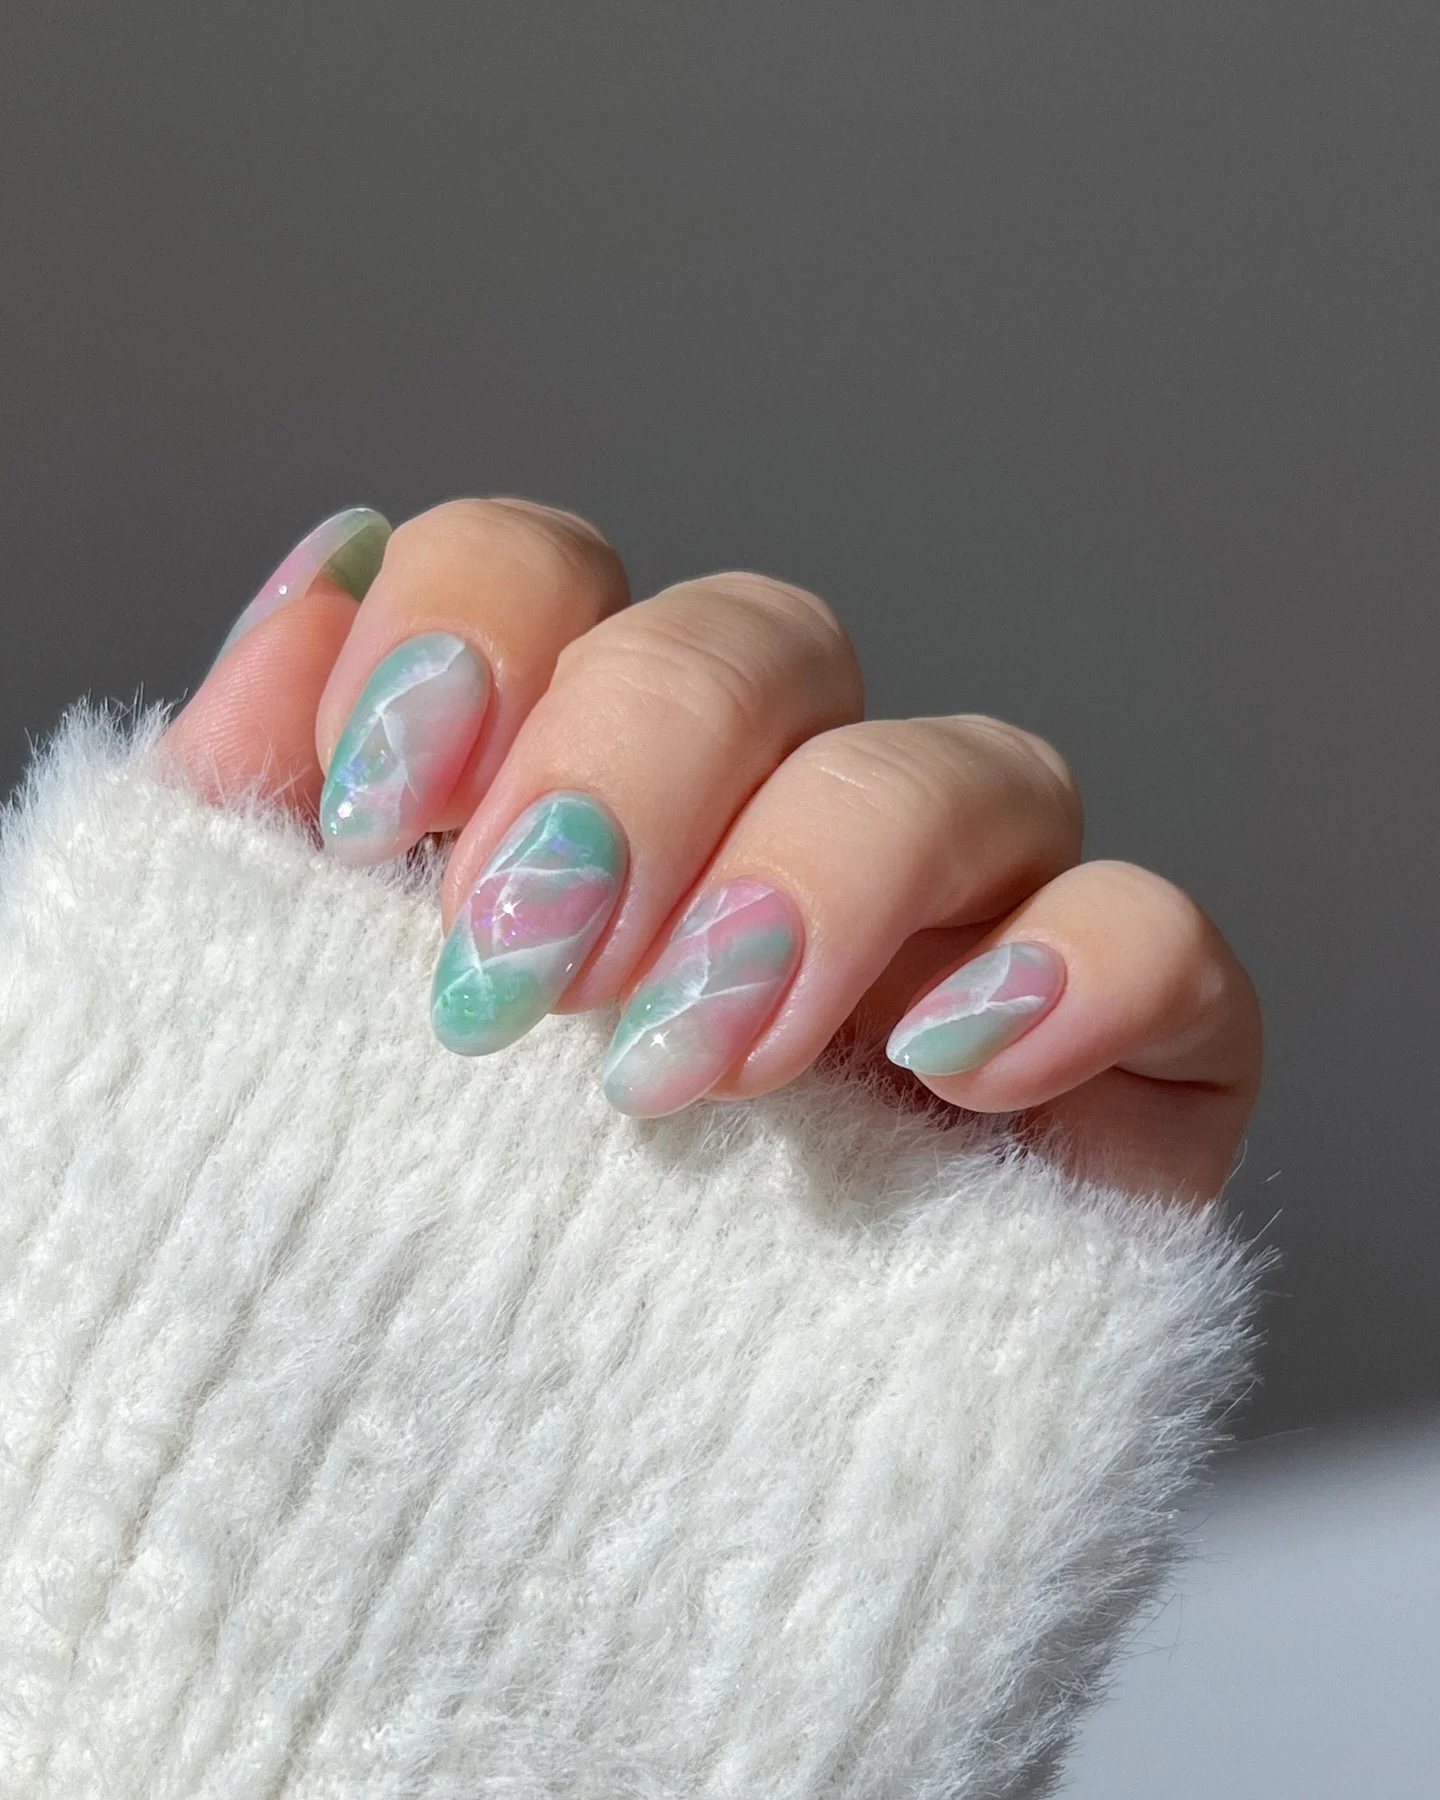
I would use a translucent nude or milky pink base as the foundation, followed by pastel gel colors in mint, lavender, pink, and blue. A white detail gel helps create the fine wave accents, and a high shine top coat seals the design. For anyone doing this at home, a fine liner brush is probably the most useful tool because the entire effect depends on keeping the curved lines delicate.
I first prepare and shape the nails, then apply the sheer base and cure it. I draw curved pastel sections one at a time, allowing each color to create its own winding path, and then add very fine white lines over selected areas. I do not try to make every curve identical because slightly different waves actually make the set look more natural. After curing the artwork, I finish with a glossy top coat.
This is the kind of manicure I would choose when I want my nails to feel cheerful without going all the way into bold neon territory. The pastel palette makes it easy to wear with casual summer clothes, while the rounded shape keeps everything practical. Have you ever noticed how a simple curved line can make an otherwise basic manicure feel completely different?
Pastel Swirl Tips for an Effortlessly Pretty Manicure
Soft pink nails become much more interesting when the tips are finished with winding pastel stripes. I love the way lavender, pink, baby blue, white, and a touch of peach follow the natural curve of each nail instead of covering the entire surface. The result feels almost like a tiny abstract rainbow placed only where I need it. The clean negative space around the design keeps the manicure looking fresh and balanced.
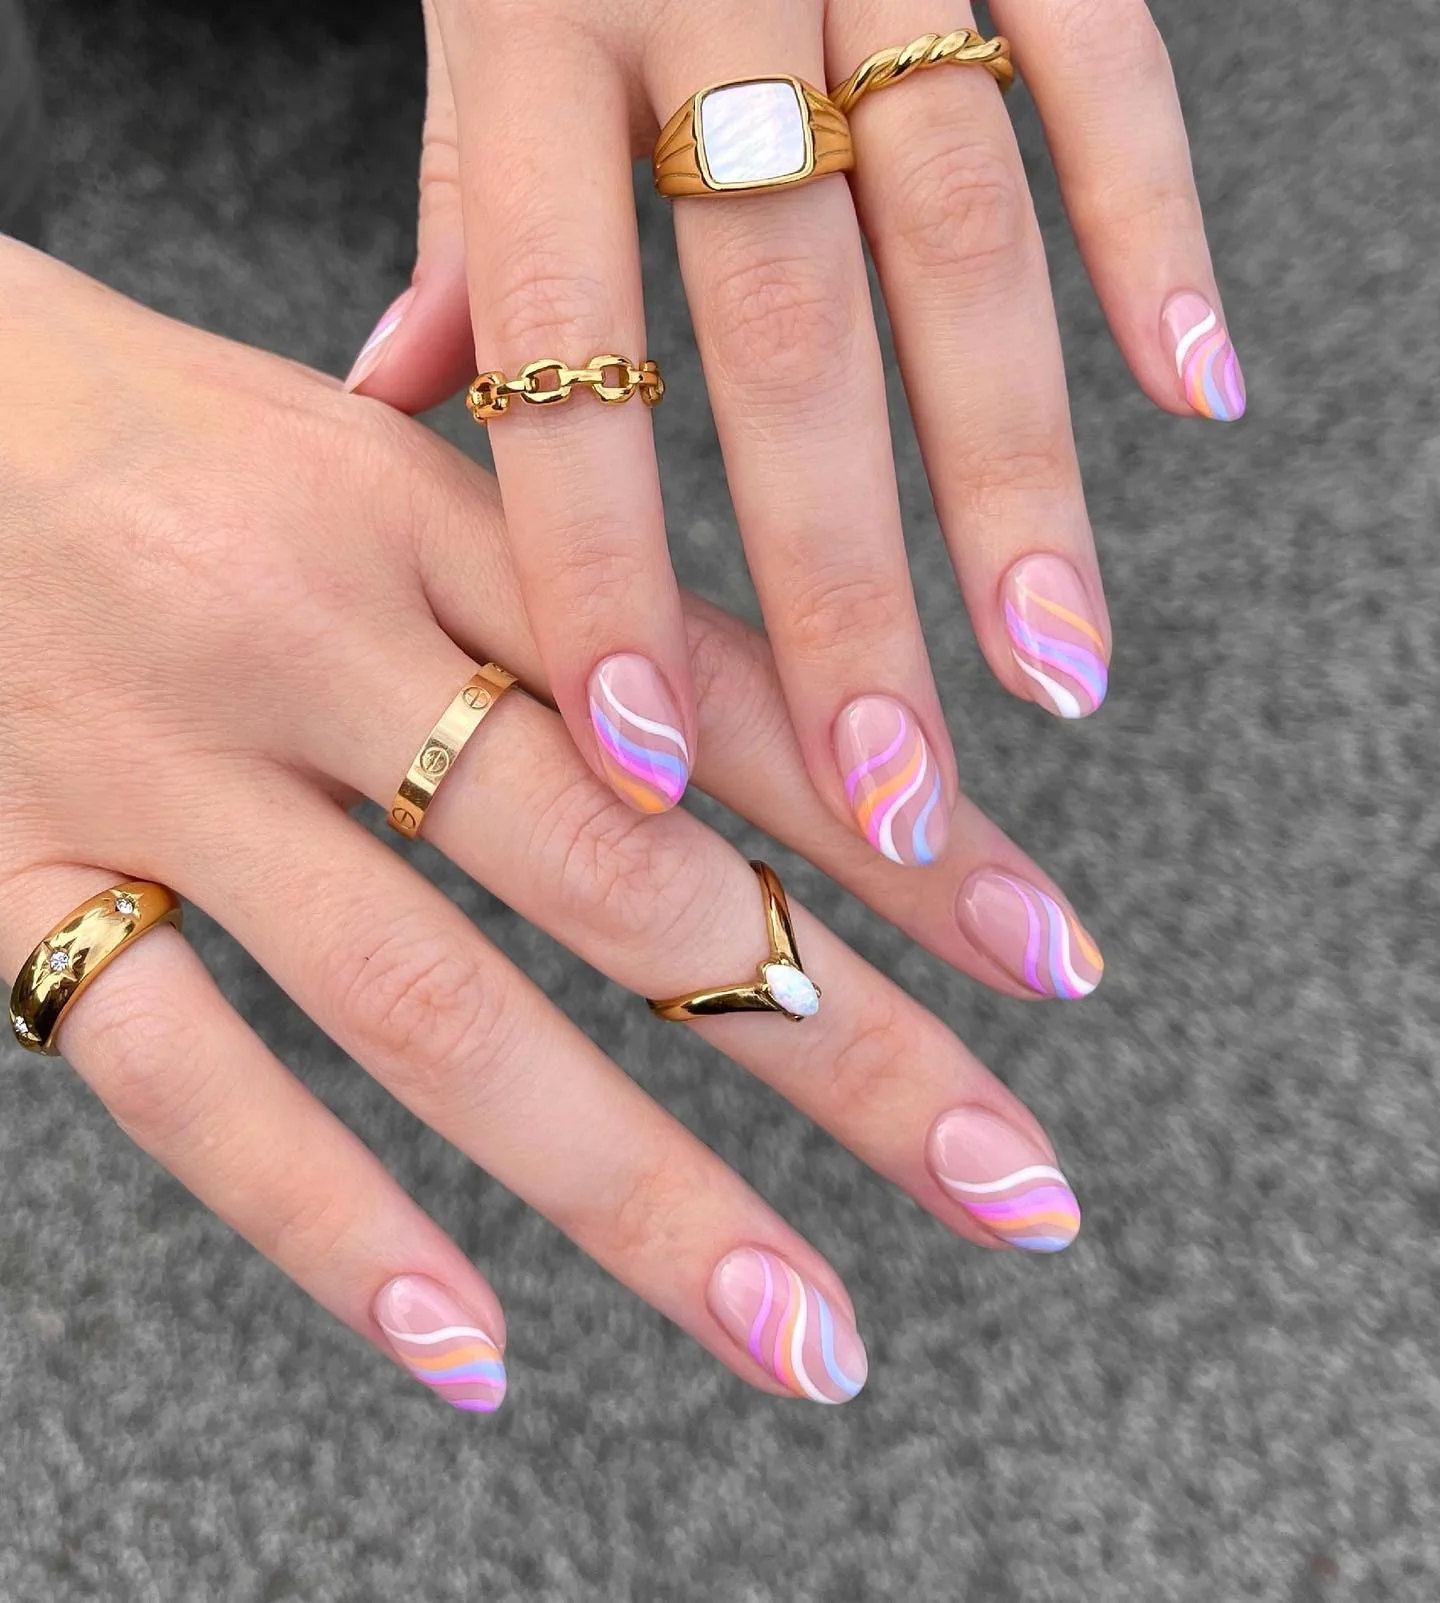
For this version, I would start with a sheer pink nude gel that closely resembles the natural nail. The decorative palette can include pastel lavender, powder blue, soft peach, creamy white, and a slightly stronger pink for contrast. A fine nail art brush makes it easier to create those narrow, parallel curves, while a glossy top coat gives the colors a smooth finish.
I like to begin with the neutral base and let it cure completely before working on the tips. I then draw each pastel stripe in a gently curved motion, following the same general direction while changing the placement from nail to nail. The lines can overlap slightly toward the sidewall or finish at different points across the tip. Once everything is cured, I add the final glossy layer and carefully seal the free edge.
This style is especially appealing to me when I want something decorative but not overwhelming. Because most of the nail remains sheer, the manicure grows out more gracefully than a fully covered design. It is also easy to adapt for shorter nails by using fewer stripes and concentrating the color closer to the tip.
Pastel Botanical Details With Soft Lavender Accents
Here the pastel palette feels especially delicate, with lavender, pale yellow, mint, and soft blue working together across an almond shape. Small leaf and petal motifs appear among the color blocks, while tiny decorative details give the manicure a handmade feel. I like the balance between the abstract pastel sections and the recognizable botanical shapes because neither element takes over. Everything stays light, airy, and distinctly feminine.
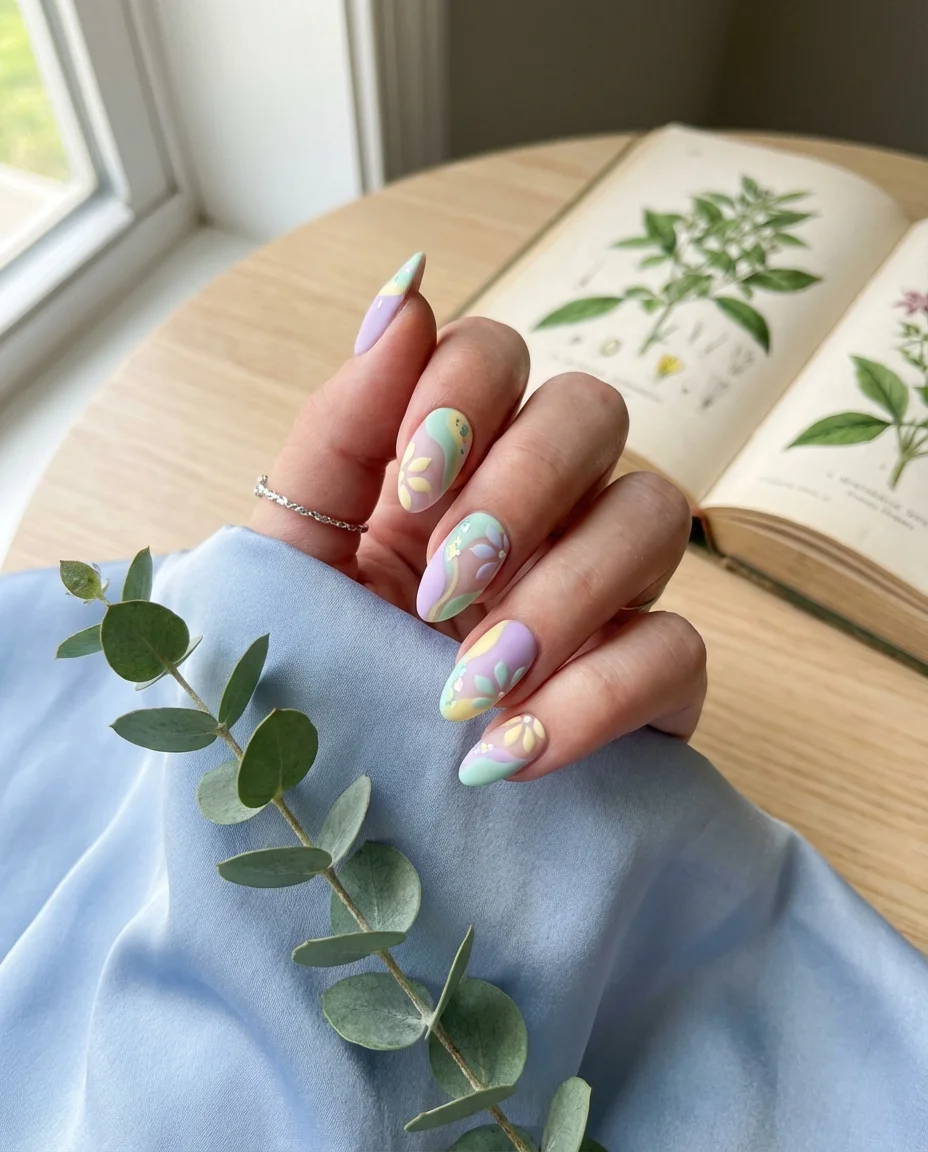
I would use a translucent nude base with pastel lavender, mint green, butter yellow, and pale blue gel colors. For the tiny botanical details, I would keep a creamy white polish nearby, along with a very fine detail brush or dotting tool. A glossy top coat is ideal here because it makes the small painted elements look crisp while preserving the soft quality of the colors underneath.
I begin with the sheer base and decide which nails will carry the more detailed artwork before I start painting. I use thin curved strokes for the stems and small rounded marks for petals and leaves, placing the designs asymmetrically so the manicure does not look too uniform. The larger pastel sections can be blended softly around the artwork, and everything is cured in thin layers before the final top coat.
I would wear this manicure on a warm weekend when I want my nails to echo the softness of the season without relying on a single color. It has that pretty little detail that catches my attention whenever I move my hands. If tiny flowers or leaves feel too much for you, keeping them on just two accent nails would create an equally wearable version.
Pastel Rainbow Swirls With Retro Energy
Pastel nail design gets a fun graphic update with these tightly curved rainbow swirls. Mint, yellow, blue, pink, and lavender wind across the nails in repeating patterns, while tiny white dots fill some of the spaces between the lines. The shorter shape keeps the artwork compact, so the manicure feels playful rather than oversized. I especially like the contrast between the soft colors and the precise curved detailing.
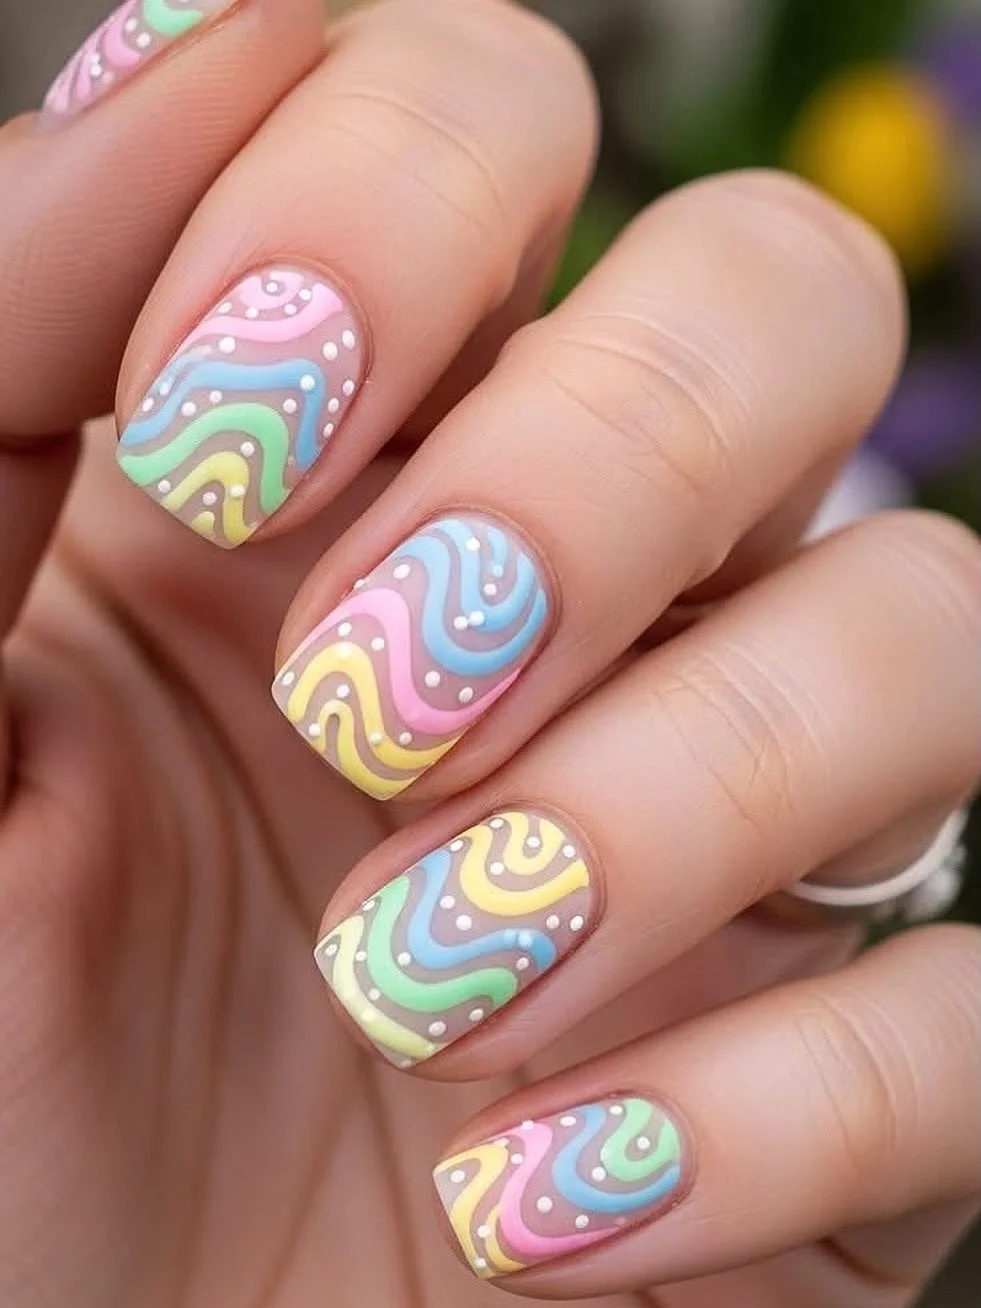
The palette calls for several pastel gel colors, including powder blue, soft pink, mint, pale yellow, and lavender, plus white for the dots and fine accents. A nude or translucent pink base works best because it allows the colors to remain distinct without adding another strong background shade. I would also use a fine liner brush and a dotting tool to keep the curves and tiny details consistent.
I would apply the base first and cure it before building the swirl pattern in sections. Starting with the largest curves helps establish the direction of the design, after which I can fit the smaller lines around them. I add the white dots last because they work almost like little punctuation marks between the colorful ribbons. A glossy top coat completes the manicure and smooths over the raised detail.
For me, this is a great choice when a simple pastel manicure feels a little too quiet. The design has personality, but the muted color palette keeps it from becoming visually overwhelming. It would also be fun for a vacation manicure because the curved shapes have that carefree, sunny-season feeling without needing glitter or heavy embellishment.
Milky Pastel Ombre With a Pearly Glow
This manicure takes a softer approach, blending milky white with hints of baby pink, lavender, and pale yellow. Instead of sharp lines or obvious artwork, the colors melt gently into one another, creating an almost translucent ombre effect across the square nails. I love the glossy surface because it makes the pastel shades look slightly luminous while keeping the overall design incredibly clean.
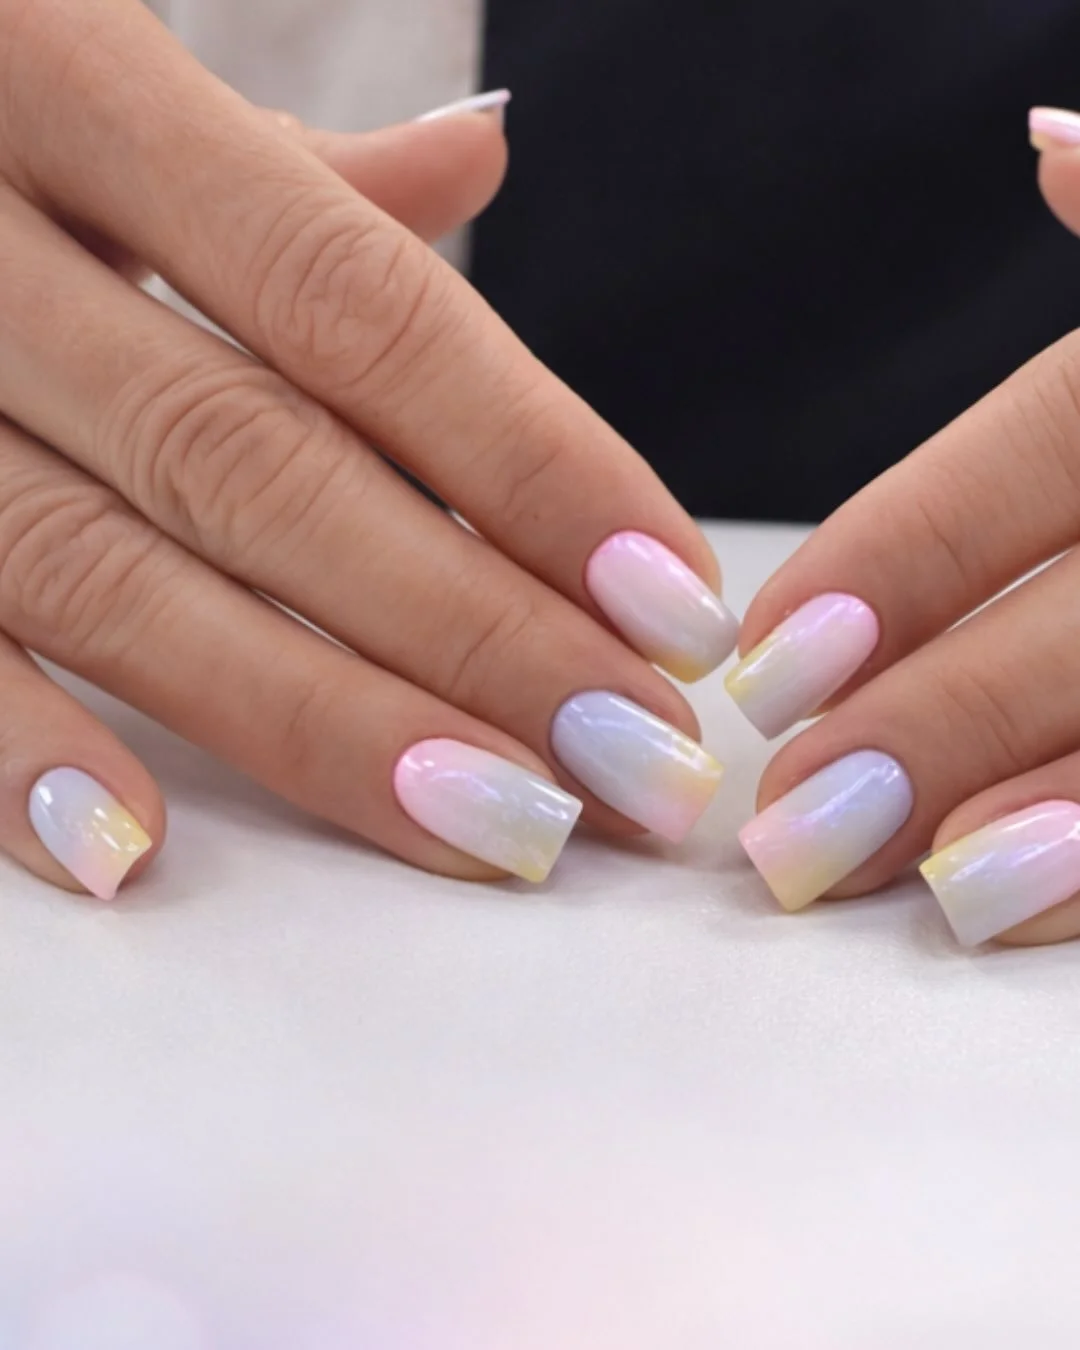
I would reach for a sheer white or milky gel base, followed by very diluted pastel pink, lavender, and pale yellow shades. A sponge or soft ombre brush can help diffuse the colors, while a glossy top coat creates the smooth finish seen here. If I wanted a subtle pearl effect, I could add the thinnest veil of translucent pearlescent powder before sealing the design.
I start with the milky base and cure it, then apply the pastel shades in extremely thin layers. I blend each color while the product is still workable, gradually building the intensity rather than applying one heavy coat. The key for me is stopping before the colors become too opaque. After the final blend is cured, I add the glossy top coat and check the free edges for a perfectly sealed finish.
This is probably the easiest idea in this group for someone who usually prefers understated manicures. It still has that soft pastel quality, but the color transitions are subtle enough for an office, dinner, or everyday wardrobe. Sometimes I think this is exactly what I want when I cannot decide between a neutral manicure and something more colorful.
Pastel Aura Nails With a Soft Center Glow
The final look brings pastel color into focus with an aura effect, placing a diffused pink and yellow center inside a cool blue border. Each almond nail has the same basic color story, but the blurred transitions prevent the set from looking repetitive. The result feels almost luminous, especially against the glossy finish. It is colorful, but there is nothing harsh about it.
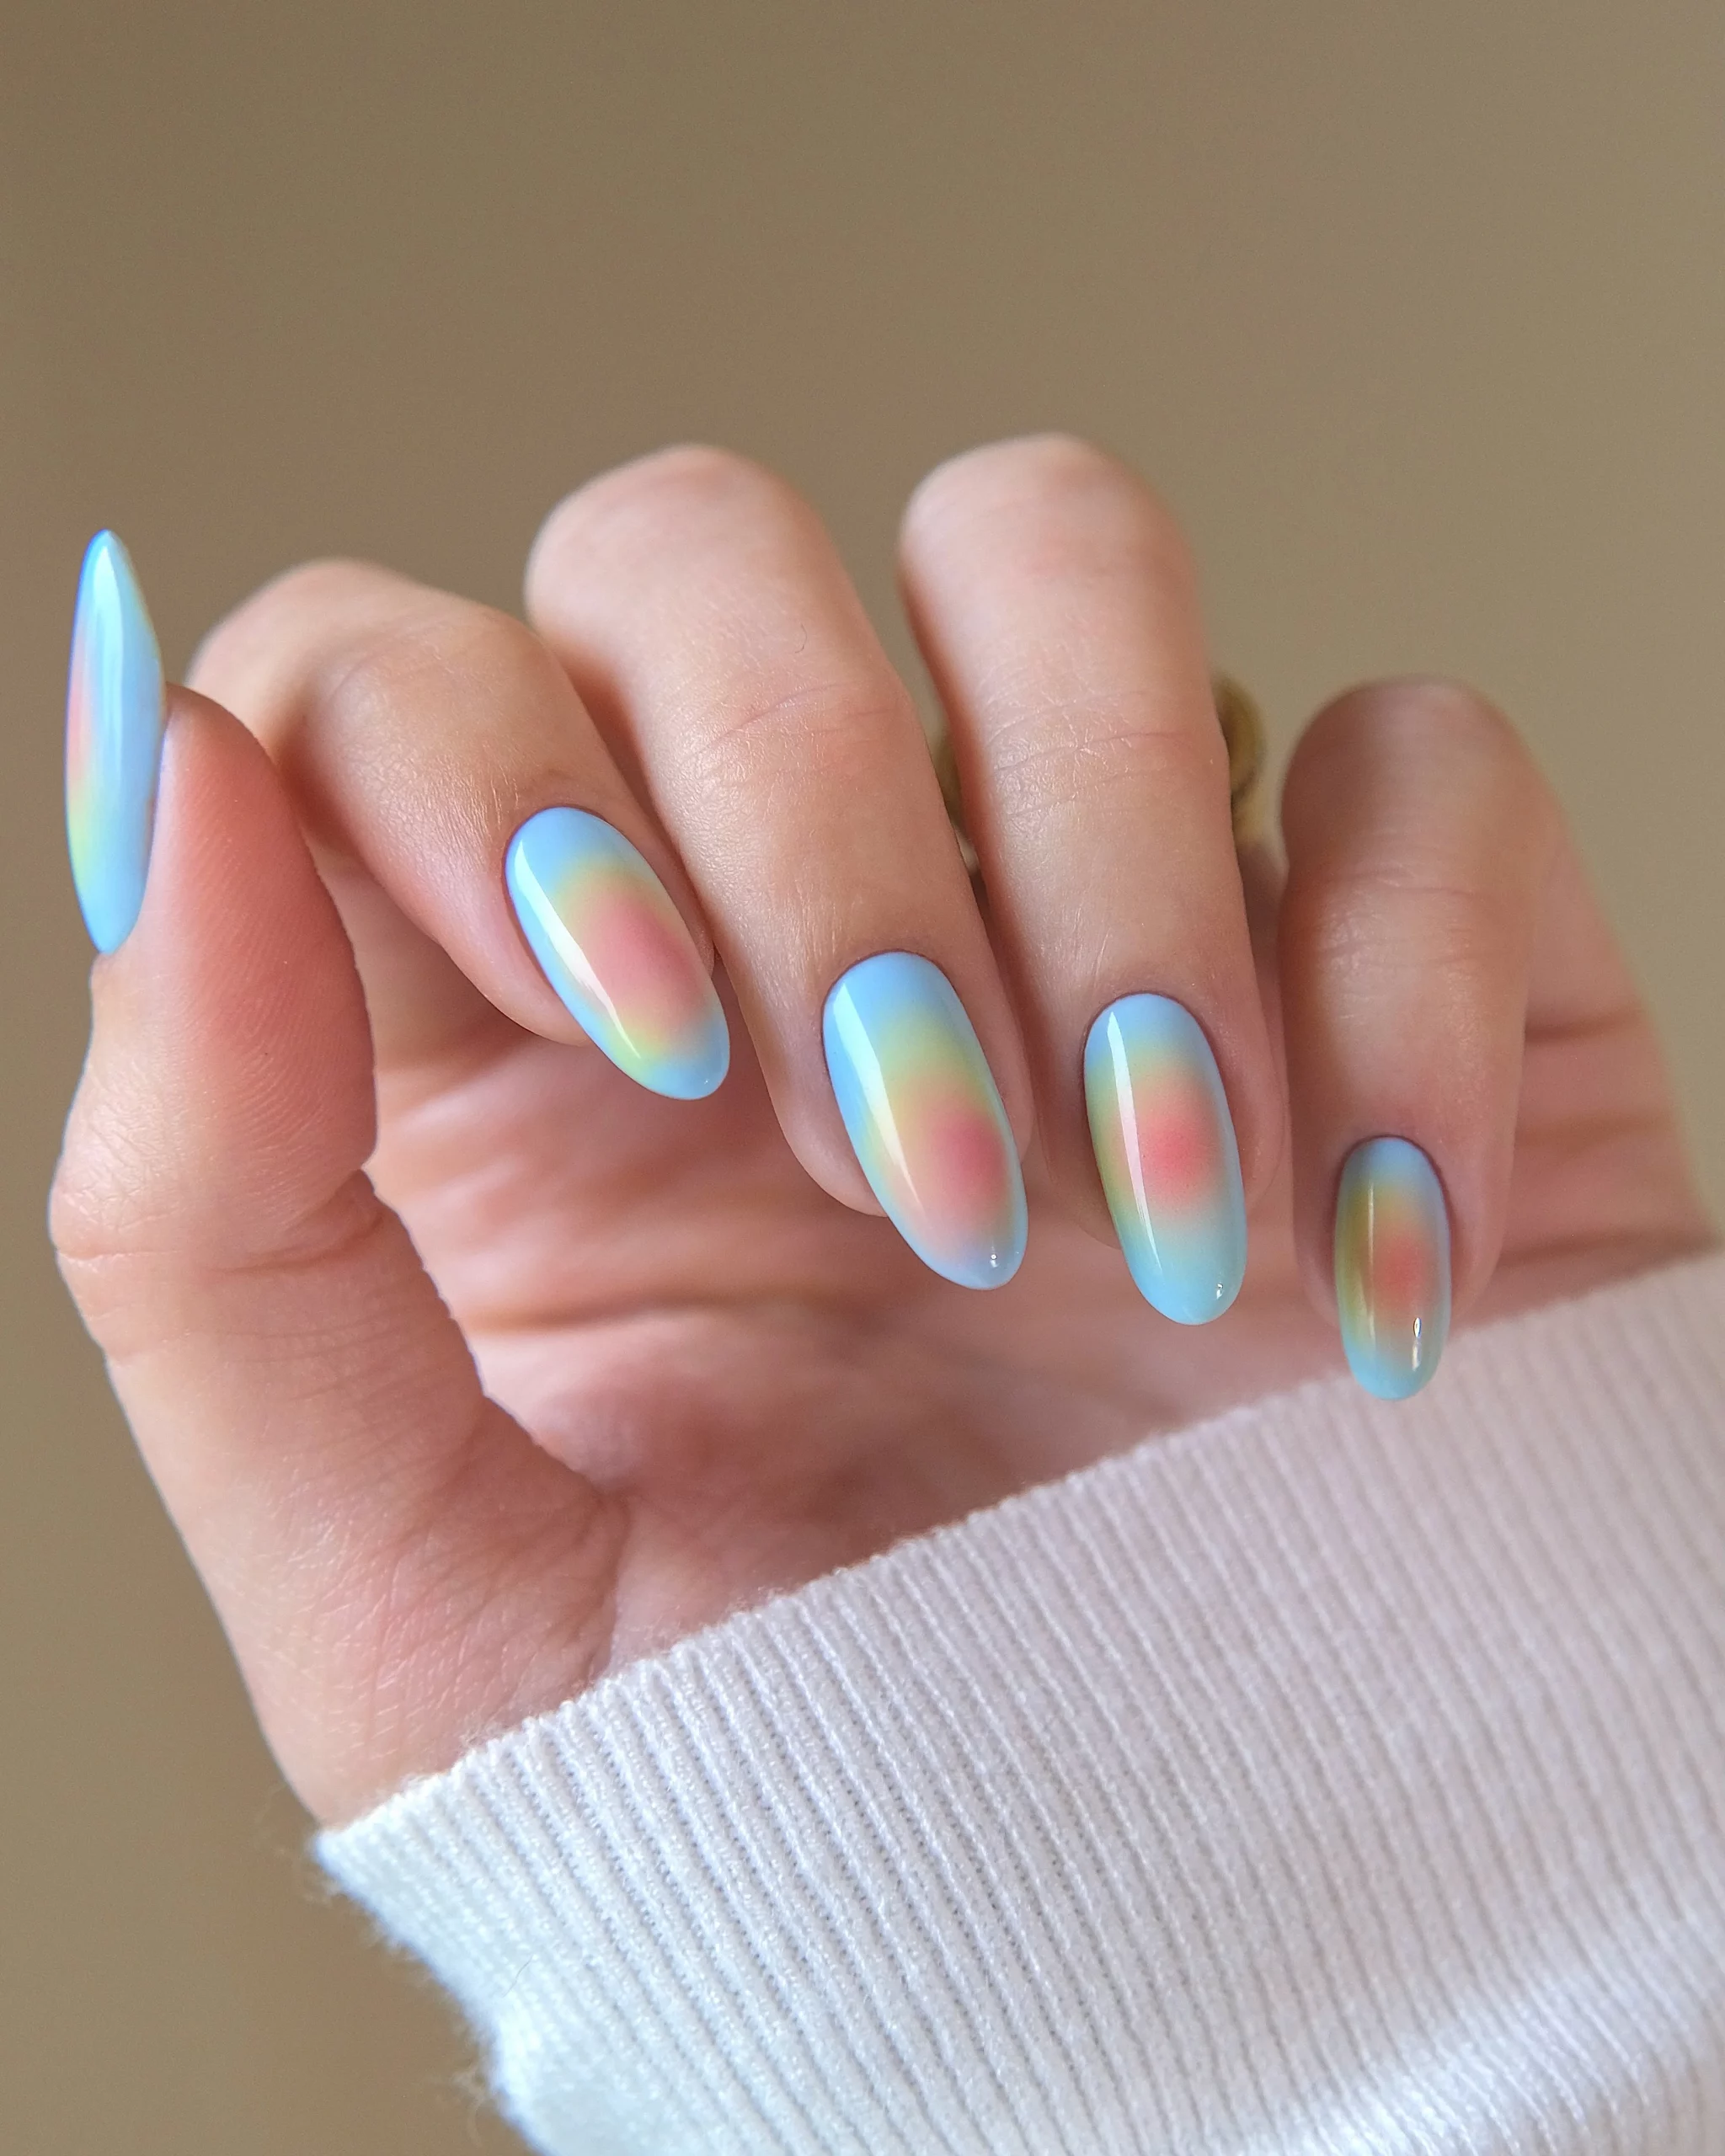
For this design, I would use a pale blue base shade with soft pink, yellow, and possibly a touch of lavender for the center glow. A makeup sponge or small blending tool is useful for diffusing the colors, and a glossy top coat is essential for maintaining that smooth aura effect. I prefer sheer or jelly-like formulas for this technique because they allow me to build the glow gradually.
I would begin by shaping the nails into a balanced almond and applying the blue base. Once cured, I lightly dab the pink and yellow shades toward the center of each nail, blending outward until there are no obvious edges. I repeat the process in thin layers rather than trying to achieve the full effect immediately. After curing the final layer, I apply a glossy top coat to bring the colors together.
I would choose this pastel nail design when I want something that feels distinctly seasonal but still sophisticated. The cool blue edge keeps the manicure fresh, while the warm center gives each nail a little softness. It is also a clever way to experiment with several colors at once without making the nails feel crowded, which is exactly why aura designs continue to be such an easy source of inspiration.
Pastel nails prove that a soft manicure can still have plenty of personality. From delicate pink and lavender blends to milky finishes, pearly shimmer, marble accents, and fine metallic details, there are so many ways to make these shades feel fresh and modern. I especially love how easily pastel colors can be adapted to different nail shapes and personal styles without losing their graceful appeal. Whether you prefer barely-there color or a little more sparkle, these pastel nail design ideas are an easy way to refresh your look for the season. So, which one are you saving for your next manicure?

