
Minimalist nude nails have that rare beauty trick: they look effortless, yet somehow make the entire look feel more polished. From sheer blush tones and milky pinks to glossy almond shapes and delicate micro-French details, there are so many ways to make a neutral manicure feel fresh. But how do I choose a nude shade that actually complements my skin tone without looking too flat or washed out? And which nail shapes and finishes make the biggest difference when I want that timeless, put-together effect? I’m especially drawn to these understated styles for late summer, when light colors and glossy finishes feel perfectly in sync with the season. Whether I’m getting ready for work, a weekend getaway, or simply want my hands to look beautifully cared for, minimalist nude nails make an easy case for less. Here are the chic, wearable ideas I’d save to my Pinterest board when I want a manicure that never feels out of style.
Soft Blush Almond With A Barely There Finish
I love how a soft blush nude can make long almond nails look incredibly refined without needing any decoration at all. The shade here sits somewhere between sheer pink and a natural milky nude, allowing a hint of the nail to show through while giving the surface a healthy, glassy appearance. The almond shape is long and tapered, with smooth sidewalls and a softly pointed tip rather than an exaggerated stiletto point. That balance is important because it keeps the manicure elegant instead of theatrical. The glossy finish catches light along the center of each nail, creating that clean, fresh effect I associate with minimalist beauty.
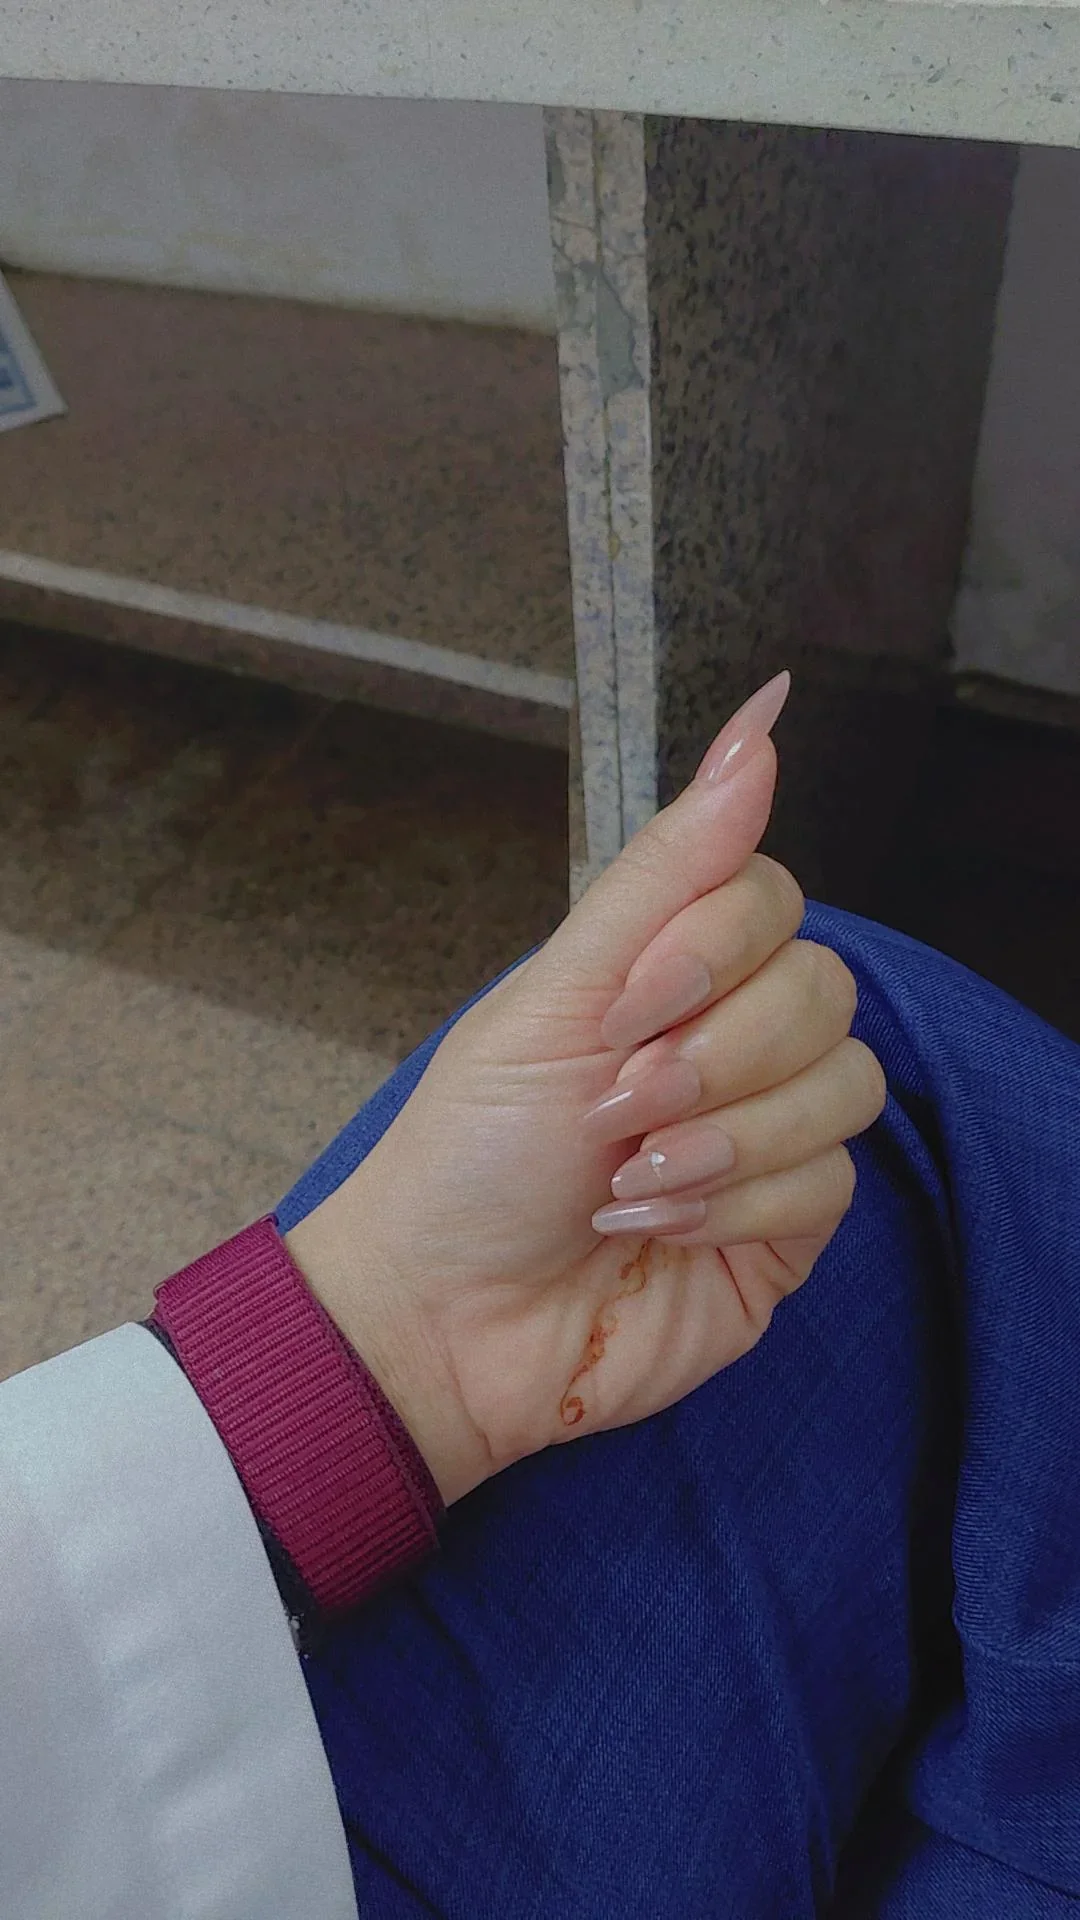
For a similar result, I would start with a sheer pink or pink-beige base coat, followed by one or two very thin layers of a translucent nude gel or polish. OPI Bubble Bath, CND Romantique, or a comparable sheer blush shade can create this kind of soft foundation, depending on the natural color of the nails. I would also keep a high-shine top coat nearby because the glossy surface is a major part of the finished look. A fine nail file is enough to refine the almond shape, while cuticle oil helps give the whole manicure a more finished appearance.
At home, I would shape the nails first, making sure both sides taper gradually toward the tip. I prefer to apply the nude color in thin layers rather than trying to achieve full opacity immediately. That keeps the manicure delicate and prevents the color from looking heavy around the cuticle. Once the polish has cured or dried, I would add a generous but controlled layer of glossy top coat and clean up any polish that has wandered onto the skin. The final step is simple: cuticle oil, hand cream, and a few minutes of letting everything settle.
This is the manicure I would choose when I want my nails to quietly make me look more put together. It works beautifully with summer whites, denim, neutral tailoring, and even a simple T-shirt because it never competes with an outfit. I also like that the sheer finish gives me a little freedom as the manicure grows out. There is no harsh color line announcing that I need an appointment tomorrow morning.
Fine White Outline On A Warm Nude Base
There is something especially pretty about a nude manicure with an extremely delicate white outline. The warm beige base keeps the look soft, while the slim white detailing follows the natural curve of the almond nails and creates a subtle French-inspired effect. On a deeper complexion, this contrast looks particularly graceful because the nude base blends beautifully with the skin while the white line gives the manicure definition. I also like the small vertical detail near the tips because it adds a little architectural interest without turning the design into busy nail art.
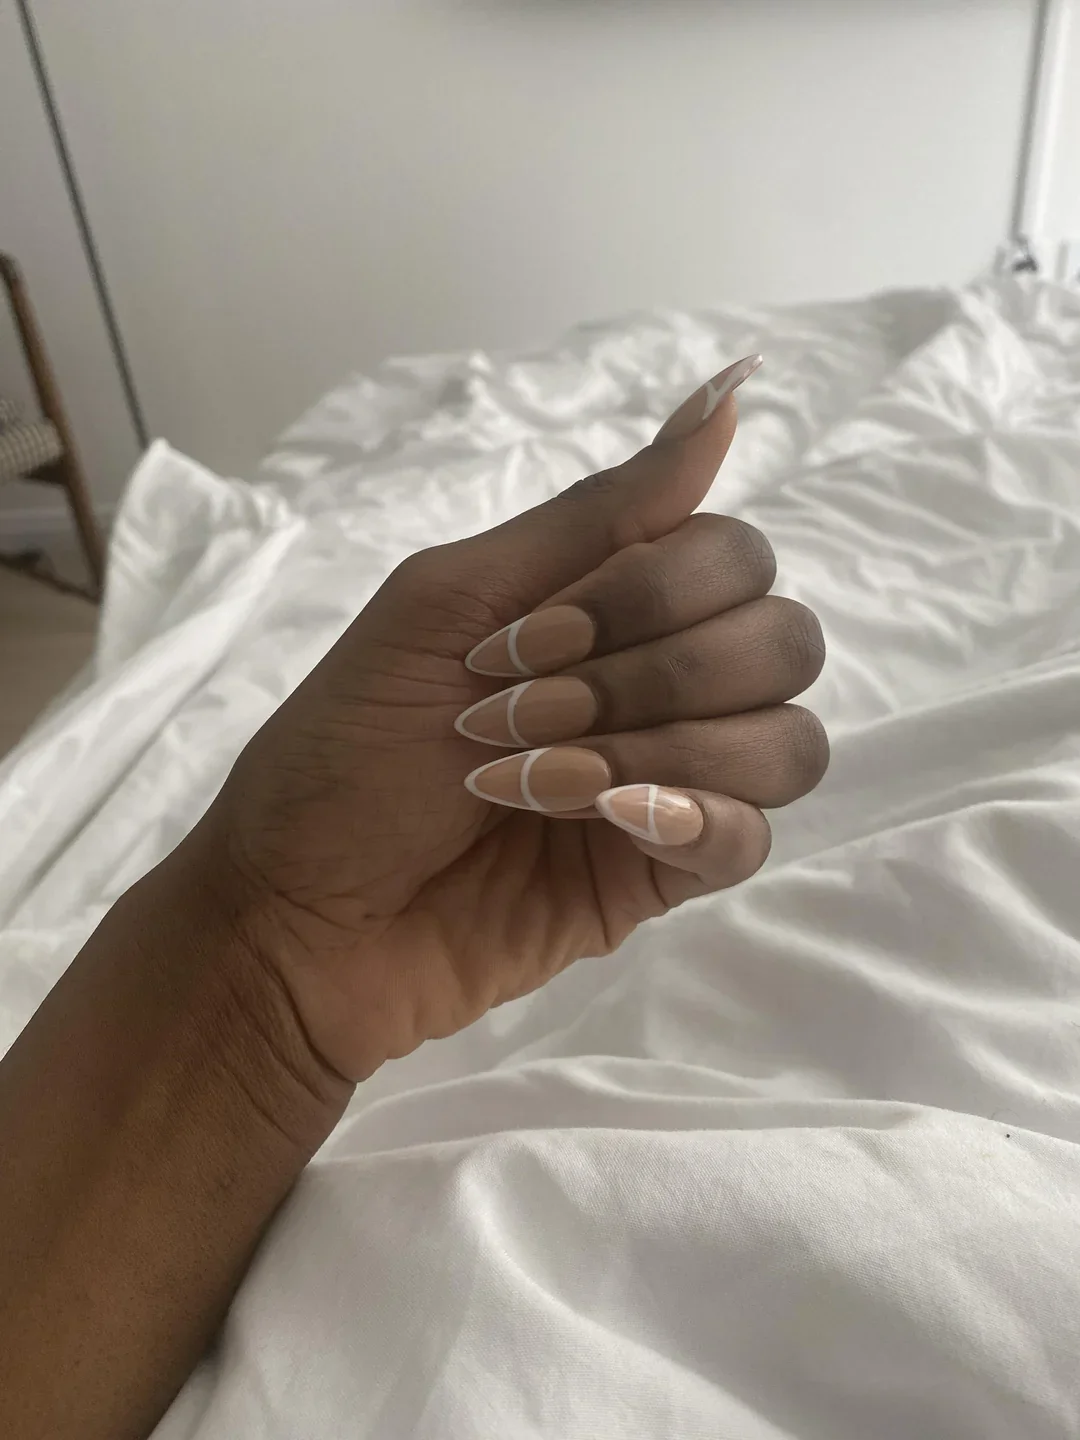
I would use a warm nude gel polish that complements the natural undertone of the skin rather than trying to make every complexion match the same beige. For the detailing, an opaque white liner gel or highly pigmented white polish works best because the line needs to stay thin and crisp. A fine nail-art brush makes a noticeable difference here. I would also use a glossy top coat to seal the design and keep the surface smooth.
My method would be to build the nude base first and allow it to cure completely. Then I would use the liner brush to trace a narrow curve near the tip, working slowly from one side toward the center and then repeating from the other side. I would keep the pressure light because a minimalist line looks much more sophisticated when it is fine rather than thick. After curing the white detail, I would finish with top coat, making sure to cap the free edge.
I find this version particularly useful when I want a French manicure but do not want the traditional high-contrast appearance. The effect is quieter, softer, and incredibly wearable. Would I choose it for a summer wedding? Absolutely. A weekend away? Also yes. It has enough detail to feel special but still belongs firmly in the timeless category.
Peachy Nude Almonds With Tiny Sparkle Accents
A warm peach nude instantly gives a manicure a little more life, especially when it is paired with a smooth almond shape. The color here is soft and feminine without leaning too pink, and the finish is creamy rather than overly transparent. Tiny crystal-like accents placed close to the base of a few nails provide just enough sparkle to catch the light. I especially like the restraint: the decoration is so small that the overall manicure still reads as nude first and embellished second.
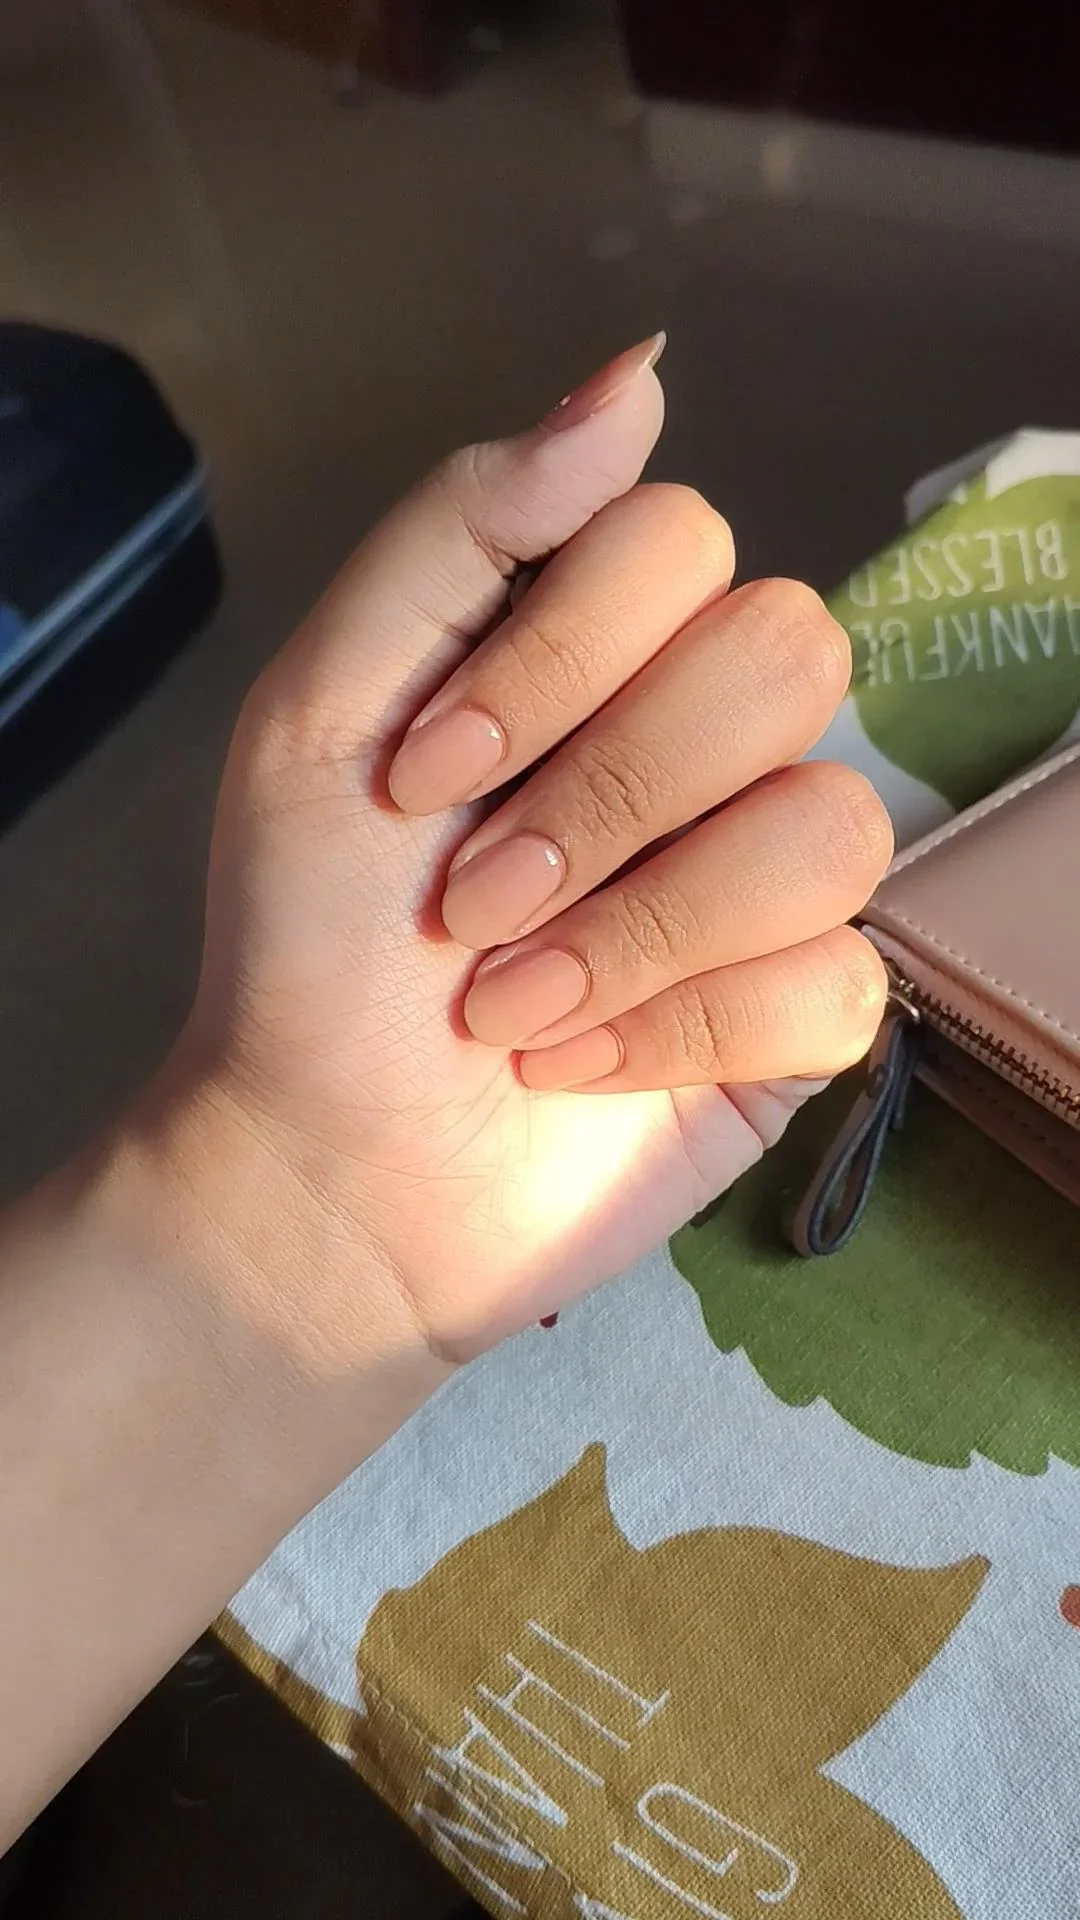
For this look, I would choose a peach-beige polish with a glossy finish, plus a few miniature nail crystals or flat-back rhinestones. A clear rhinestone adhesive or nail-art gel can hold the accents securely. I would also keep a dotting tool or wax pencil nearby because tiny embellishments are much easier to position with the right tool. The goal is not to cover the nail with sparkle; it is to create one tiny flash of light.
I would begin with a neatly shaped almond manicure and apply the peach nude in two thin layers. Once the base is cured, I would place a very small amount of nail adhesive where I want the crystal to sit. Using the wax pencil, I would position one tiny stone near the cuticle area and press it gently into place. After curing, I would apply top coat around the embellishment rather than flooding directly over a large crystal.
This style reminds me why minimalist manicures can still feel celebratory. The tiny sparkle changes everything when the light hits your hands, yet the nude base keeps the design sophisticated. I could easily wear this with gold jewelry, a silky summer dress, or an everyday office look. Sometimes one little glimmer is all the manicure needs.
Milky Pink Oval Nails For A Clean Everyday Look
The soft milky pink finish here is almost like a sheer veil over the natural nail. The oval shape keeps the manicure practical while gently following the natural proportions of the fingers, and the high-shine surface gives the nails that freshly finished appearance I always notice first. There are no visible decorations or complicated color changes, which is exactly why this look works so well. It feels clean, feminine, and quietly expensive without trying to prove anything.
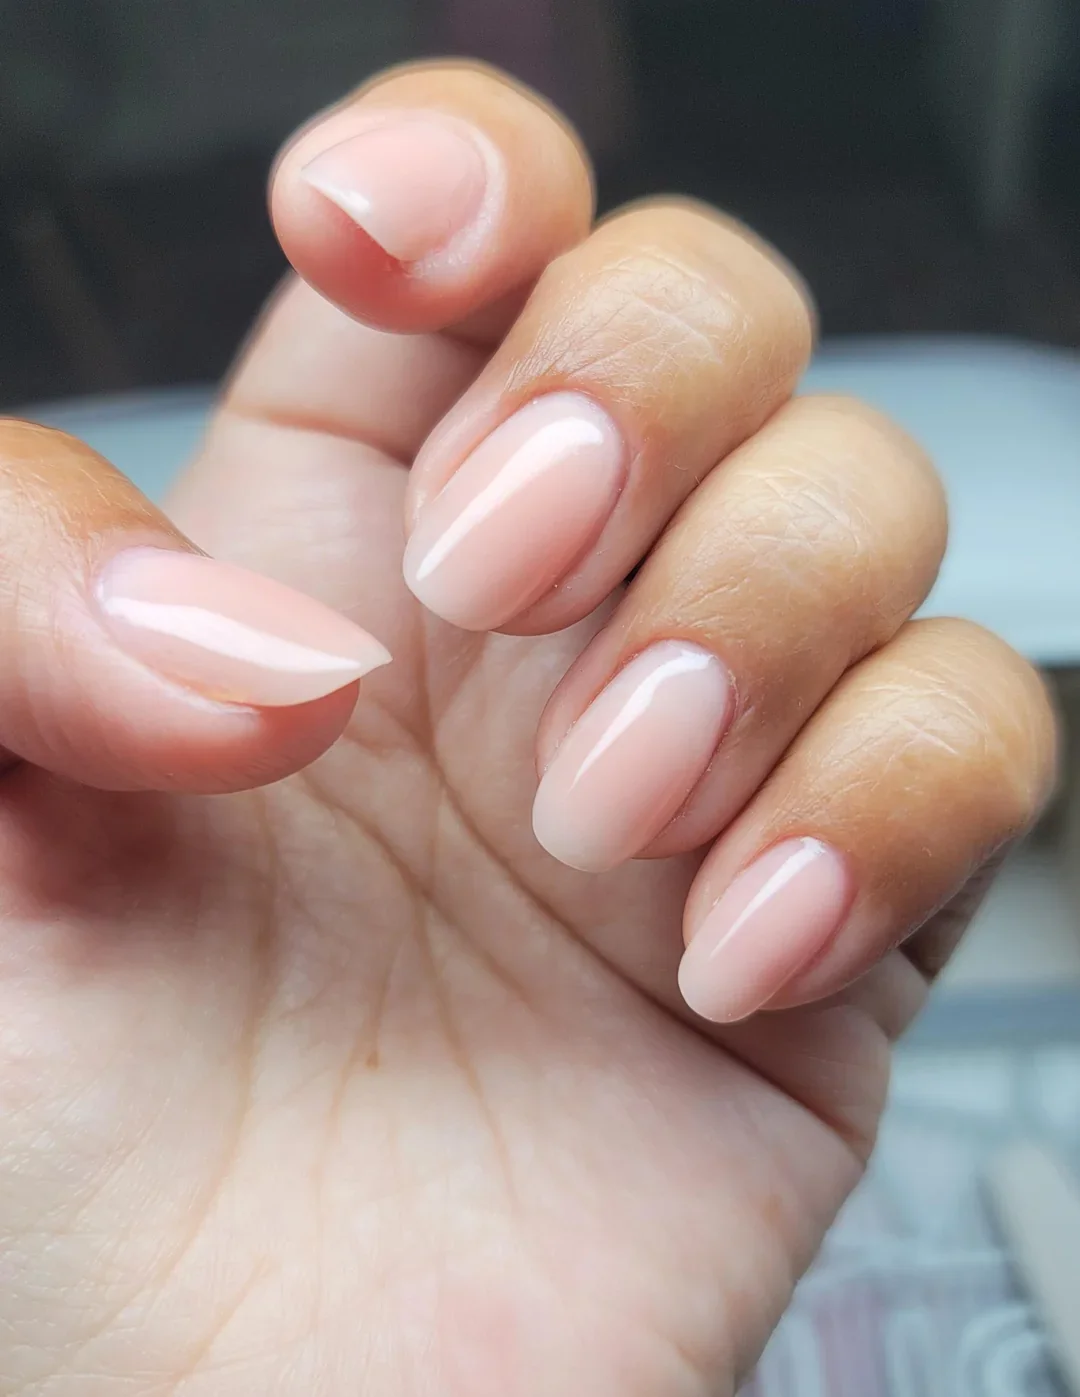
I would keep the product list wonderfully short. A ridge-filling base coat can smooth the nail surface, followed by a milky pink polish or sheer builder gel and a glossy top coat. If the natural nails are already strong and even, I would not add unnecessary layers simply to create thickness. The beauty of this manicure is in its lightness.
At home, I would gently shape the nails into a rounded oval, taking care not to file aggressively into the sidewalls. After pushing back the cuticles and cleansing the nail plate, I would apply a thin base coat. Two delicate coats of milky pink should be enough, although some sheer formulas look even prettier with only one coat. I would finish with a glassy top coat and let the manicure fully dry or cure before reaching for anything.
This is my idea of a reliable manicure. If I have a busy week and want something that works with absolutely everything, this is the direction I would take. It looks especially fresh during the warmer months, when linen shirts, pale denim, sandals, and simple jewelry already create a light visual palette.
Tiny White Florals On A Sheer Nude Base
Minimalist floral nail art does not have to mean covering every nail with elaborate petals. Here, tiny white flowers are scattered over a sheer nude base, creating a delicate spring-and-summer feeling while keeping the overall manicure incredibly clean. The nails are short and softly rounded, which makes the floral details feel youthful and approachable rather than formal. Each little flower is small enough to leave plenty of negative space around it, and that empty space is what keeps the design looking modern.
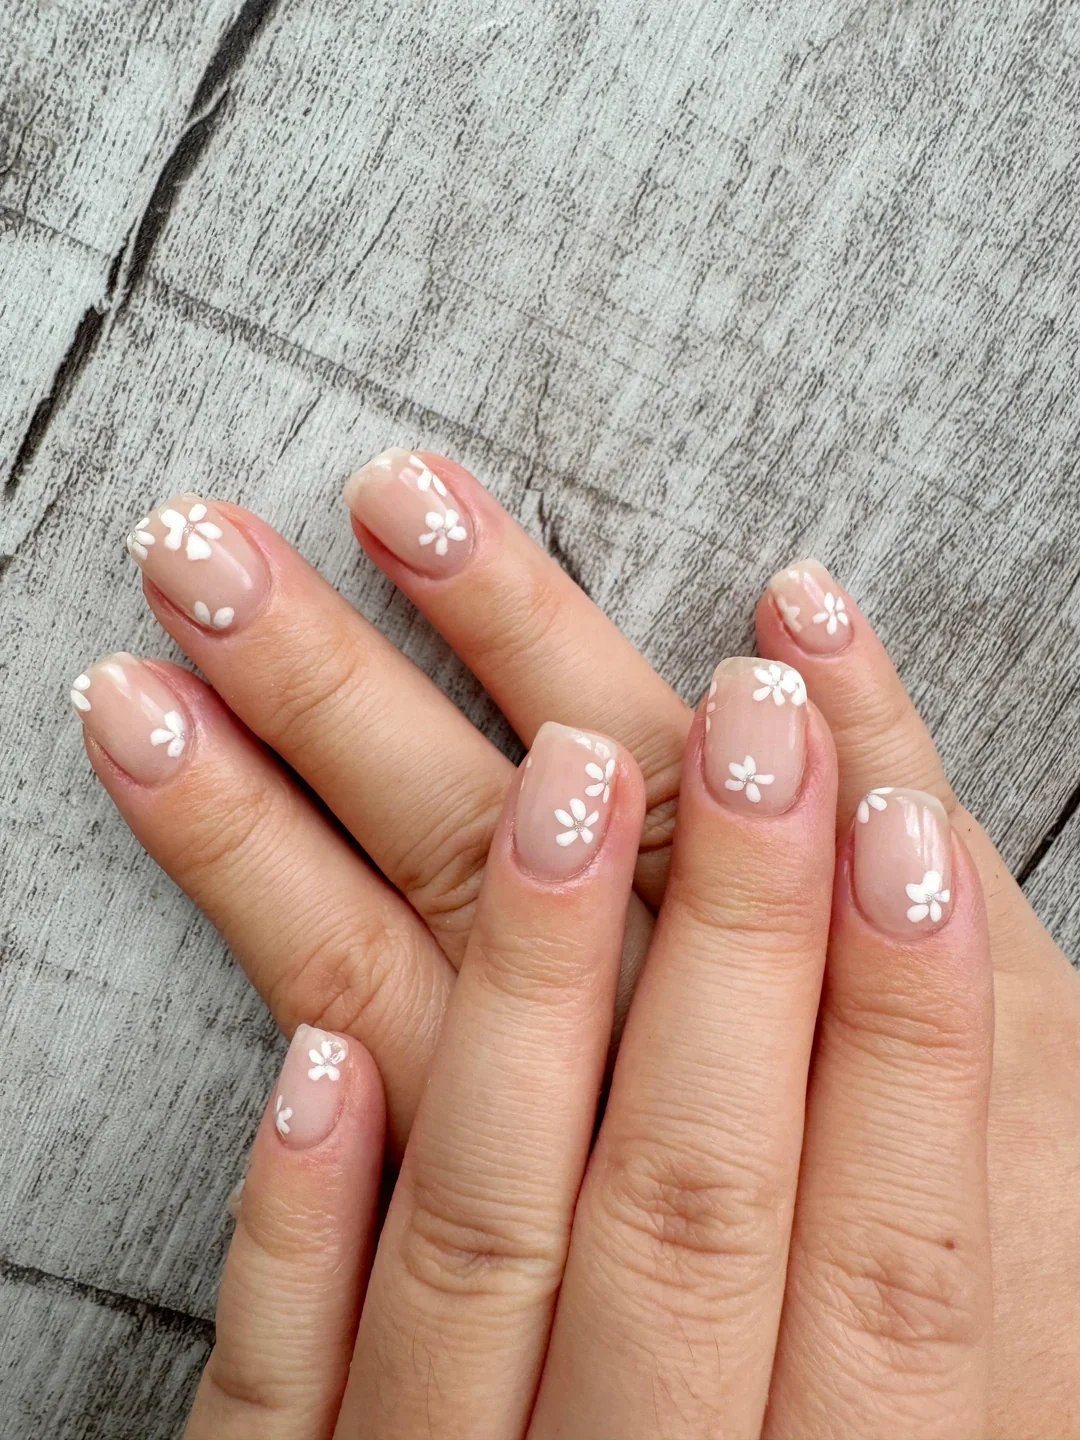
I would use a sheer pink nude as the base and an opaque white polish for the petals. A tiny dotting tool can make this design much easier because each flower can be created from several small dots rather than hand-painting complicated shapes. A pinpoint of pale yellow or nude in the center could be added, although I would keep it subtle if the goal is a truly minimalist finish. Glossy top coat completes the manicure.
I would apply the nude base first and let it dry or cure thoroughly. Then I would create each flower with five tiny white dots arranged around a small center point. I would vary the placement slightly so the flowers do not look mechanically identical. A few partial flowers near the edges can make the manicure feel more organic, while leaving some nails with fewer details prevents visual clutter.
I have a soft spot for this kind of design because it feels cheerful without becoming overly sweet. It is also a great choice when I want something seasonal but do not want to commit to a bold summer color. The little white flowers bring the warmth of the season into the manicure, while the sheer nude base keeps it wearable long after the vacation is over.
Glossy Nude Almonds With A Barely Pink Undertone
A translucent nude almond manicure is one of those ideas I can return to again and again. The color is extremely close to the natural nail, but the glossy finish adds depth and smoothness. The almond shape is elongated without being excessively sharp, creating a graceful silhouette that works particularly well with minimalist styling. I notice that this kind of nude makes the hands look neat even when the rest of the outfit is intentionally casual.
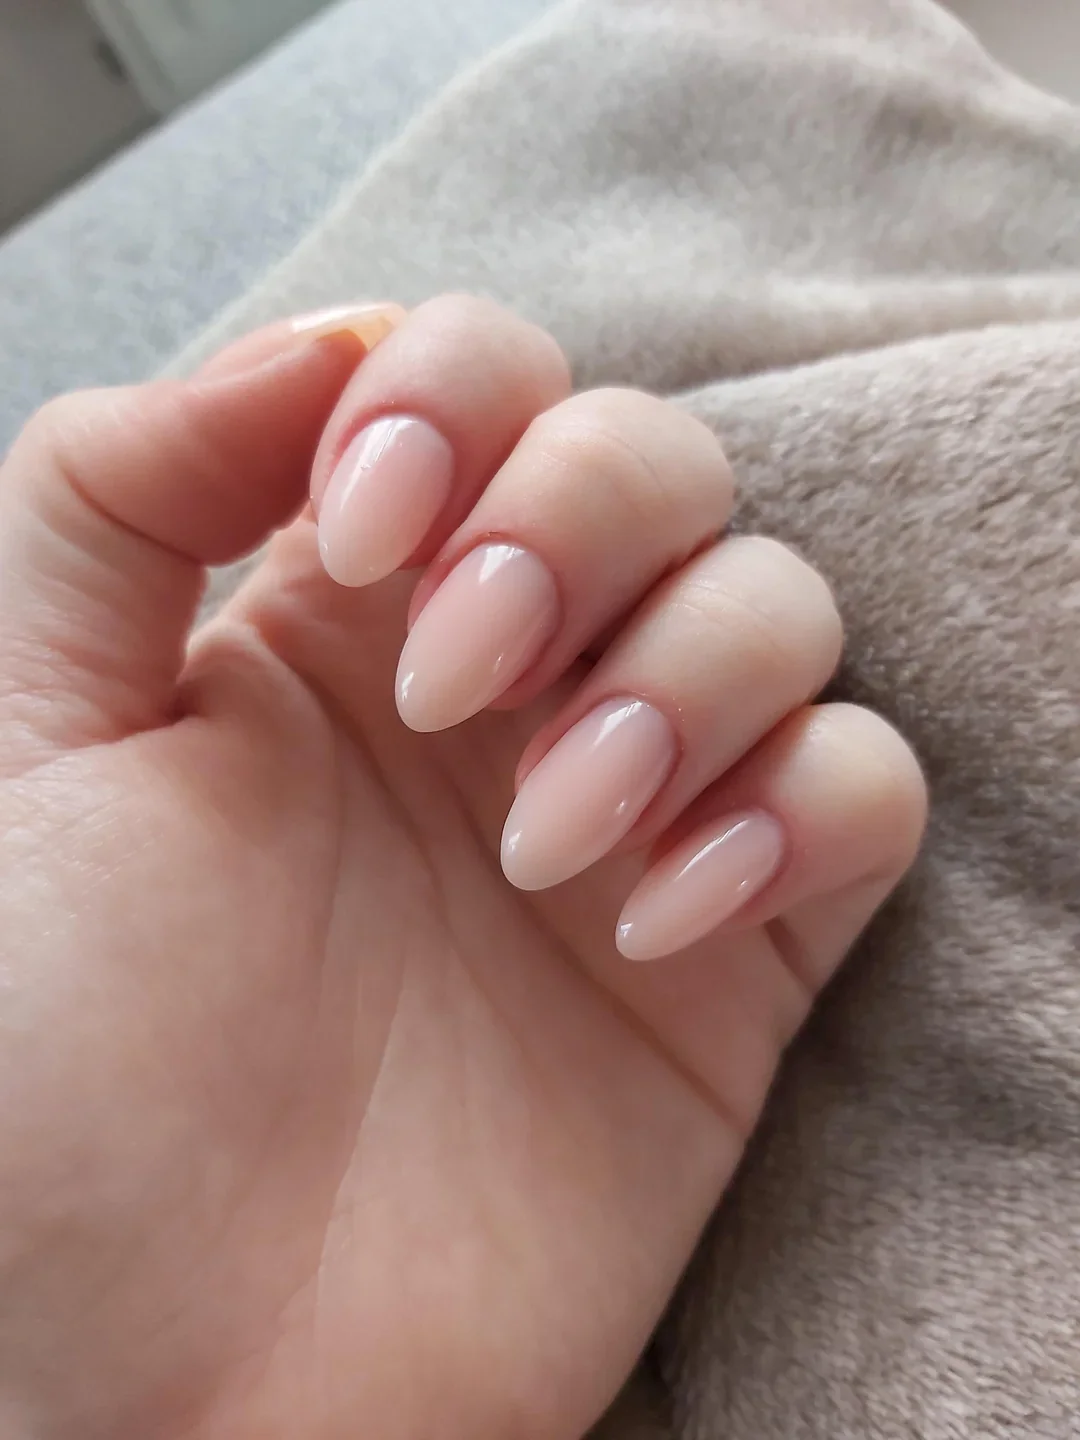
I would choose a sheer neutral pink or beige gel polish, depending on the natural nail tone. A smoothing base is helpful if the nail plate has ridges, while a durable glossy top coat gives the surface that wet-look shine. I would avoid choosing a nude that is dramatically lighter than the skin if I want the manicure to look natural; a close undertone match usually creates a more seamless result.
The application is straightforward. I would prepare the cuticles, gently buff away surface shine if required by the product instructions, and apply a thin base. Then I would build the color gradually, checking the nails from different angles to make sure the almond shape remains visually balanced. Once the final layer is cured, I would seal everything with top coat and massage cuticle oil into the surrounding skin.
This is the kind of manicure I would book before a trip, a work event, or simply a week when I know I will be wearing several different outfits. It has no obvious expiration date. And honestly, that is part of its charm. Trends come and go, but a glossy nude almond manicure always seems to find its way back into my rotation.
Pearl Sheen On Short Nude Nails
Short nails can look just as sophisticated as long extensions, and this pearly nude finish makes the point beautifully. The nails are kept relatively short with a soft rounded-square shape, while a delicate shimmer sits over a pale nude base. Instead of chunky glitter, the finish has a fine reflective quality that changes gently as the light moves across the surface. It is subtle from a distance and surprisingly luminous up close.
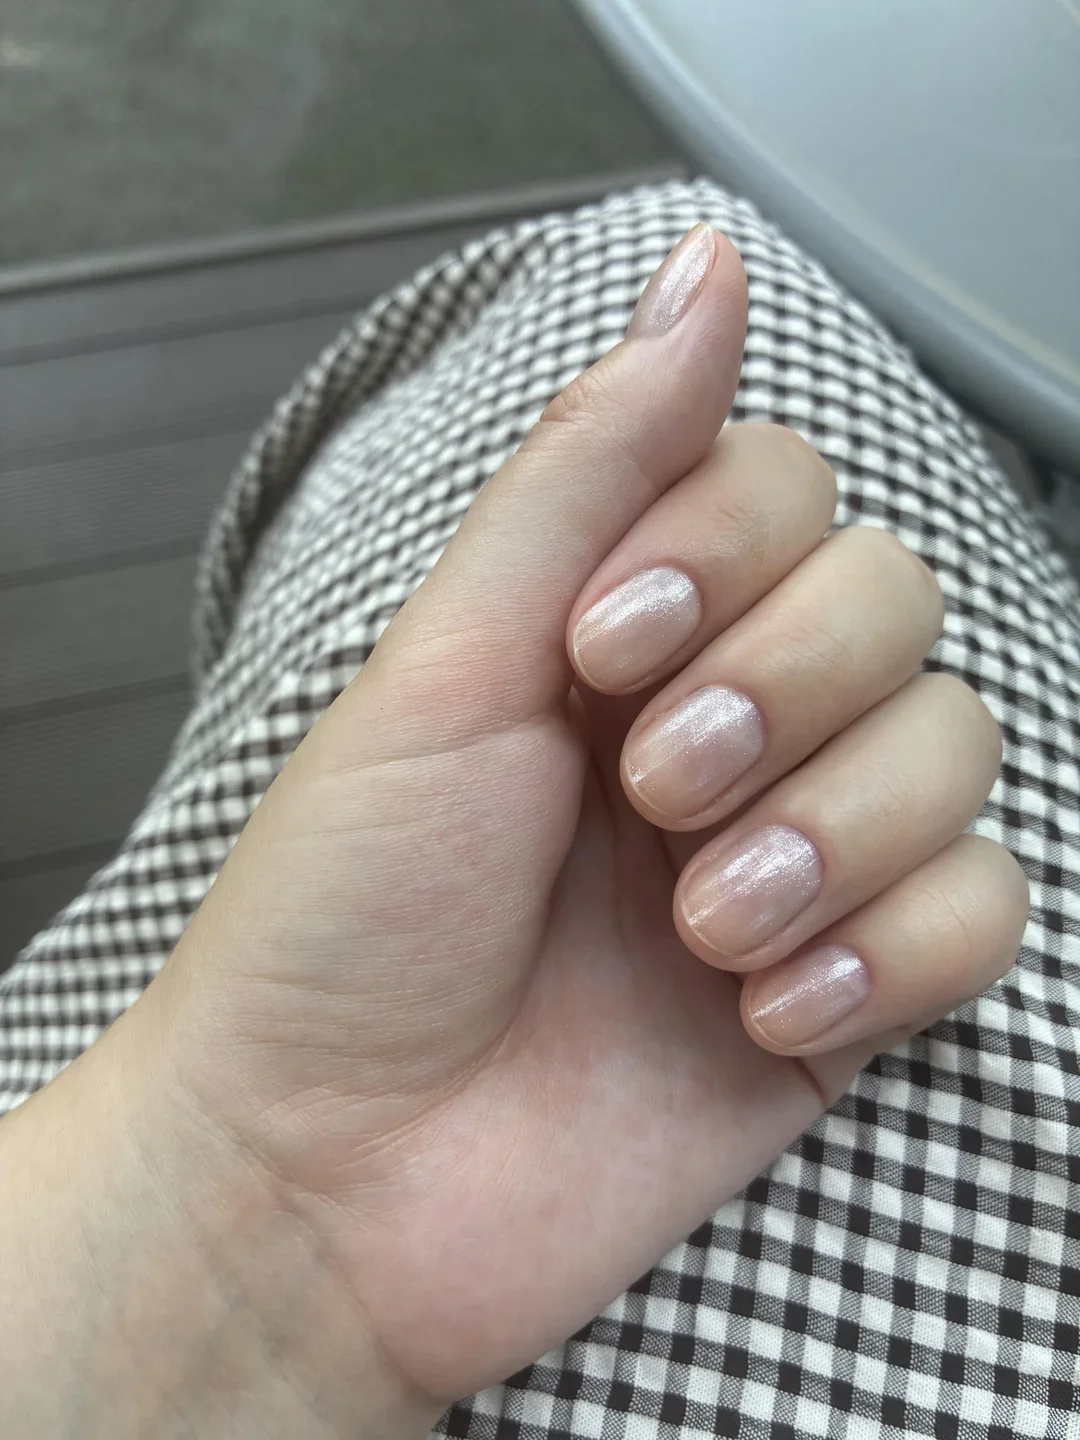
For this manicure, I would start with a sheer nude or pale pink base and add a fine pearl or glazed shimmer powder. A no-wipe gel top coat is useful when working with chrome or pearl powders because it gives the surface the smoothness needed for even application. If using regular polish, I would look for a pearlescent nude rather than a glitter-heavy formula.
I would first shape the nails short and evenly, then apply the nude base. Once the surface is ready, I would gently press the pearl powder over the cured layer, concentrating on achieving an even veil rather than an intense metallic finish. I would remove excess powder around the cuticle before sealing everything under top coat. The final surface should feel smooth and reflective, not textured.
I especially like this option for someone who wants a little more personality than a plain nude but still needs a practical manicure. Short nails make it easy to type, travel, work, and get through everyday errands, while the pearl effect adds a tiny bit of magic. Under summer sunlight, it becomes even prettier.
Iridescent Pearl Almonds With A Glassy Finish
This pearly almond manicure takes the minimalist nude concept in a slightly more luminous direction. The base remains soft and translucent, but a reflective pearl effect creates flashes of white, silver, and cool pink depending on the angle. The long almond shape gives the finish a sleek, elongated quality, while the smooth surface makes every highlight look almost liquid. It is glamorous, but because the color stays close to nude, it never feels excessive.
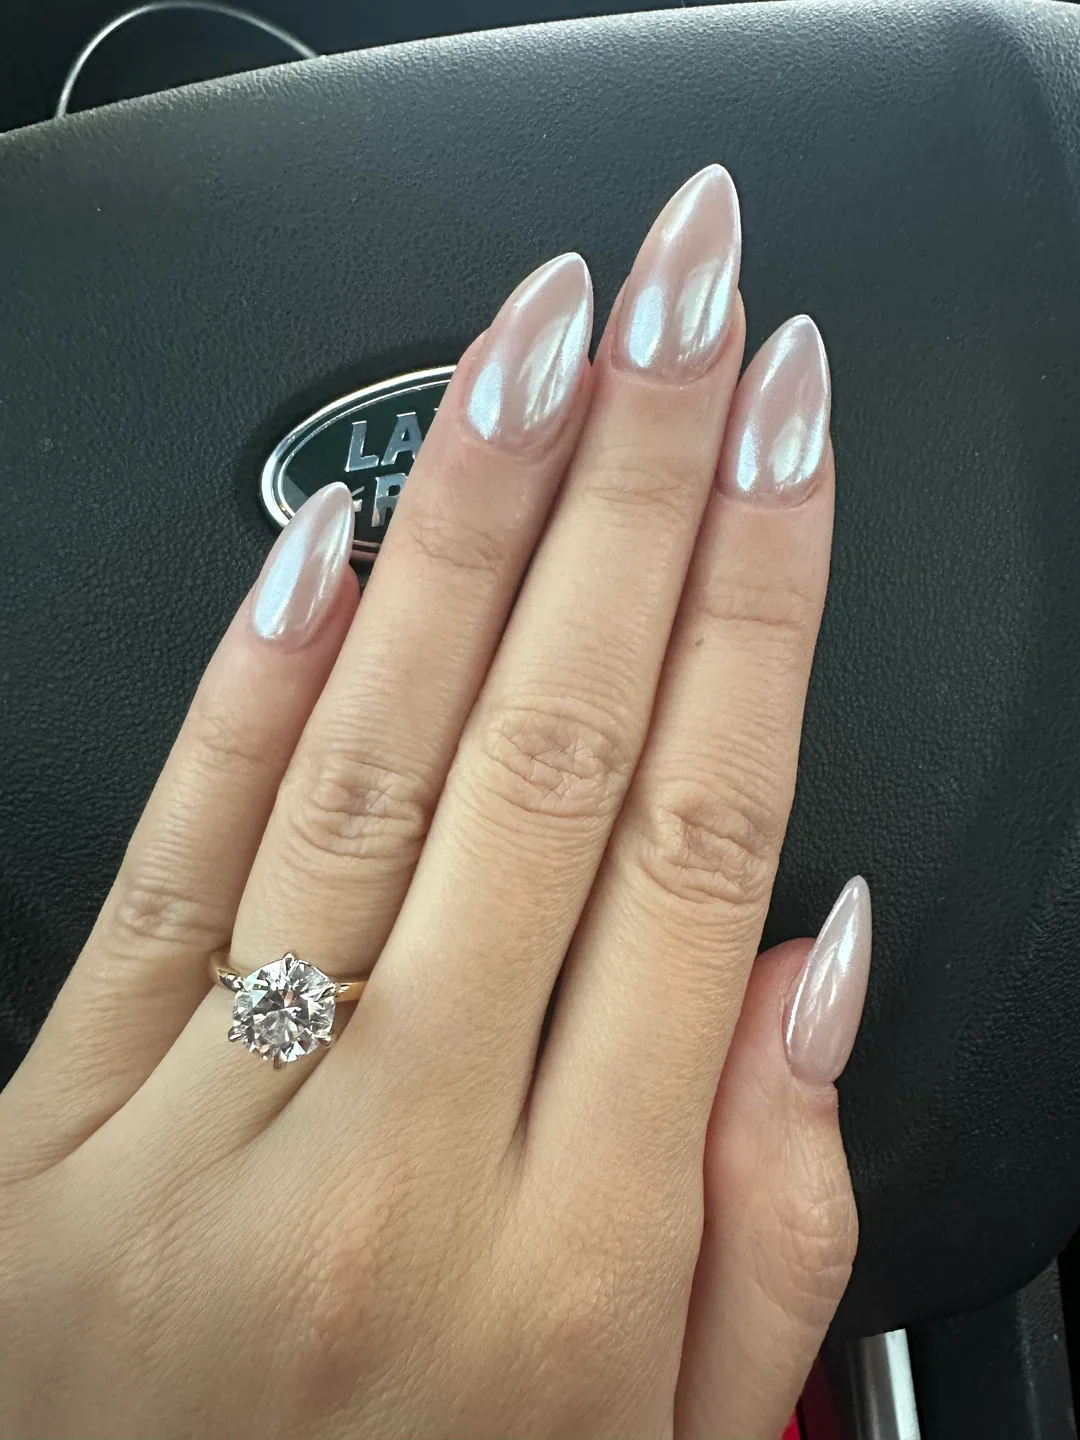
I would use a sheer pink-beige gel base followed by a very fine pearl chrome pigment. The important part is choosing a pigment with a soft iridescent reflection rather than a heavy metallic finish. A no-wipe top coat, silicone applicator, lint-free wipe, and a detail brush are useful for creating a clean result around the cuticle area.
After shaping the nails into a consistent almond silhouette, I would apply the sheer base and cure it. I would then rub a small amount of pearl pigment over the surface until the reflection becomes even. I always think less is more with this technique because it is easy to keep adding pigment until the nude foundation disappears. Once I am happy with the glow, I would carefully seal the nails with top coat.
This is my pick when I want minimalist nails to feel a little more dressed up. The pearl finish catches attention without relying on a strong color, and that makes it surprisingly versatile. Add a few delicate rings and the whole manicure suddenly feels very polished. No elaborate nail art required.
Micro French On Natural Nude Square Nails
A soft nude base and an ultra-thin white French edge are a classic combination, but the shorter square shape gives it a distinctly modern feel. The base appears natural and translucent, allowing the nail bed to remain visible, while the white tips are kept extremely narrow. The result is crisp without looking heavy. I also appreciate the slightly softened corners because they prevent the square shape from becoming too severe.
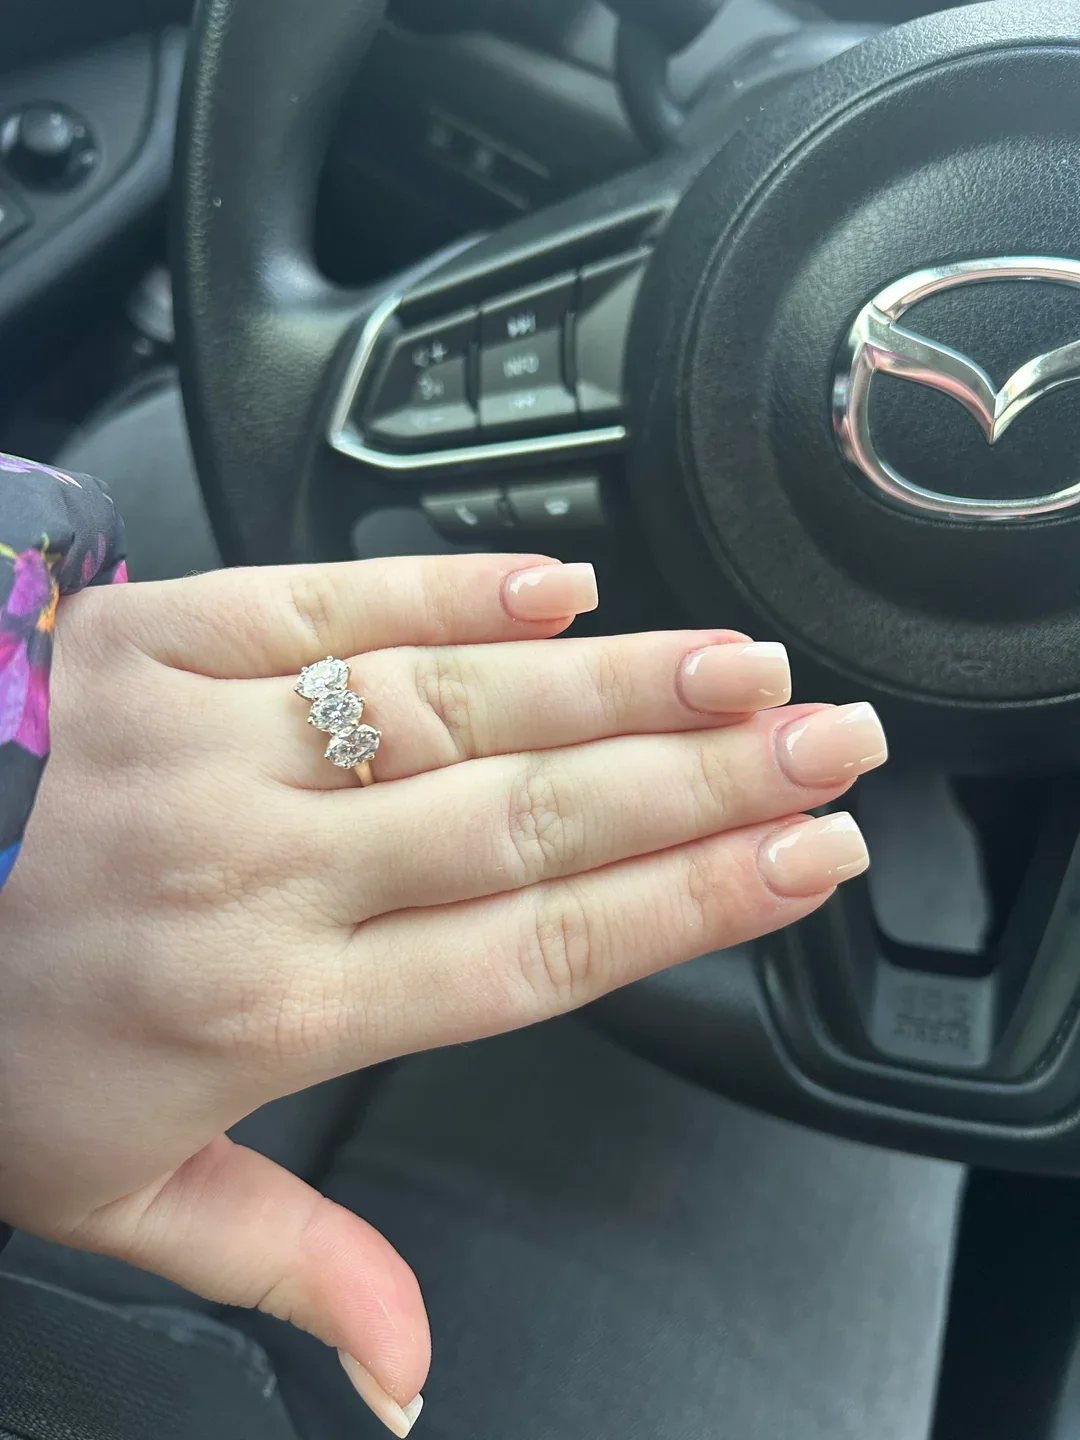
For this version, I would use a sheer beige-pink base and a creamy white polish or gel for the tips. A fine French brush is helpful for controlling the width of the line, although French-tip guides can make the process easier for beginners. A high-shine top coat will soften the contrast slightly and bring the whole manicure together.
I would shape the nails into a short soft square first, making sure each free edge has a similar width. After applying the sheer nude base, I would draw the thinnest possible white line along the tips. Rather than trying to create one perfect stroke across the entire nail, I would work from each side toward the center. Any uneven edges can be corrected with a small brush dipped in remover before the final top coat.
I think this is one of the easiest ways to make a classic French manicure feel current. It does not need long extensions or a dramatic color combination. The short length makes it practical, while the fine white edge gives the hands a polished finish. For everyday summer style, it is almost impossible to overthink.
Natural Pink Square Nails With A Soft Ombre Effect
There is a beautiful simplicity to a nude manicure where the color gradually becomes softer toward the tips. The square shape gives these nails a neat, structured appearance, while the pinkish nude transition keeps the overall effect gentle. Rather than seeing a strong French line, I get a soft gradient that makes the nails appear naturally healthy and polished. It is understated, but definitely not plain.
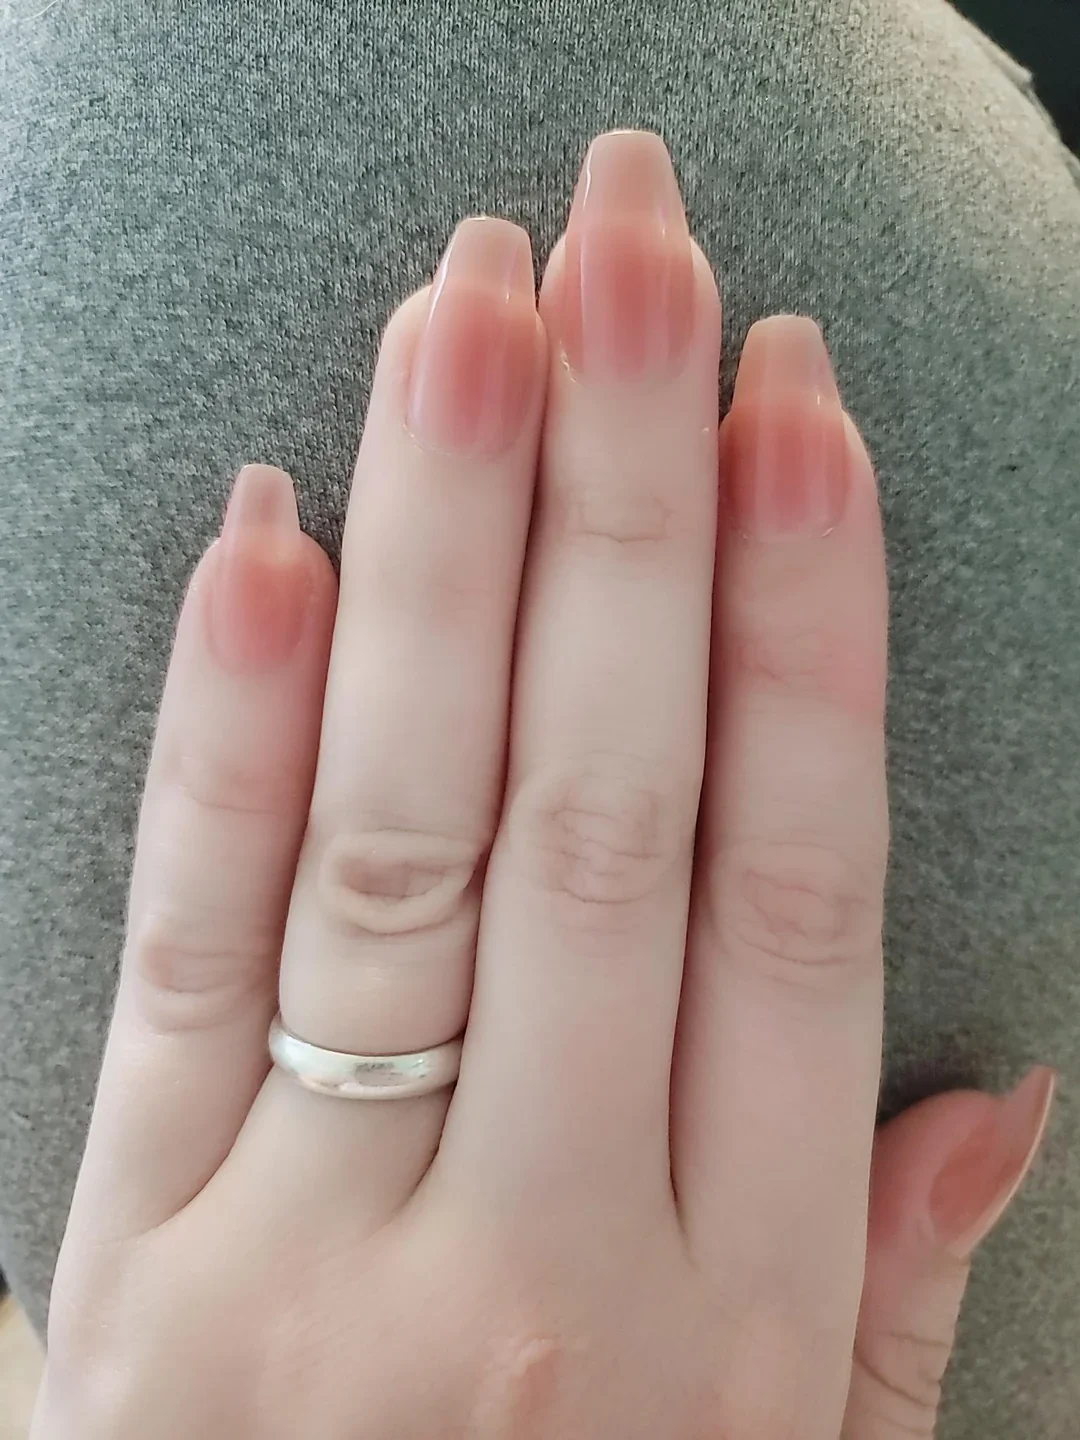
I would reach for a sheer pink base, a slightly lighter nude for the tips, and a small makeup sponge or ombre brush. A glossy top coat is essential because it visually blends the layers and makes the gradient appear smoother. If working with gel polish, I would keep each layer very thin so the manicure does not become bulky.
I would start with the nude base and cure it before adding the lighter shade toward the free edge. Using a sponge, I would gently dab the color from the tip inward, concentrating the pigment at the edge and diffusing it toward the center. I would repeat the process in light layers rather than applying one heavy coat. After curing the gradient, I would finish with top coat and check the nails under direct light for any visible texture.
This is the sort of manicure I would choose when I want the neatness of a French manicure without the responsibility of keeping the line perfectly sharp. The soft transition is forgiving, elegant, and easy to pair with jewelry. It also has that lovely quality where someone may not immediately know what changed about your look—they just notice that your hands look exceptionally polished.
Sheer Pink Almonds With A Fresh Glass-Skin Effect
The translucent pink finish here has the same appeal as fresh, hydrated skin: it looks simple, but the details matter. The nails have a softly tapered almond shape, and the color is sheer enough to let the natural nail character show through. A glossy surface adds dimension without making the manicure look thick. I would describe the overall effect as clean, feminine, and intentionally understated.
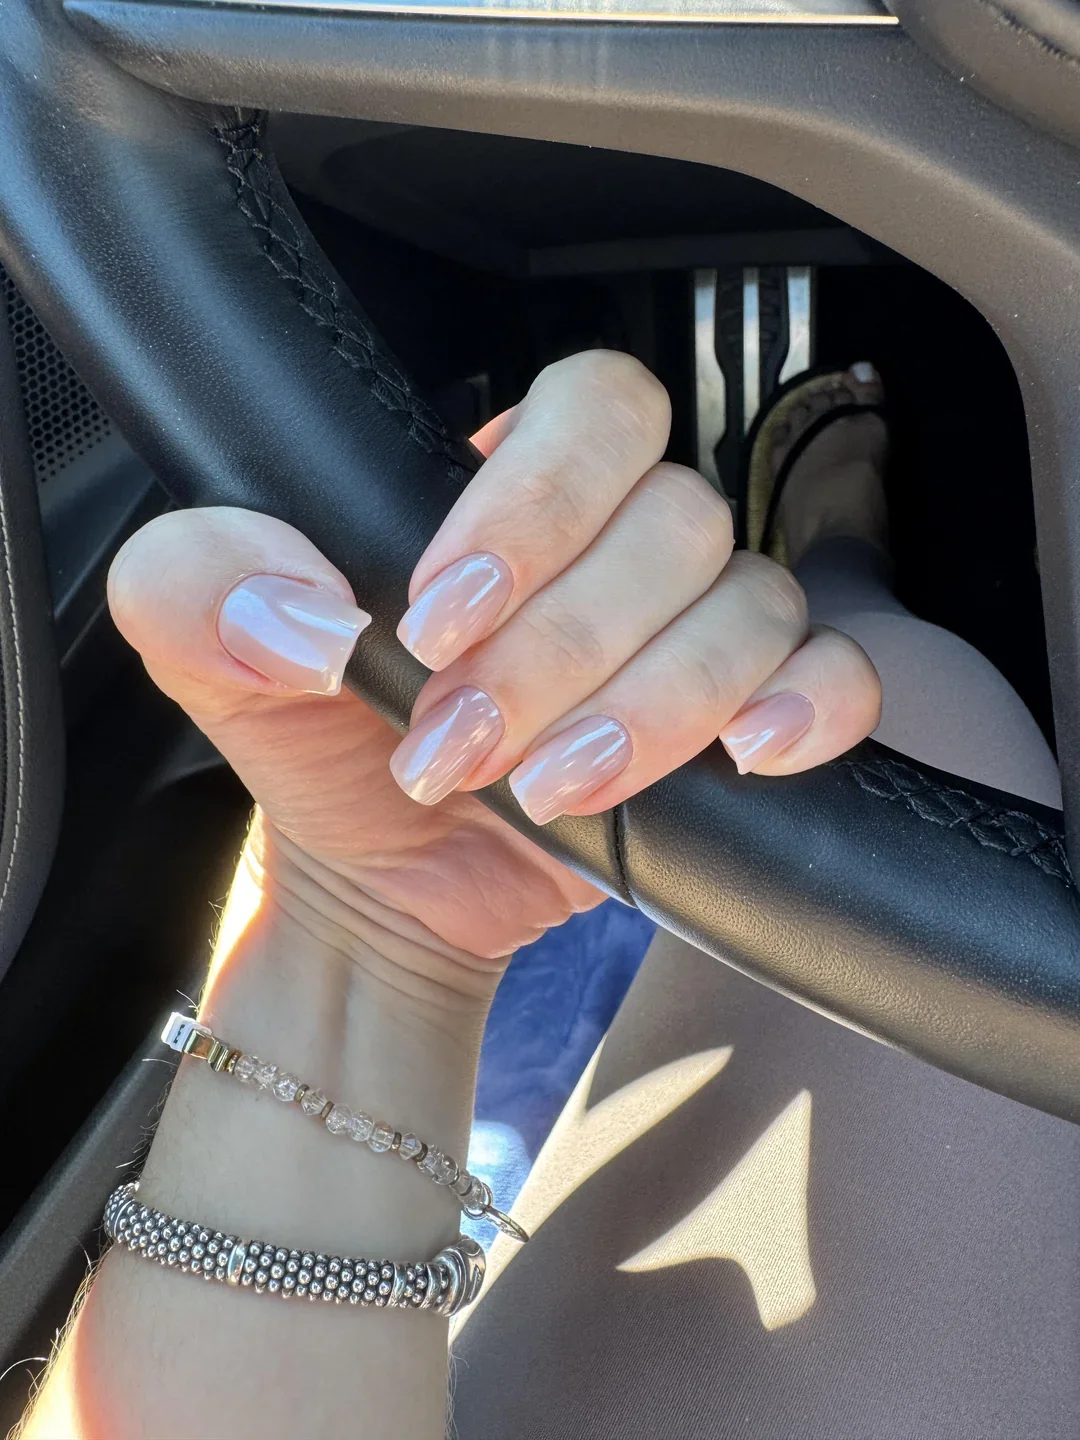
I would use a sheer pink builder gel or polish, depending on the condition and length of the natural nails. A smoothing base can help create a more even surface, especially if there are visible ridges. For the finish, I would choose a clear high-gloss top coat rather than anything containing visible shimmer. The goal is that fresh, reflective surface.
My approach would be deliberately simple. I would prepare the nails carefully, refine the almond shape, and apply the sheer pink in very thin coats. If the first layer looks uneven, I would not try to fix everything by adding a thick second coat. Instead, I would allow each layer to settle and build coverage gradually. After sealing the manicure, I would finish with cuticle oil and give the nails time to fully cure.
This style feels particularly right for the end of summer, when I want something fresh but not obviously seasonal. It works with swimsuits and sundresses, but it also transitions effortlessly into early fall outfits. That versatility is exactly what keeps me interested in minimalist nude nails.
Glossy Blush Almonds For Effortless Everyday Chic
A soft blush nude with a glossy almond finish may be the ultimate minimalist manicure. The color has enough pink to make the nails look fresh while remaining neutral enough to coordinate with almost any wardrobe. The almond silhouette gently narrows toward the tips, creating a longer-looking appearance without becoming overly pointed. Everything is smooth, clean, and deliberately uncomplicated.
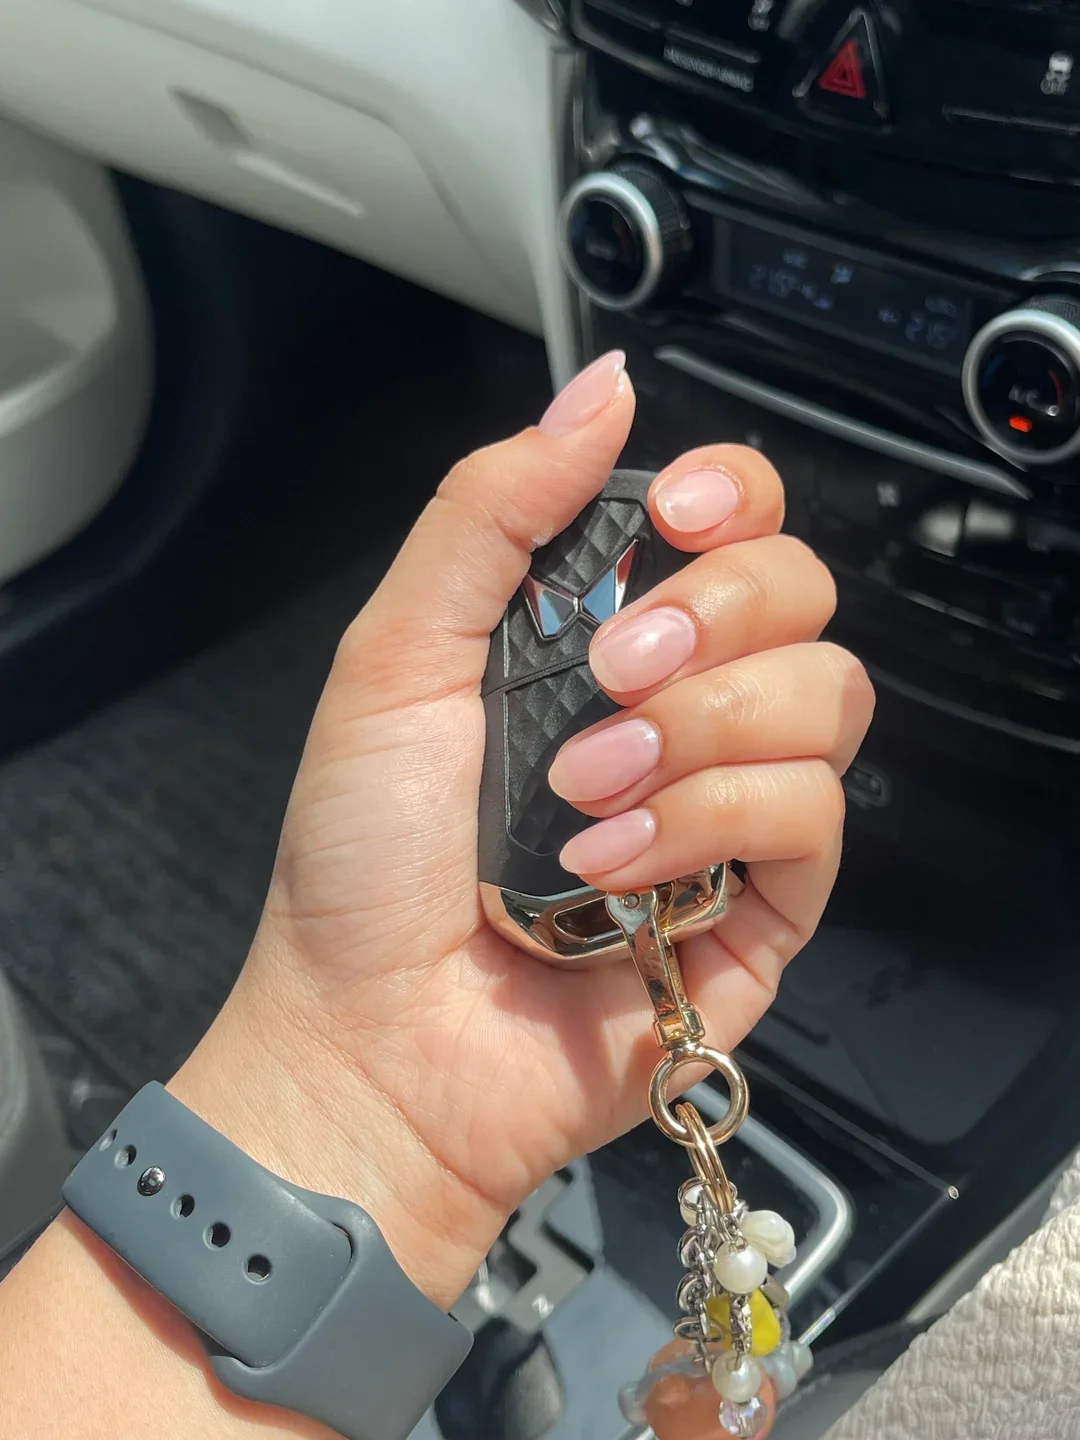
I would keep the product selection focused on a sheer blush polish or gel, a quality base coat, and a glossy top coat. If I wanted to recreate the soft translucent effect, I would choose a formula that can be layered rather than one that becomes opaque immediately. Cuticle oil is also worth including because beautifully moisturized skin around the nails makes even the simplest manicure look more refined.
At home, I would shape the nails first and make sure the length is consistent across the hand. After cuticle care and nail cleansing, I would apply a thin base coat and then build the blush color in one or two light layers. I would avoid brushing repeatedly over the same area because that can create streaks and unevenness. Once the color is smooth, I would seal it with a glossy top coat and let the manicure fully set before applying hand cream.
Soft Nude Nails With A Touch Of Sparkle
I love how this manicure takes a classic nude base and gives it the tiniest hint of celebration. The nails have a medium-long square shape with gently softened corners, keeping the silhouette neat and wearable. The base is a translucent peachy nude that allows a little of the natural nail character to show through, while fine iridescent glitter is concentrated near the cuticle area. The sparkle shifts subtly as the light moves, creating a delicate, almost glass-like effect rather than an obviously glittery manicure.
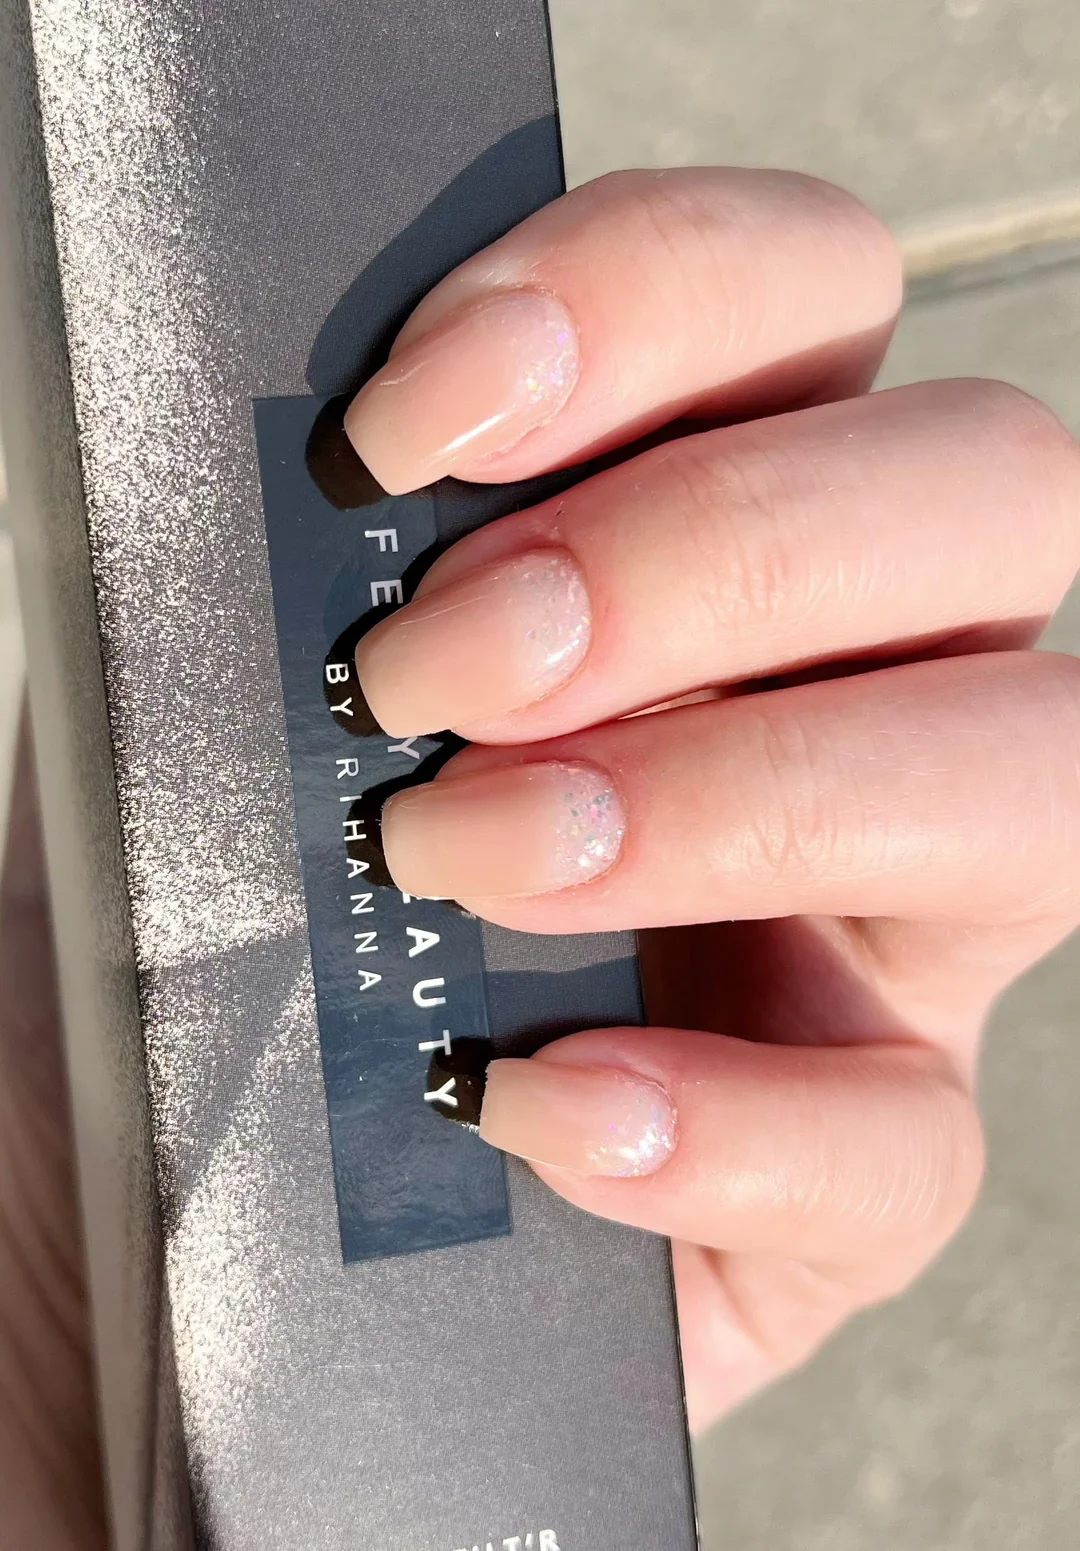
For a similar result, I would reach for a sheer nude or blush gel polish, preferably one with a slightly milky undertone. A sheer builder gel can help create the smooth, softly structured surface seen here, while an ultra-fine iridescent glitter or shimmer topper adds the little flash of light. I would keep the glitter extremely delicate because the appeal comes from restraint.
I start by shaping the nails evenly and gently refining the cuticle area before applying a thin base layer. After curing, I use one or two very sheer coats of nude, depending on how much natural nail I want to keep visible. I then dab a small amount of fine shimmer around the lower portion of each nail and blend it upward before sealing everything with a glossy top coat. The trick is not to overwork it.
For me, this is the kind of manicure that quietly upgrades everyday hands. It would be especially pretty for late summer when sunlight catches every tiny reflective detail, but it also transitions beautifully into fall. If I wanted something elegant without committing to a complicated design, this would be high on my list.
Glossy Blush Nude For An Effortless Finish
This look is almost the definition of understated beauty. The nails are short to medium length with a softly rounded shape, and every nail is covered in a translucent blush-pink nude. Tiny reflective particles create a subtle pearlescent glow beneath the glossy surface, so the color appears slightly different depending on the lighting. I particularly like the balance here: there is enough shimmer to keep the manicure interesting, but the overall effect remains clean and sophisticated.
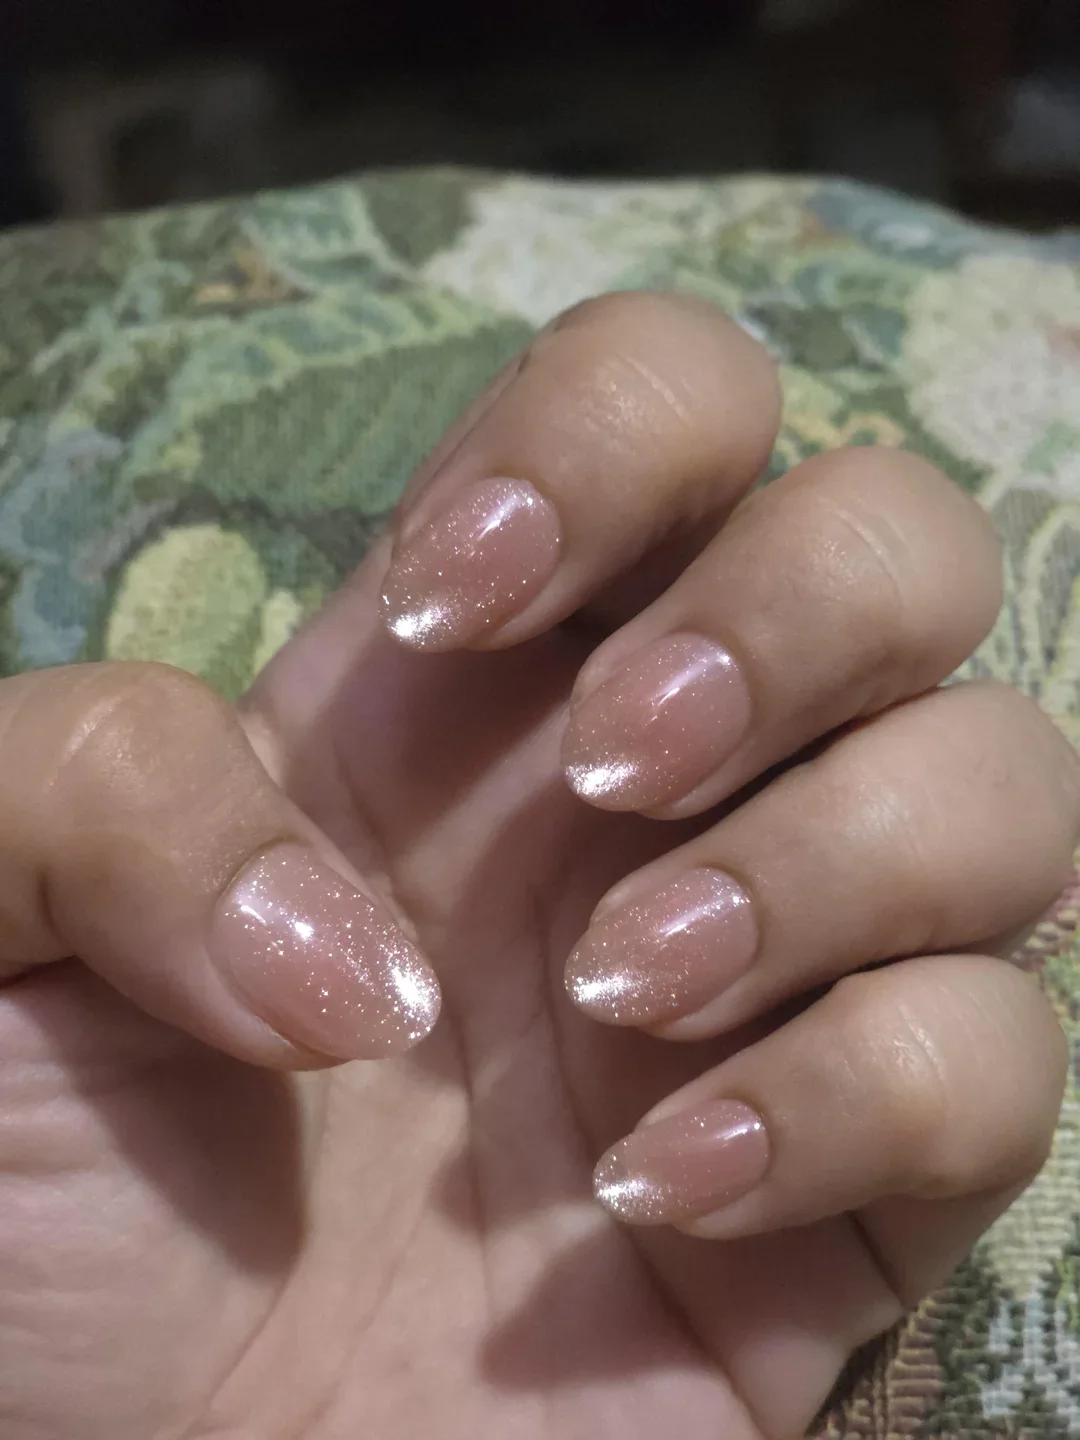
I would use a sheer pink-beige gel polish with a fine pearl or micro-shimmer finish. A glossy top coat is essential because the smooth reflective surface is what makes this style look so fresh. For a softer version, I would choose a neutral pink with a warm undertone; for cooler skin tones, a barely mauve nude can create a similar effect.
At home, I would keep the application simple. After preparing the nails, I would apply a thin base coat, followed by one or two coats of sheer color. I would check the nails from different angles before adding the top coat because uneven layers become much more noticeable with translucent colors. Once everything is cured, a little cuticle oil around the edges gives the finished manicure that cared-for appearance.
I often think this type of nude manicure is the easiest way to look put together without having to coordinate your nails with your outfit. It works for workdays, weekends, dinners, and those moments when I simply want my hands to look polished. Sometimes, honestly, less really is more.
Delicate Rose Nail Art On A Nude Base
Here, the minimalist nude base becomes a tiny canvas for delicate floral-inspired details. The nails have a short-to-medium softly squared shape and a natural-looking nude finish. Small pink rose motifs appear across the nails, accompanied by fine dark curving accents that give each design a slightly illustrated quality. The placement is intentionally small, leaving plenty of open space around the artwork so the manicure never feels crowded.
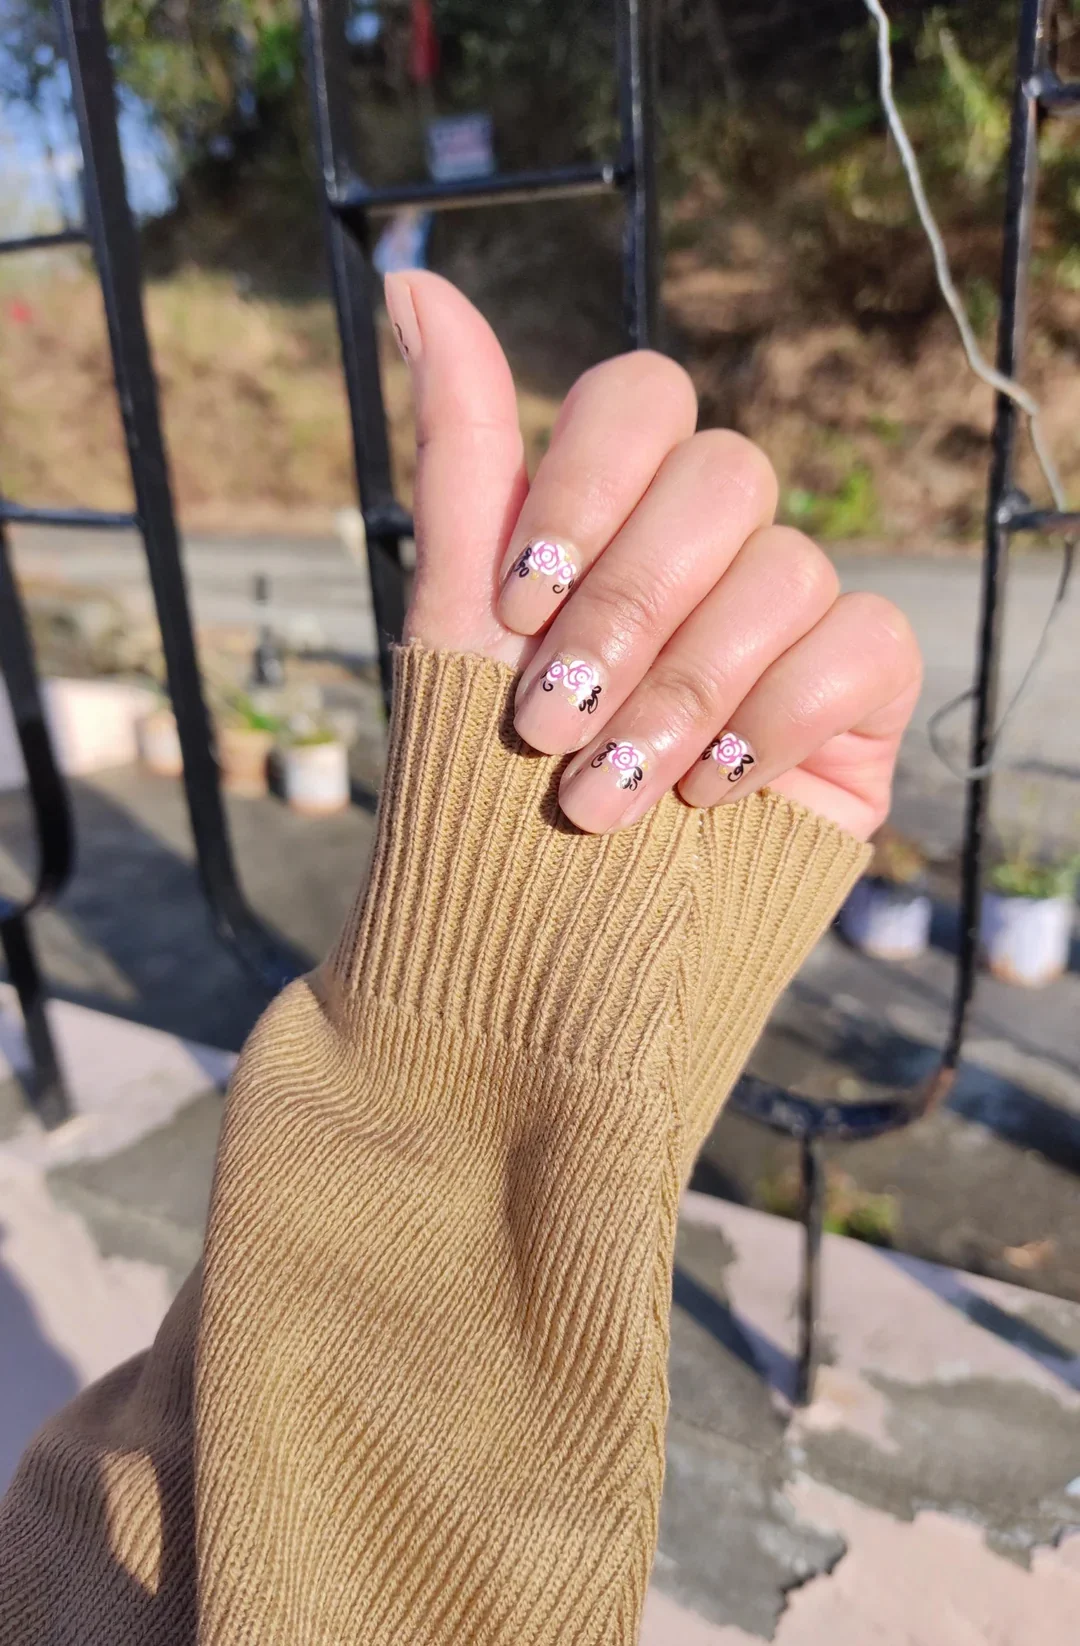
To recreate it, I would choose a sheer beige-pink base, a muted rose-pink polish, and a very fine dark brown or black nail-art liner. A tiny detailing brush or dotting tool makes the miniature petals much easier to control. I would also keep a glossy top coat nearby to smooth the artwork and protect those delicate lines.
I would begin with the nude base and let it cure completely before attempting the decorative elements. For the roses, I would use tiny curved strokes rather than trying to paint a perfect flower in one movement. Small leaves or ornamental curls can then be added around the petals. I prefer slight variation between nails because perfectly identical miniature flowers can look overly mechanical.
This is one of those designs I would save when I want my manicure to have a little story. It feels feminine without becoming overly sweet, and the neutral background keeps it surprisingly versatile. I could easily wear it with denim and a sweater or with a simple dress for a more polished occasion.
Almond Nude Nails With A Refined Accent
The almond shape immediately gives this manicure an elongated, graceful appearance. Most of the nails are coated in a soft pink nude with a glossy finish, while one accent nail carries a slightly deeper champagne-pink shimmer. The contrast is extremely subtle, which is exactly what makes it work. Rather than interrupting the nude palette, the accent simply catches the light and gives the manicure another dimension.
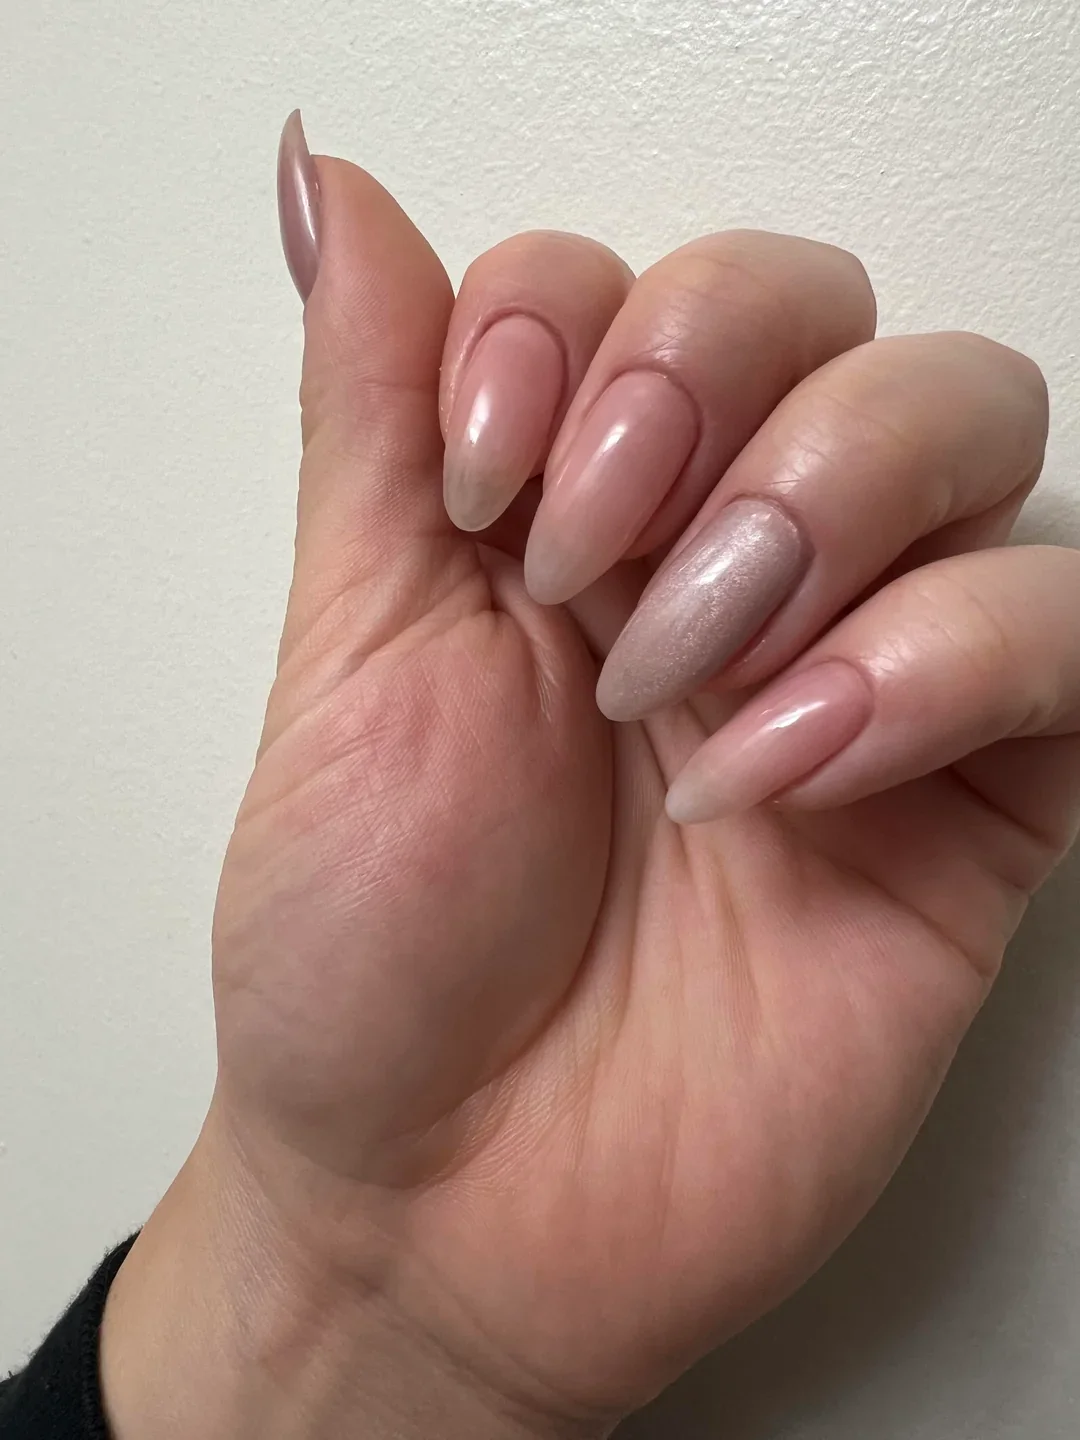
For this combination, I would look for a creamy nude-pink gel polish paired with a sheer champagne or rose-gold shimmer. The accent color should be close enough to the base that the transition feels intentional. A high-shine top coat brings the whole manicure together and emphasizes the almond silhouette.
I would shape each nail gradually, keeping both sides balanced so the almond tip does not become too sharp. After applying the base, I would build the nude color in thin layers and reserve the shimmer for one or two accent nails. I find that sheer shimmer usually looks more sophisticated than an opaque metallic polish when the goal is minimalist elegance.
This is probably one of my favorite directions for a polished manicure because the shape does most of the visual work. If I wanted my hands to look longer and more elegant without adding elaborate nail art, I would absolutely choose this combination. It has that effortless quality that never seems to date.
Neutral Waves With A Hint Of Color
This manicure proves that minimalist nails do not have to mean completely plain. The majority of the nails are finished in a translucent nude, while the accent nails feature flowing, abstract lines in soft mint, pale beige, and metallic bronze. The curves move across the nail rather than forming a strict geometric pattern, giving the design a relaxed, organic rhythm. The result feels modern while still staying beautifully restrained.
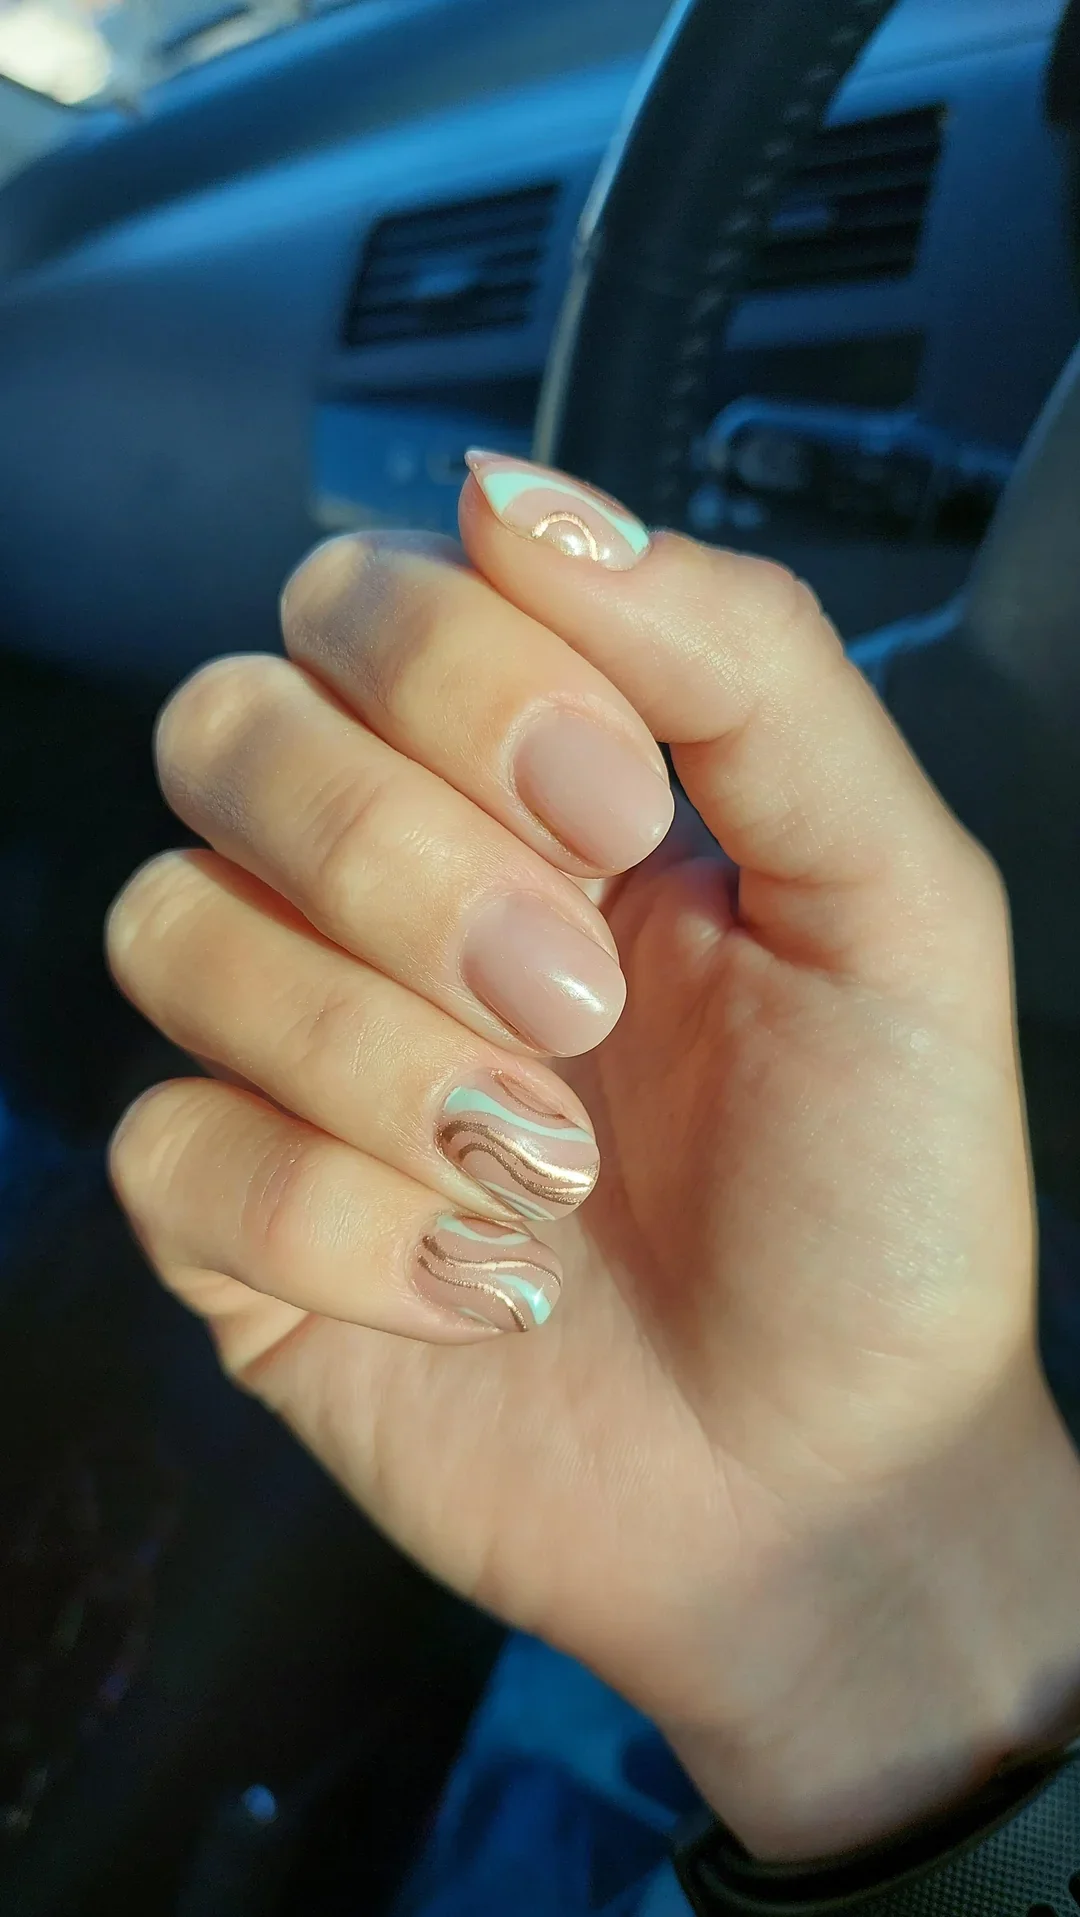
I would use a sheer nude base, a pastel mint gel polish, a warm metallic bronze, and a very fine liner brush. A neutral beige or creamy white can be added if I want more separation between the lines. Because the design relies on thin curves, a highly pigmented nail-art polish makes the process much easier.
After preparing the nails, I would apply the nude base and cure it fully. On the accent nails, I would draw the curved lines one at a time, allowing each color to remain distinct. I would avoid filling too much of the nail because the empty space is an important part of the design. Once the lines are finished, a glossy top coat gives the surface a smooth, almost liquid appearance.
I especially like this idea when I want a manicure that feels personal rather than simply trendy. The little mint accents add freshness, while the bronze keeps the palette sophisticated. It would be a lovely choice for the transition between warm summer days and early fall outfits.
Barely There Nude With Tiny Metallic Details
This manicure takes minimalism almost to its purest form. The nails are short, neatly rounded, and coated in a sheer peachy nude that allows the natural nail to remain visible. Tiny metallic beads or dots are placed sparingly near the edges and surface of selected nails. Nothing is oversized or overly decorative. The result is delicate, neat, and surprisingly chic.
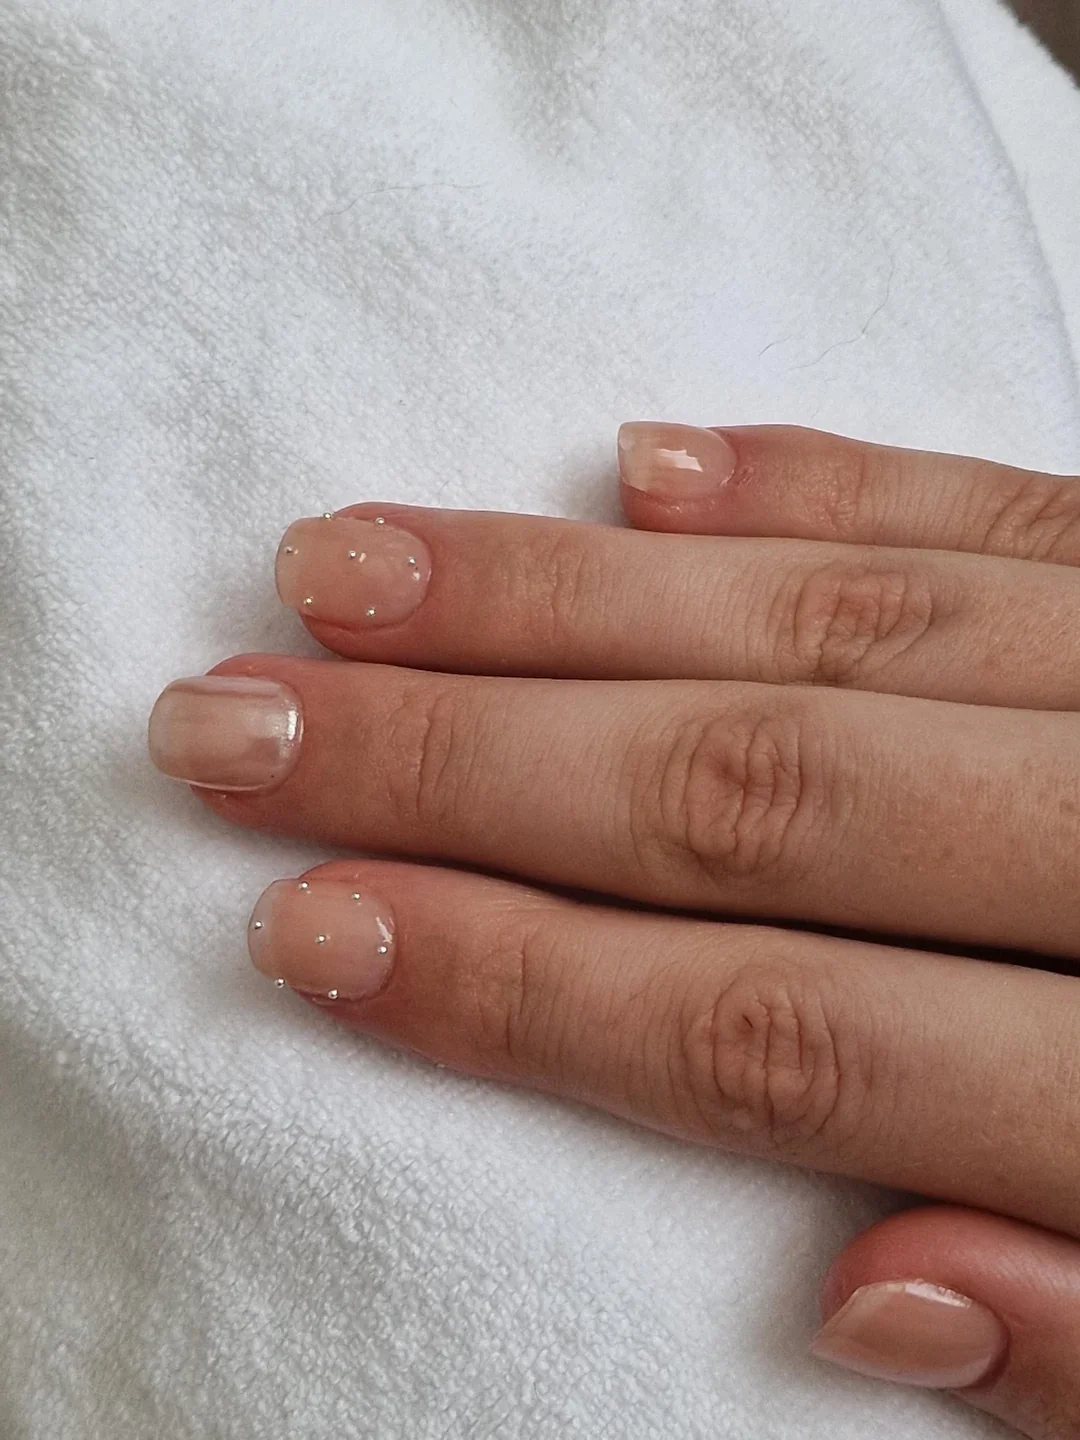
For the base, I would choose a sheer peach nude or neutral pink polish with a glossy finish. Tiny gold or silver nail-art studs create the decorative points, while nail adhesive or a small amount of builder gel can help keep them secure. I would use tweezers or a wax pencil for placement because these little details are much easier to position with precision.
I would start with a clean manicure and apply the sheer nude in very thin coats. Once cured, I would place the tiny studs individually, concentrating them on just a few nails instead of covering every surface. A layer of top coat around the embellishments helps protect the design, although I would avoid flooding directly over larger raised details.
This is the manicure I would choose when I want something discreet but still noticeable up close. There is a quiet sophistication to tiny metallic accents, especially against a translucent base. It reminds me that minimalist style is not about removing every detail; it is about knowing exactly when to stop.
Sheer Nude Nails With A Subtle Pearly Glow
Long almond nails look especially elegant when paired with a transparent nude-pink finish, and this manicure leans completely into that idea. The color is soft and almost milky, while a fine reflective sheen gives the nails a delicate glow. The surface remains smooth and glassy rather than sparkly. The overall effect is feminine, elongated, and incredibly clean.
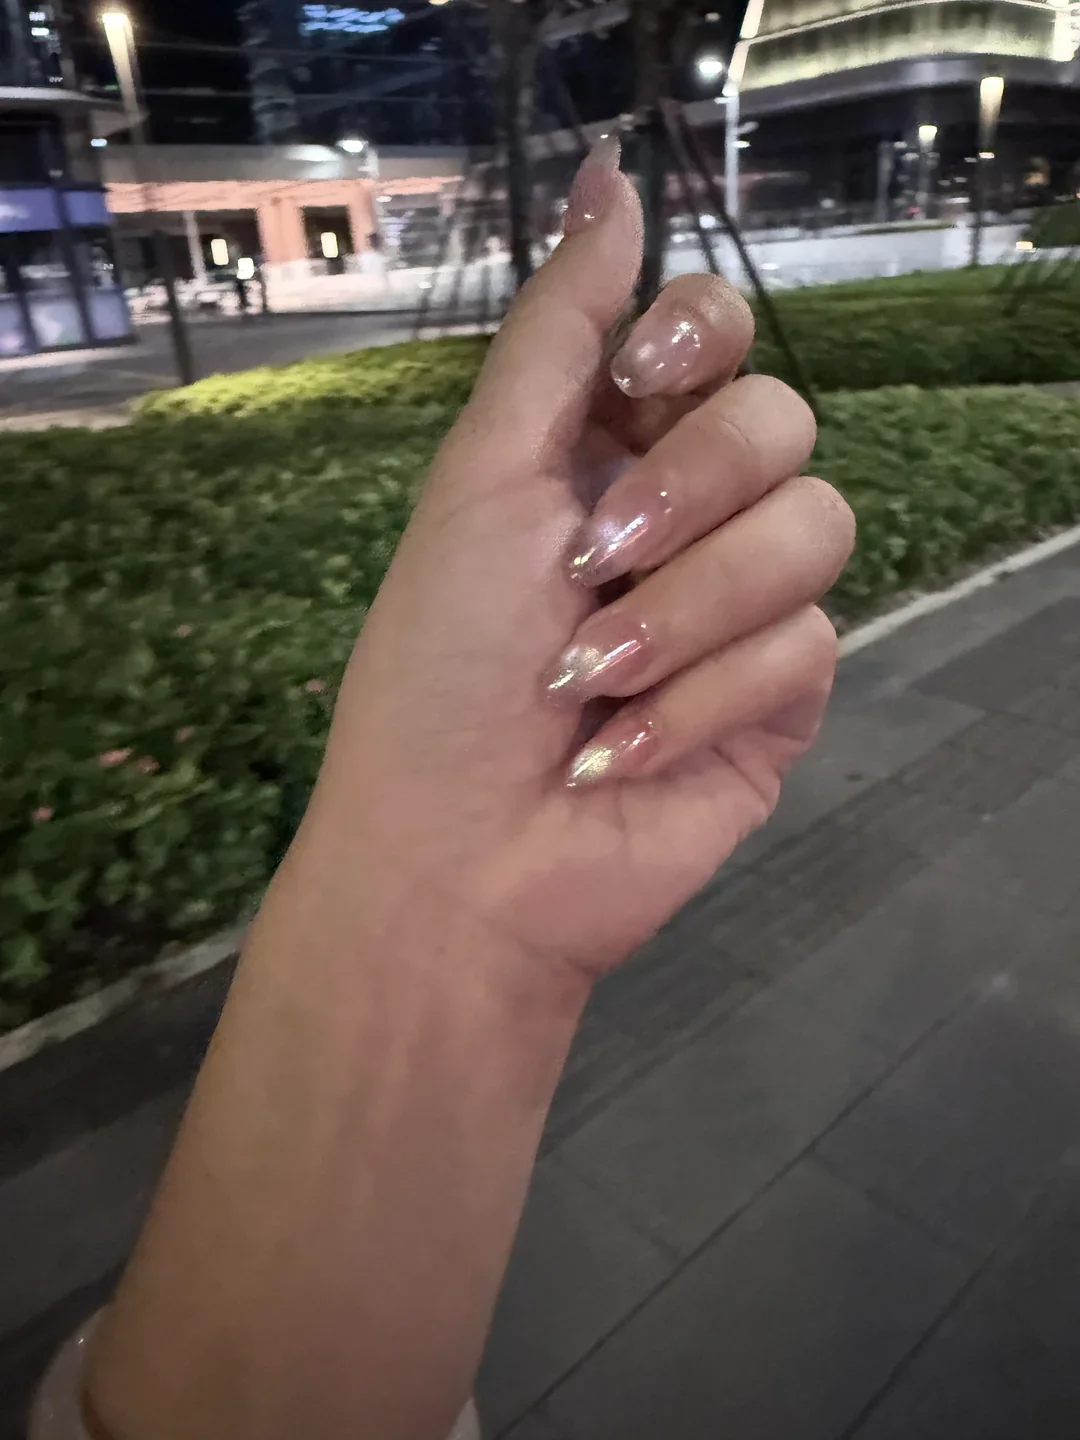
I would use a sheer milky pink gel polish or a nude builder gel with a very subtle pearlescent top layer. The key is choosing a product with fine reflective particles rather than chunky glitter. A strong glossy top coat is also important because the shine visually emphasizes the almond shape.
I would file the nails into a consistent almond silhouette, paying attention to the center line of each nail. After applying the sheer nude base, I would add a light pearlescent layer and cure it according to the product instructions. If the shimmer looks too strong, another thin veil of sheer nude can soften it before the final top coat.
For me, this style is the ultimate “clean but special” manicure. It photographs beautifully, catches evening light, and still feels appropriate for everyday wear. When I want my nails to look expensive without using obvious decoration, this is exactly the direction I would take.
Black Micro French On Sheer Almond Nails
A black French tip instantly gives nude nails a sharper personality, and the long almond shape makes the contrast even more striking. The base remains translucent pink and glossy, while the black tips are extremely thin and carefully curved along the pointed ends. The design has a refined edge rather than a heavy graphic effect, making it surprisingly wearable despite the dark color.
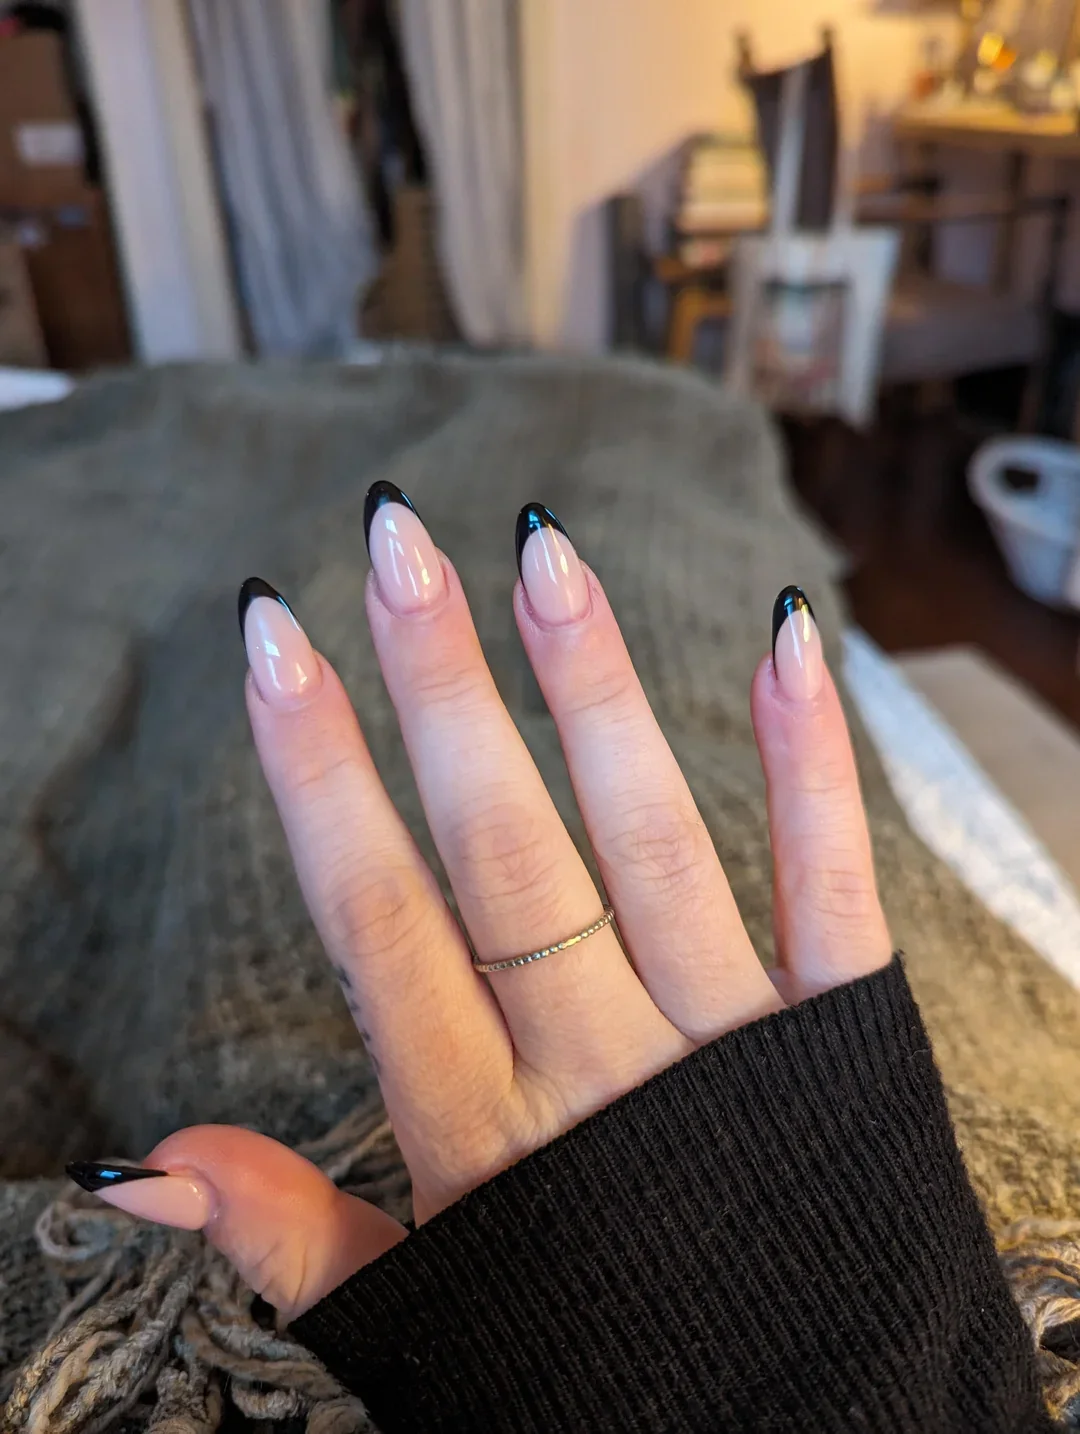
I would use a sheer pink or neutral base and a highly pigmented black gel polish for the tips. A fine French-tip brush makes the curved edge easier to create, especially on almond nails. I would also use a glossy top coat to maintain the crisp contrast between the transparent base and dark detailing.
After applying the nude base, I would mark the approximate center of each tip and draw the black curve outward from both sides. I find it easier to build a thin French line gradually than to attempt a thick one immediately. The most important part is keeping the arches visually consistent from nail to nail.
This style is perfect for anyone who loves minimalist beauty with a slightly cooler attitude. I could see myself wearing it with a black blazer, simple jewelry, or even a casual sweater when I want the manicure to do a little more of the talking. It is classic, but definitely not boring.
Glossy Nude Almonds With Barely There Sparkle
These long almond nails are all about softness. The base is a pale pink nude with a translucent, glossy quality, while extremely fine shimmer is scattered throughout the color. There are no obvious patterns or contrasting accents, so the almond shape and reflective finish become the main features. The nails look delicate from a distance and more dimensional when the light catches them.
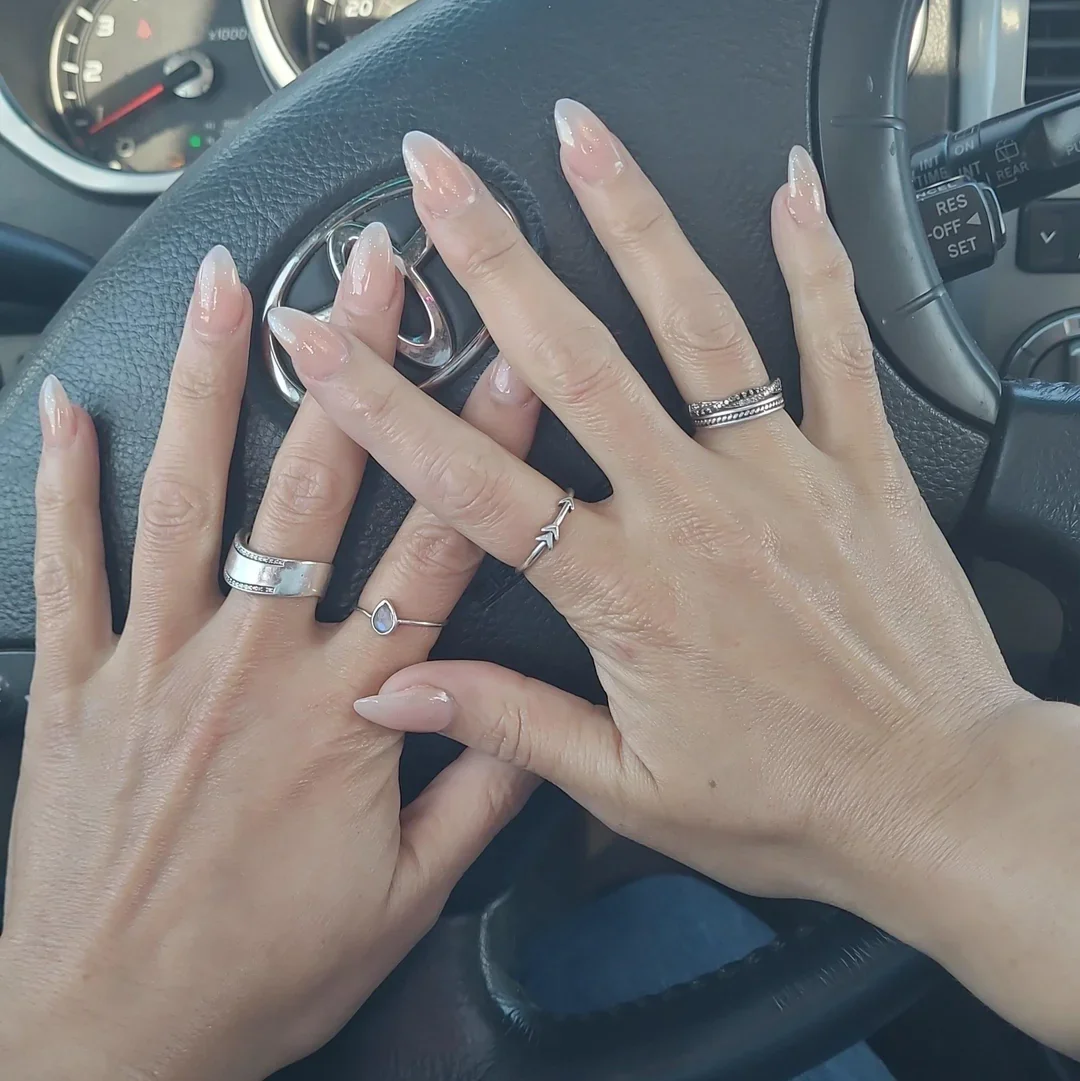
I would choose a translucent blush nude with micro-shimmer, ideally one that has a neutral or slightly cool undertone. A clear glossy top coat can intensify the reflective quality without changing the color. If the natural nails need extra structure, a sheer builder gel underneath can create the smooth almond profile.
I would keep the application light and controlled. After shaping and prepping the nails, I would apply the sheer nude in thin layers, curing between each one. If the shimmer is a separate product, I would apply only a very thin coat so the manicure retains its translucent appearance. Finally, I would seal the surface with a high-gloss top coat.
I love this approach for those days when I want my nails to look polished in every setting. It feels especially fitting for the end of summer, when warm natural light makes subtle shimmer look almost luminous. No dramatic artwork is needed—the finish does all the work.
Soft Nude Almond Nails For A Clean-Girl Finish
A creamy beige nude completely covers these almond-shaped nails, creating a smooth and uniform finish from cuticle to tip. The color is light enough to feel delicate but opaque enough to give the manicure a finished, intentional appearance. The long almond shape adds elegance without relying on glitter, art, or embellishments. It is the kind of manicure that looks just as good with a sweatshirt as it does with tailored clothing.
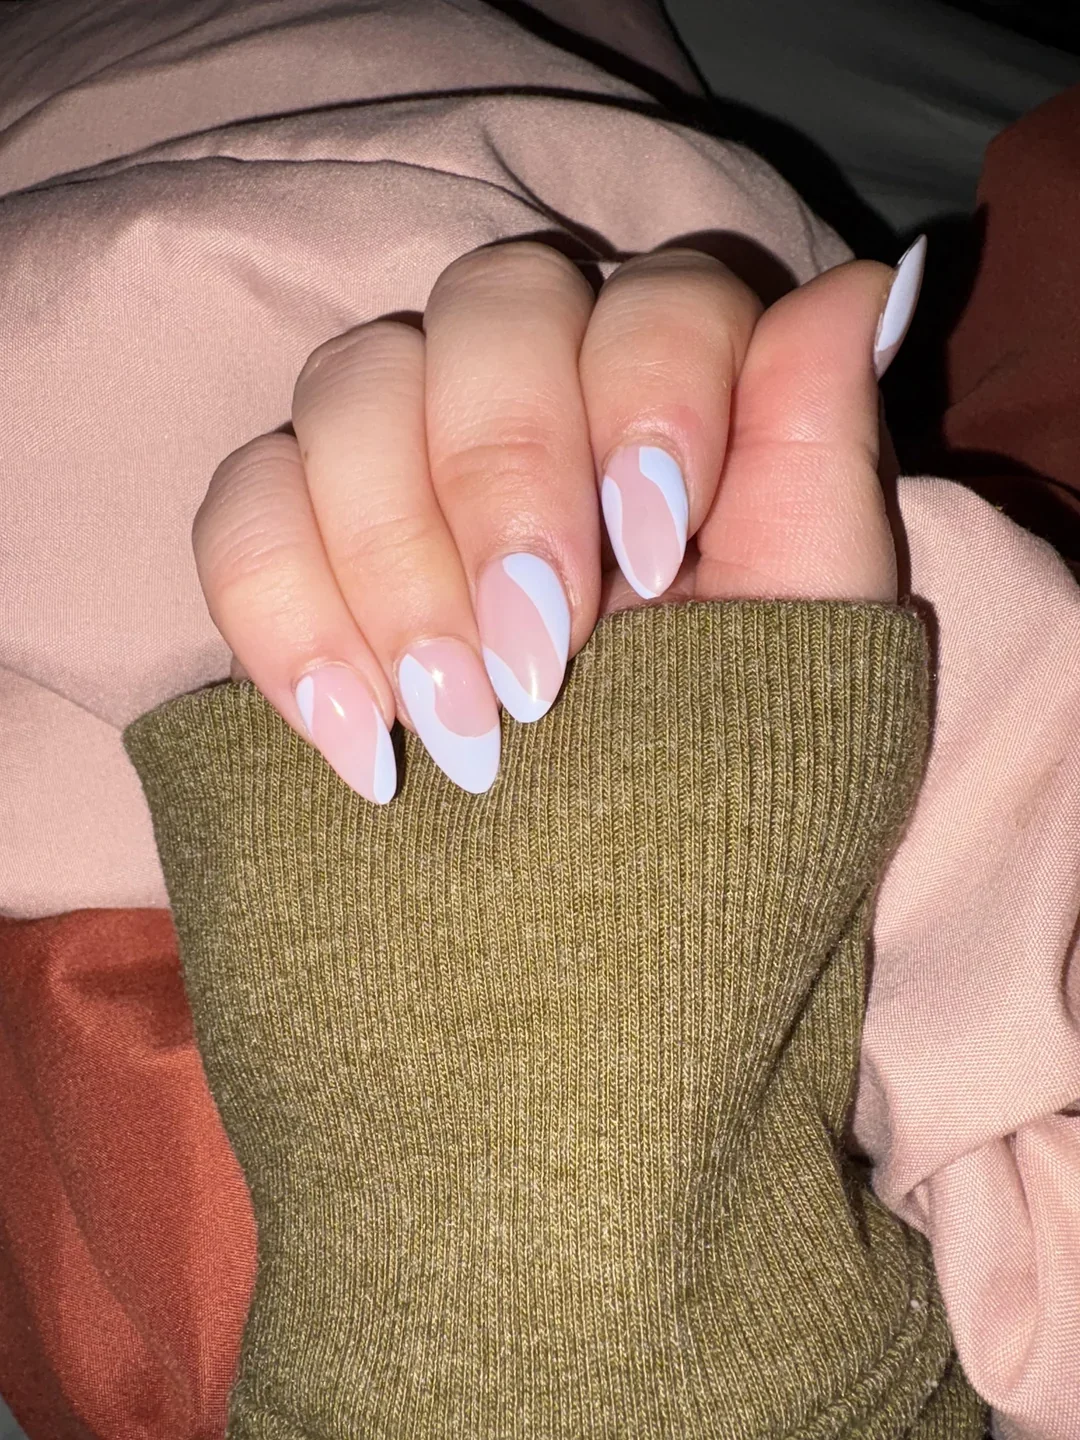
I would reach for a creamy beige or pale almond gel polish with a neutral undertone. Two thin coats should provide enough coverage without creating a bulky appearance. A glossy top coat keeps the surface reflective, while cuticle oil at the end helps the entire manicure look fresher.
The preparation matters more here because there is nowhere for imperfections to hide. I would carefully shape the almond tips, smooth the surface, and make sure the polish is applied evenly around the cuticle line. I would rather use two controlled thin coats than one thick coat, especially with a pale nude shade.
This is one of the easiest manicures to wear repeatedly because it does not compete with anything else. I can change my jewelry, outfit, makeup, or even hair color without worrying about the nails clashing. Sometimes that kind of flexibility is exactly what makes a beauty look timeless.
Milky Nude Nails With An Elegant Soft Finish
The final look brings minimalist nude nails back to their most delicate form. The nails are long and almond-shaped, covered in a creamy, milky nude that looks almost like a soft veil over the natural nail. The glossy surface reflects light cleanly, while the warm beige-pink undertone keeps the manicure from appearing stark. There is no decoration here, and honestly, it does not need any.
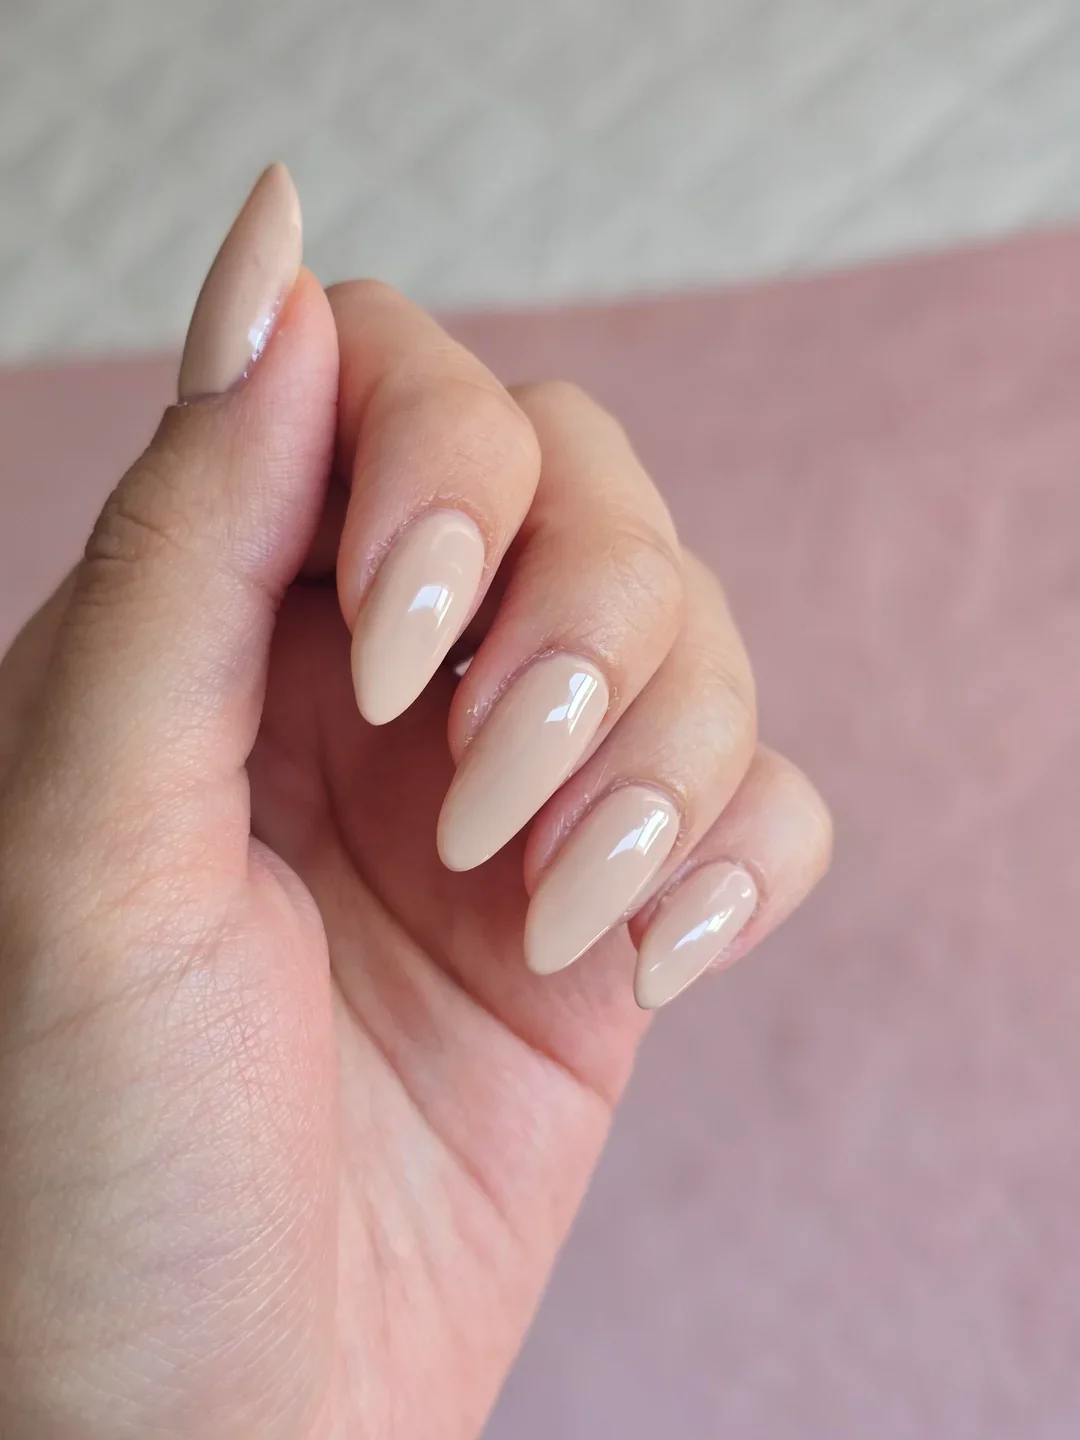
For this look, I would choose a milky nude gel polish with a warm beige or soft pink base. A sheer formula can be layered for more depth, while a slightly creamy formula gives stronger coverage. I would finish with a glassy top coat and nourishing cuticle oil to keep the overall appearance fresh.
I would begin by shaping the nails into a balanced almond form and gently preparing the cuticles. After the base coat, I would apply the milky nude in thin, even layers, checking the sidewalls before curing. If I want the natural nail to remain slightly visible, I would stop after one coat; for a more polished finish, I would add a second.
This is the kind of manicure I keep coming back to when I want something that feels timeless rather than tied to one particular trend. It works beautifully in every season, but I especially like it as summer starts giving way to fall. Clean lines, soft color, healthy-looking shine—that combination never really goes out of style.
Minimalist nude nails are proof that understated beauty can still make a statement. I love how a sheer pink base, glossy finish, delicate French detail, or soft pearl effect can instantly make the hands look polished and elegant without feeling overdone. Whether I prefer short practical nails or a graceful almond shape, there is plenty of room to make this timeless look my own. For me, that versatility is what makes nude manicures so appealing—they work with almost every outfit, season, and occasion. When I want nails that feel effortlessly chic today and just as beautiful weeks from now, a minimalist nude manicure is an easy choice.

